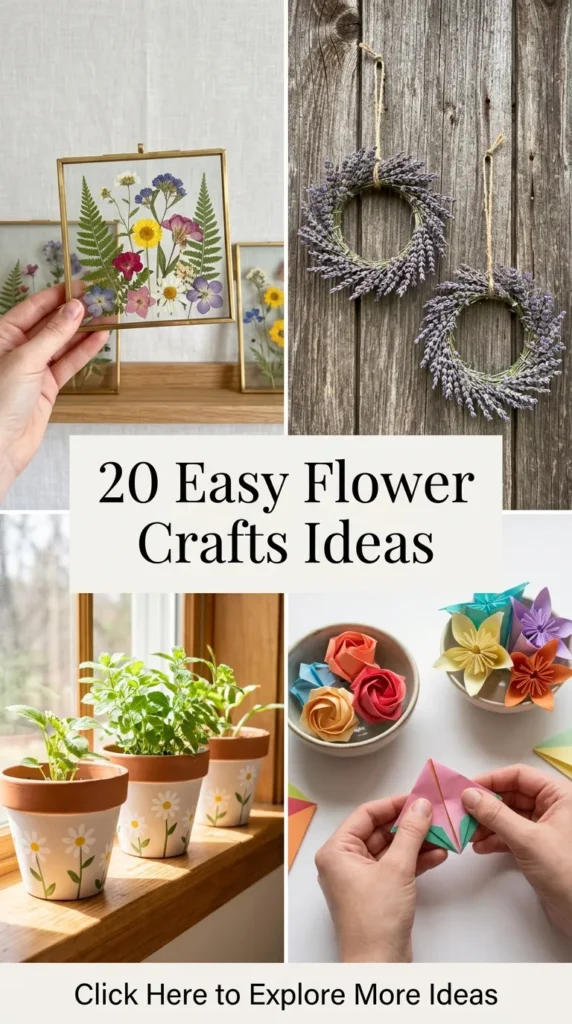
Modern interior styling leans heavily into organic textures, calming neutral color palettes, and biophilic design elements that bring the outdoors inside. Flower crafts no longer mean dusty, traditional arrangements; today’s aesthetic focuses on minimalist elegance, sustainable materials, and chic, contemporary silhouettes. Whether you want to curate a serene Scandinavian bedroom, add warmth to a neutral living room, or craft handmade gifts that look straight out of a high-end boutique, these twenty easy and stunning flower crafts will transform your space.
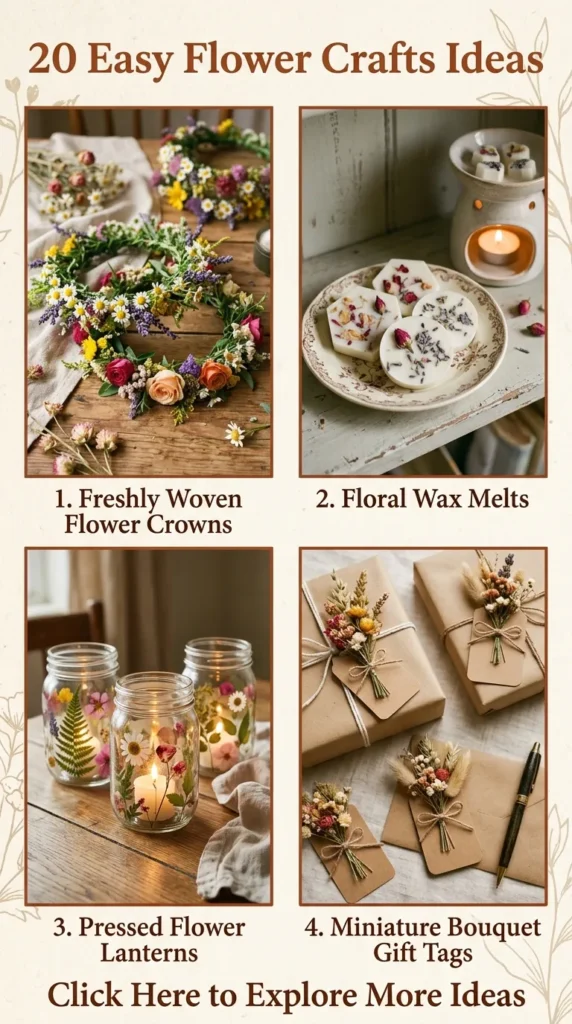
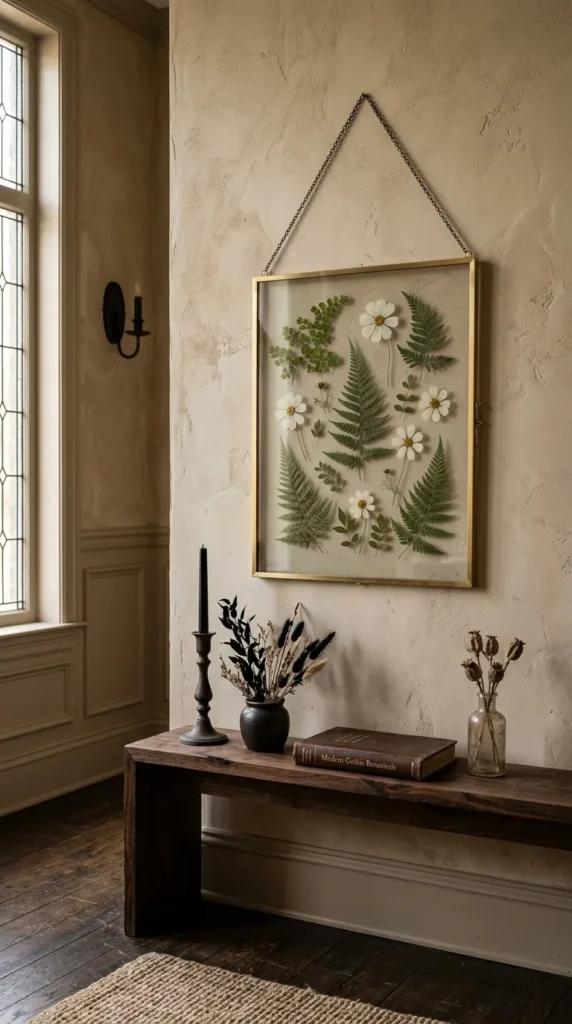
1. Minimalist Pressed Flower Floating Glass Frames
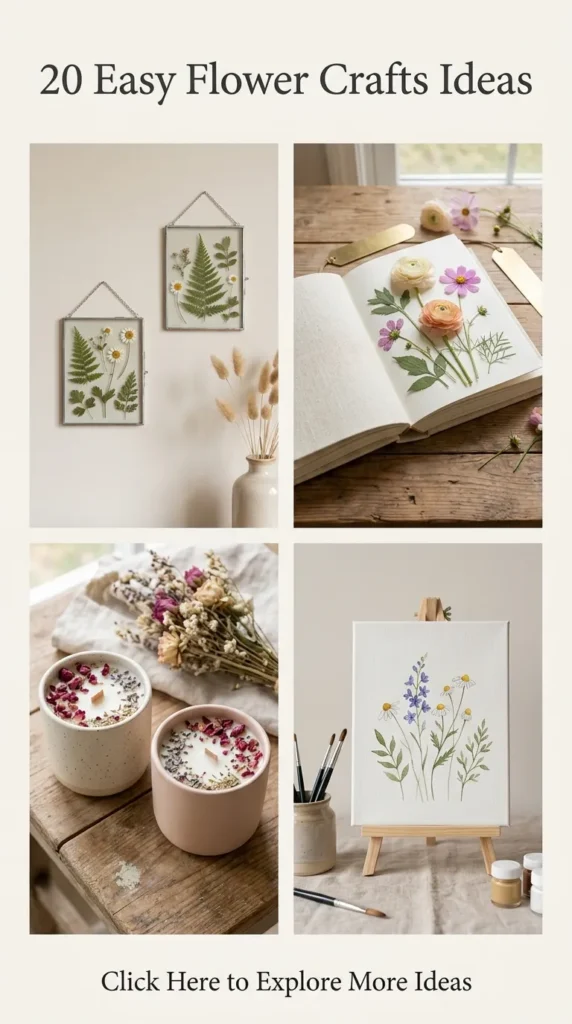
- Introduction & Meaning: This craft captures fleeting seasonal blooms in suspended timelessness. By trapping delicate pressed flowers between two panes of glass, you create a floating botanical artwork that celebrates raw, natural textures with zero visual clutter.
- Materials Needed: Double-pane glass floating frames (brass or black edge), a selection of flat pressed flowers (ferns, baby’s breath, cosmos, or pansies), tweezers, archival glue dots (optional).
- How to Make It: Open your floating frame and lay the back pane flat on a clean, dust-free surface. Using fine-tip tweezers, arrange your pressed flowers in a deliberate, minimalist composition—leaving plenty of negative space for an airy, modern look. If flowers tend to slide, place a tiny, invisible archival glue dot beneath the heaviest petals. Gently place the top glass pane over the arrangement, secure the clips or frame latches, and wipe the glass clean with microfiber cloth.
- Tips & Variations: Stick to a monochromatic color scheme (such as all whites and greens) for a high-end look. You can also write a delicate calligraphy quote directly onto the glass with a gold paint pen before sealing.
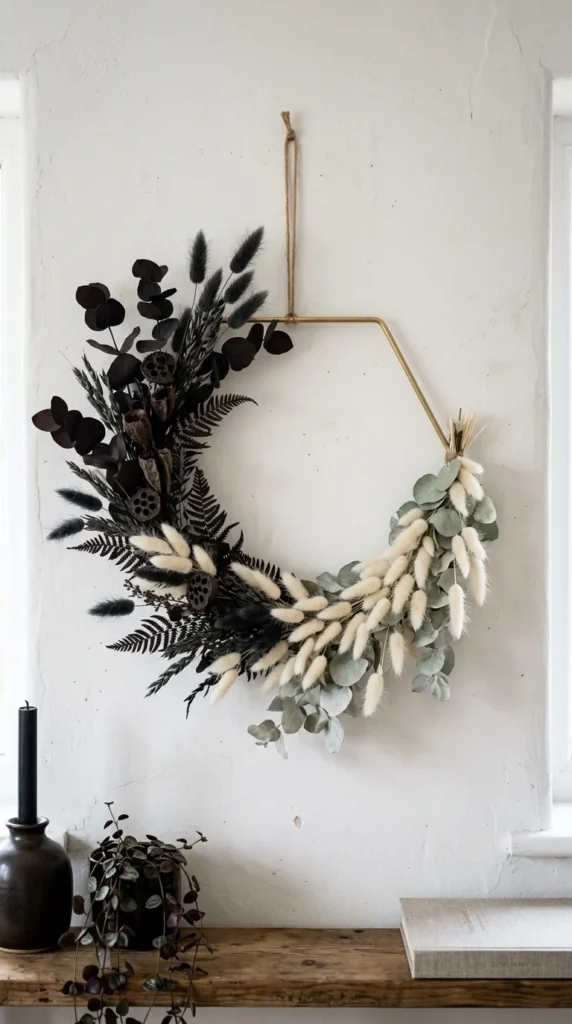
2. Modern Minimalist Dried Floral Brass Hoop Wreaths
- Introduction & Meaning: Ditching heavy traditional pine wreaths, modern floral hoops use sleek metallic geometric rings adorned with asymmetrical dried botanicals for a refined wall statement.
- Materials Needed: 12-inch brass or gold metal craft ring, floral wire, wire cutters, dried bunny tails (lagurus), bleached ruscus, preserved eucalyptus, and ribbon.
- How to Make It: Lay your brass hoop on a flat table. Group your dried botanicals into mini-bouquets, layering shorter grasses in front and taller eucalyptus or ruscus in the back. Attach the first mini-bouquet to the lower third of the brass hoop by wrapping floral wire tightly around the stems and ring. Continue layering adjacent mini-bouquets slightly overlapping the previous stems until you achieve a lush, asymmetrical sweep covering about one-third to half of the ring. Trim excess wire and hang with a chic velvet ribbon.
- Tips & Variations: Leave the top two-thirds of the brass hoop completely bare to maximize the minimalist contrast between shiny metal and organic textures.
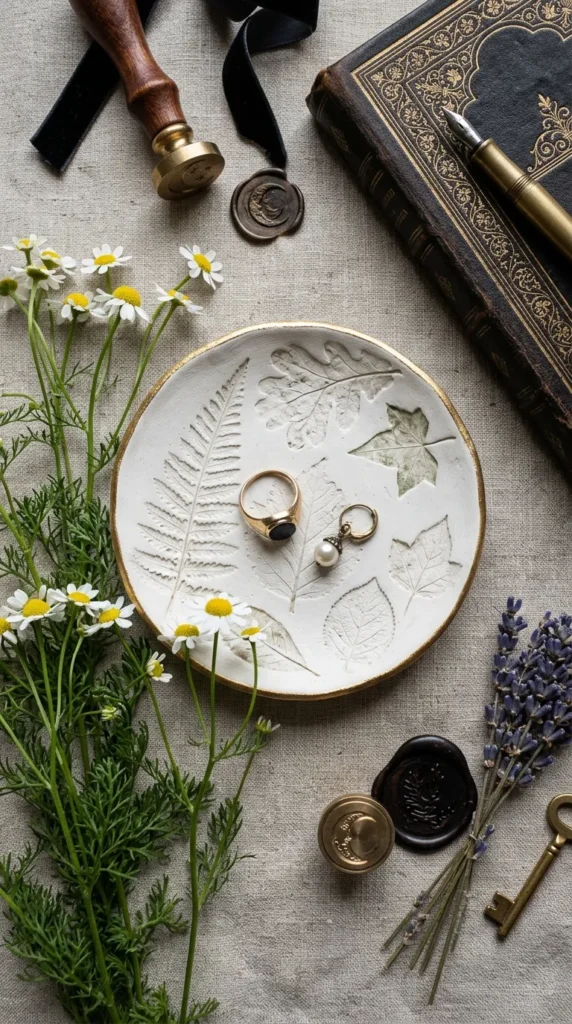
3. Air-Dry Clay Botanical Trinket Dishes
- Introduction & Meaning: Combining functional pottery styling with tactile nature casting, these delicate trinket dishes preserve the actual physical impression of fresh leaves and petals in clean white clay.
- Materials Needed: White air-dry clay, rolling pin, fresh leaves or textured flower heads (like hydrangeas or chamomile), a small bowl or saucer (for shaping), sandpaper, acrylic metallic paint (gold or bronze).
- How to Make It: Roll out your air-dry clay on a non-stick mat until it is about 1/4-inch thick. Press fresh flowers or textured leaves firmly into the clay using a rolling pin or your fingertips to imprint intricate veining. Carefully peel away the botanicals. Use a circular cookie cutter or a craft knife to cut around the impression into a circle, oval, or organic organic edge. Gently lift the clay circle and place it inside a small curved bowl to give the edges a gentle upward slope. Let it dry for 24-48 hours. Once completely dry, sand any rough edges smooth and use a tiny brush to edge the rim in metallic gold.
- Tips & Variations: Seal the finished dish with a coat of matte or satin Mod Podge to protect the clay from moisture, though remember these are decorative dishes and not waterproof.
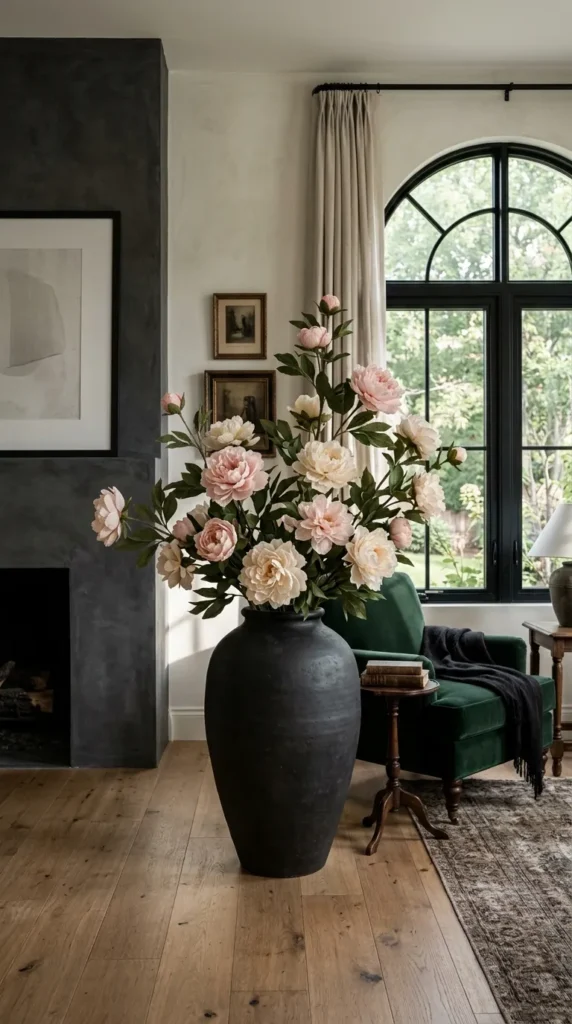
4. Oversized Modern Crepe Paper Peony Branches
- Introduction & Meaning: Statement florals in oversized vases create an instant designer vignette. High-quality Italian crepe paper allows you to hand-sculpt massive, realistic peony blossoms that last indefinitely without shedding or wilting.
- Materials Needed: Heavyweight 180g Italian crepe paper (in blush pink and cream), floral stem wire, floral tape, hot glue gun, scissors, pastel chalks for shading.
- How to Make It: Cut out graduated petal shapes (small center petals, medium cupped petals, and large outer ruffled petals) from your crepe paper, ensuring the grain of the paper runs vertically so you can stretch them. Gently stretch the center of each petal to create a natural, cupped contour. Cut a small ball of aluminum foil or cotton on a wire stem as your flower base. Glue the smallest petals tightly around the center, then layer medium and large petals outward, curling the outer edges outward with your thumbs. Wrap the stem in green floral tape and attach a few laser-cut paper leaves.
- Tips & Variations: Dust the base of the petals with a hint of darker pink or peach pastel chalk using a cotton swab to give the blooms depth and a hyper-realistic gradient.
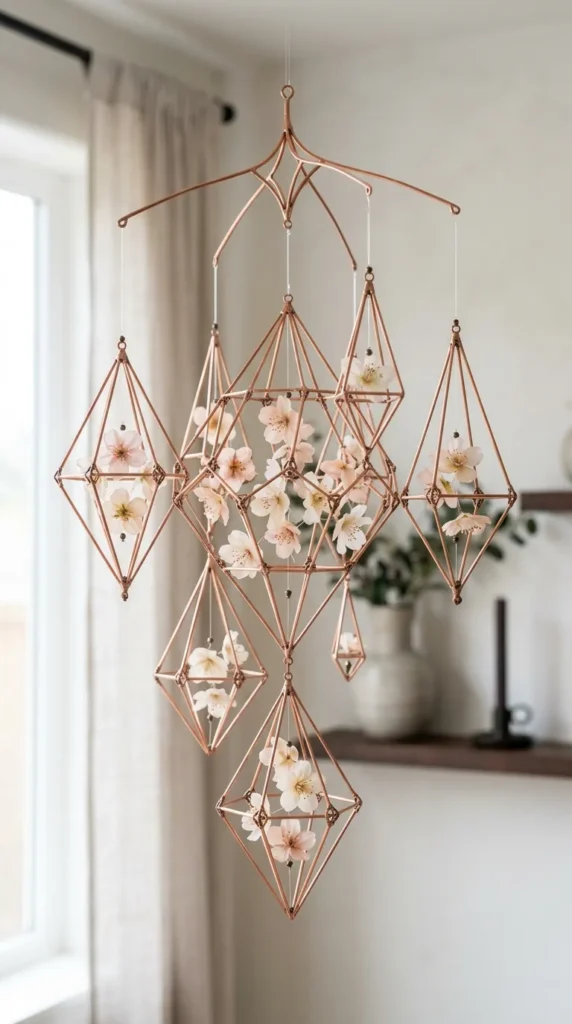
5. Geometric Copper Wire and Silk Flower Mobiles
- Introduction & Meaning: Hanging art adds vertical dimension to a room. This craft suspends delicate silk blooms and geometric copper frames in mid-air, creating a soothing kinetic sculpture that moves gently with air currents.
- Materials Needed: Copper wire, wire cutters, clear fishing line, small silk or high-end faux flower heads (ranunculus or cherry blossoms), pliers.
- How to Make It: Bend and solder or twist your copper wire into geometric shapes such as triangles, squares, or multi-dimensional diamonds. Secure the joints tightly. Thread clear fishing line through the base of your silk flower heads and tie them securely to the bottom bars of your copper geometric structures at varying heights. Tie a longer piece of fishing line to the apex of each shape and suspend them from a main central ceiling hook or wooden dowel to form a balanced mobile.
- Tips & Variations: Keep the color palette soft—shades of ivory, champagne, and muted sage work wonders for modern nurseries or calm reading nooks.
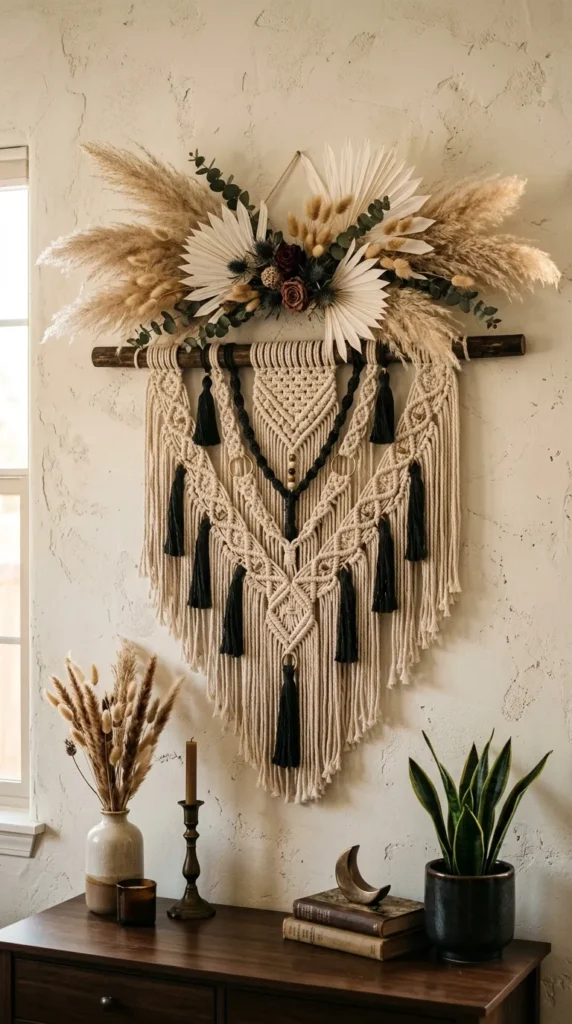
6. Boho Neutral Macrame and Dried Pampas Wall Hangings
- Introduction & Meaning: Marrying the knot-work texture of bohemian macrame with the airy elegance of dried pampas grass and palm spears, this wall hanging acts as a stunning focal point above a bed or sofa.
- Materials Needed: Natural cotton macrame cord (3mm or 4mm), wooden dowel or driftwood, dried pampas grass stems, preserved white palm spears, floral wire, scissors.
- How to Make It: Attach your macrame cord to the wooden dowel using lark’s head knots, creating a foundational patterned wall hanging (such as a chevron or simple half-hitch design) in the upper half. Leave the lower cords fringed or untied. Take your dried pampas grass and palm spears, trimming stems to desired lengths. Bind the stems tightly together with floral wire. Tuck and secure this dried botanical bundle right into the center knot-work of the macrame, anchoring it firmly with hidden wire or heavy-duty thread.
- Tips & Variations: Spray the pampas grass lightly with aerosol hairspray to minimize shedding and keep the feathery plumes locked in place.
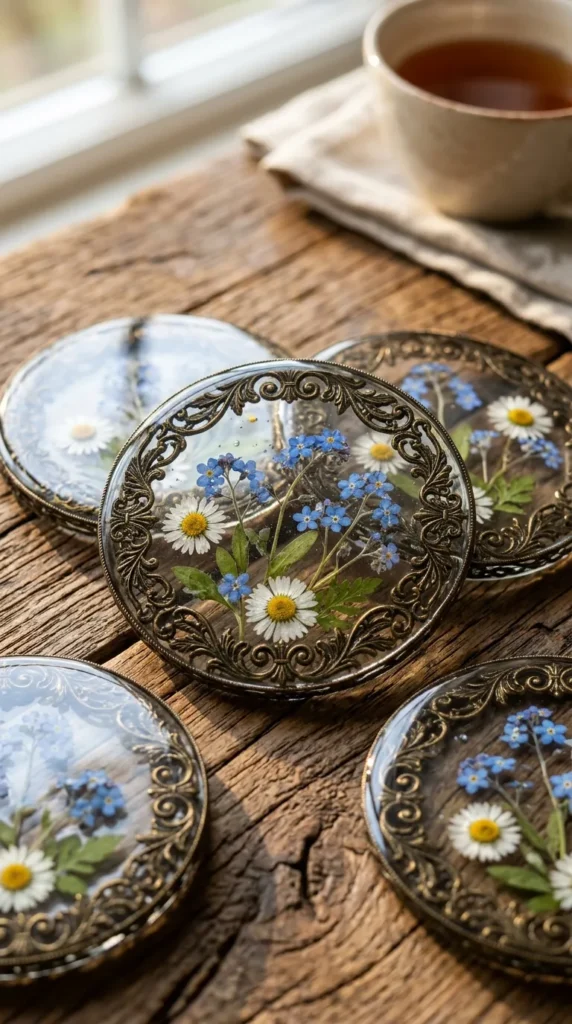
7. Crystal-Clear Epoxy Resin Botanical Coasters
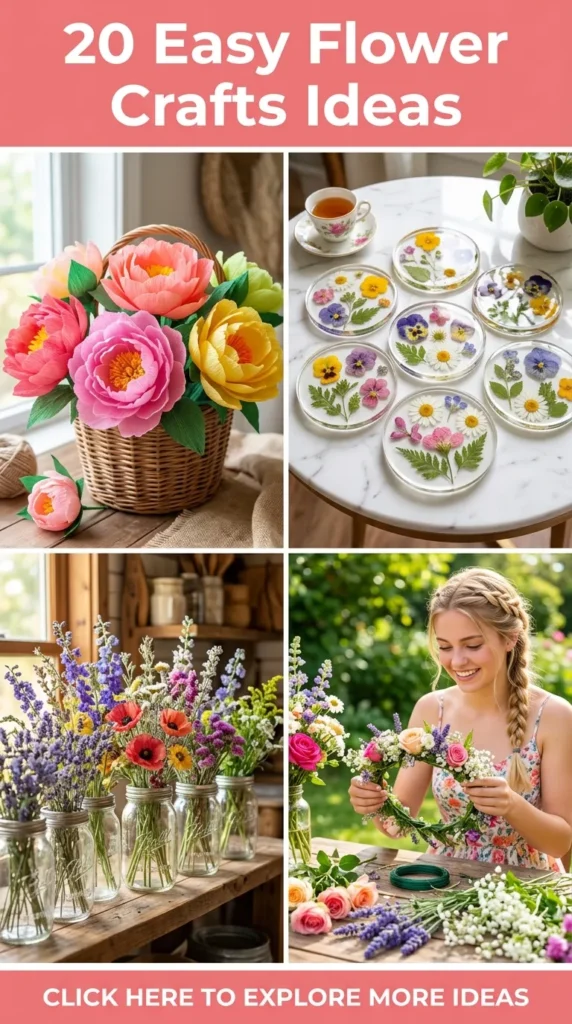
- Introduction & Meaning: Functional art pieces that encapsulate summer all year round. Encasing real dried field flowers in crystal-clear resin creates glossy, glass-like coasters that reflect light beautifully.
- Materials Needed: Two-part casting epoxy resin, silicone coaster molds, dried flat flowers (pansies, forget-me-nots, miniature daisies), measuring cups, mixing sticks, heat gun.
- How to Make It: Mix your two-part epoxy resin according to manufacturer instructions, stirring slowly to avoid creating excessive air bubbles. Pour a thin base layer (about 1/3 of the mold depth) into your silicone coaster molds. Let it set for 30 minutes until tacky, then use tweezers to place your dried flowers face down into the resin. Pour the remaining resin gently over the flowers until the mold is filled to the brim. Pop any surface bubbles using a heat gun held a few inches away. Allow to cure completely for 48 hours before demolding.
- Tips & Variations: Add a subtle drop of white alcohol ink to the resin before pouring for a dreamy, milky cloud effect behind your floral arrangement.
8. Luxe Velvet and Satin Hand-Stitched Statement Blooms
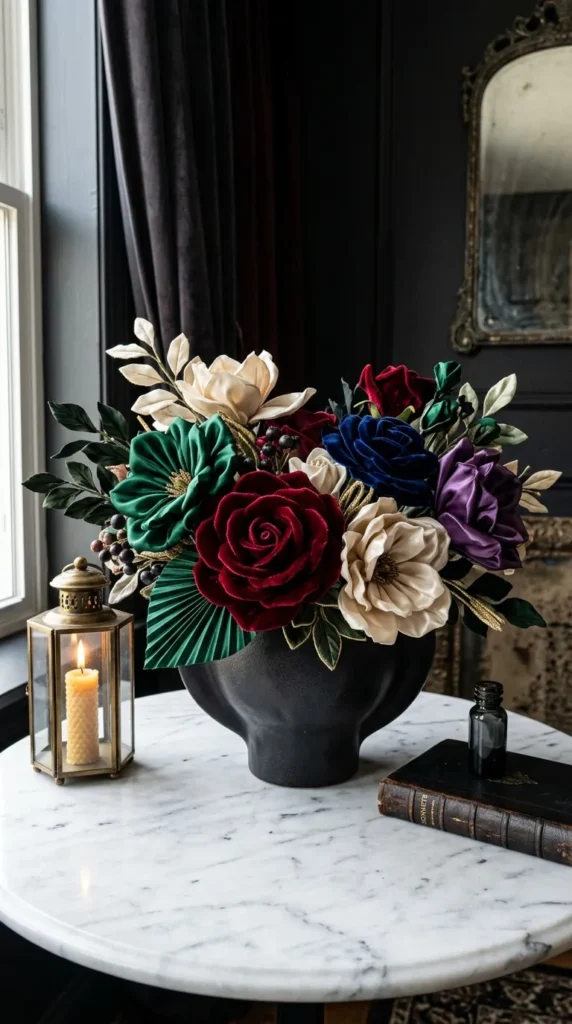
- Introduction & Meaning: Textural contrast is key to cozy, high-end decor. These plush, hand-stitched fabric flowers look like couture millinery accessories and make gorgeous standalone decor items in decorative bowls.
- Materials Needed: Scraps of velvet, satin, and linen fabric in coordinating tones, sewing needle, matching embroidery thread, stuffing (polyfill), buttons or felt circles for centers.
- How to Make It: Cut long strips of velvet or satin fabric. Fold the strip in half lengthwise with right sides facing inward and sew along the raw edge to create a fabric tube. Turn the tube right side out, stuff lightly with a tiny bit of polyfill if you want a puffy look, and gather one long edge with a running stitch. Pull the thread tight to coil the strip into a rosette shape, securing the layers with secure stitches at the base. Attach a contrasting fabric-covered button or a knot of French-knotted embroidery thread in the center.
- Tips & Variations: Mount these velvet blooms onto heavy-duty metal stems wrapped in green floral tape to place them in a tall ceramic vase for a rich, winter floral display.
9. Minimalist Raw Concrete Bud Vases with Single Stems
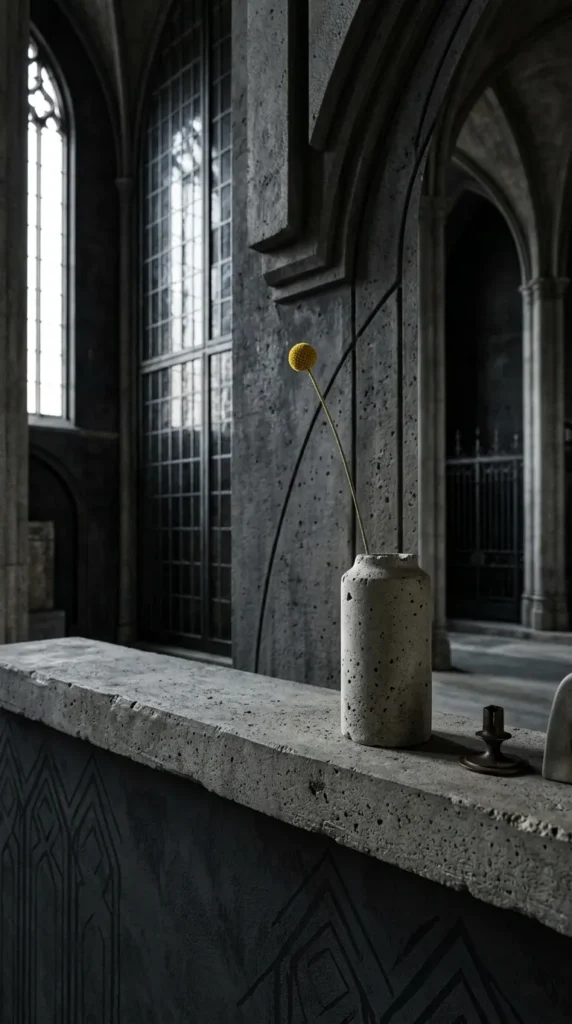
- Introduction & Meaning: Industrial chic meets delicate nature. Heavy, raw concrete vases provide a striking modern contrast to fragile, organic floral stems like poppy seed pods or single dried craspedia.
- Materials Needed: Quick-setting concrete mix, water, mixing container, small plastic cups (outer mold), smaller plastic shot glasses or pill bottles (inner mold), cooking spray, sandpaper, single dried or fresh stems.
- How to Make It: Mix your concrete with water until it reaches a thick, pourable milkshake consistency. Spray the inside of your large plastic cup and the outside of your inner shot glass with cooking spray. Pour the concrete mixture into the large cup until it’s about 3/4 full. Push the smaller shot glass down into the center of the concrete, displacing the mixture upward and creating a hollow cavity for water and stems. Tape the inner cup down so it stays centered. Let it cure for 24 hours, tear away the plastic molds, sand any sharp edges, and place your favorite single stem inside.
- Tips & Variations: Dip the bottom half of the cured concrete vase into gold metallic paint or white acrylic paint for a color-blocked, modern aesthetic.
10. Monochromatic Textured Felt Wall Hanging Floral Tapestries
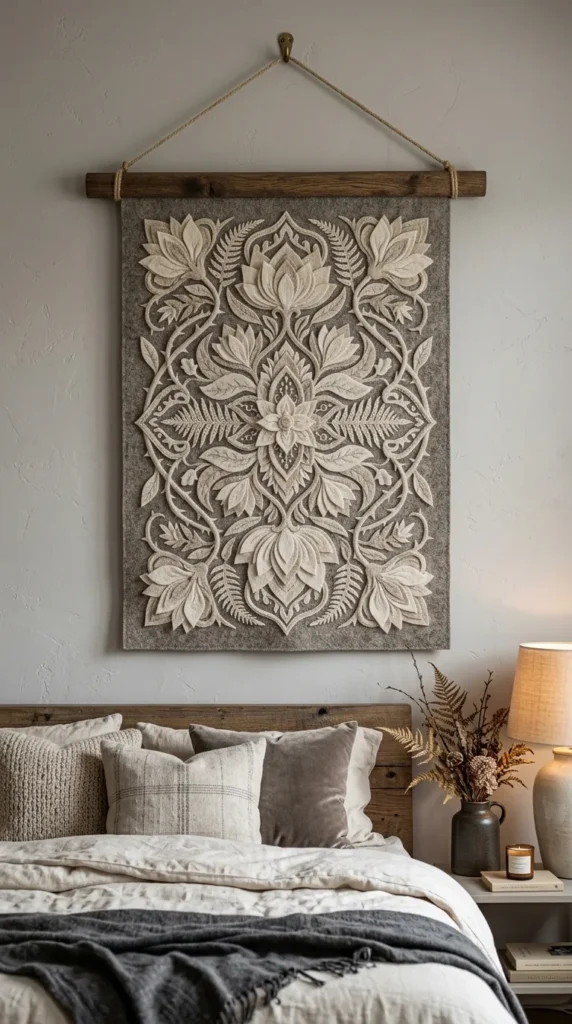
- Introduction & Meaning: A cozy, tactile interpretation of botanical art. Using thick wool-blend felt in neutral tones, you can layer dimensional petals to create a sculptural wall tapestry that adds acoustic warmth and visual depth.
- Materials Needed: Thick wool-blend felt sheets (in cream, oatmeal, and beige), fabric scissors, hot glue gun, wooden banner rod, canvas backing fabric.
- How to Make It: Cut your canvas backing fabric to your desired banner size (e.g., 12×18 inches) and hem or glue the edges. Cut various sizes of teardrop and rounded petal shapes out of your neutral felt sheets. Pinch and glue the base of each petal to give it a 3D curved dimension. Arrange and hot-glue these felt petals into lush, large-scale flower motifs (such as anemones or dahlias) directly onto the canvas backing. Attach the top of the canvas to a wooden banner rod tied with twine for easy hanging.
- Tips & Variations: Keep the entire tapestry monochromatic—using only shades of ivory, cream, and oatmeal makes the shadows and tactile textures pop dramatically.
11. Gold-Gilded Plaster of Paris Botanical Relief Casts
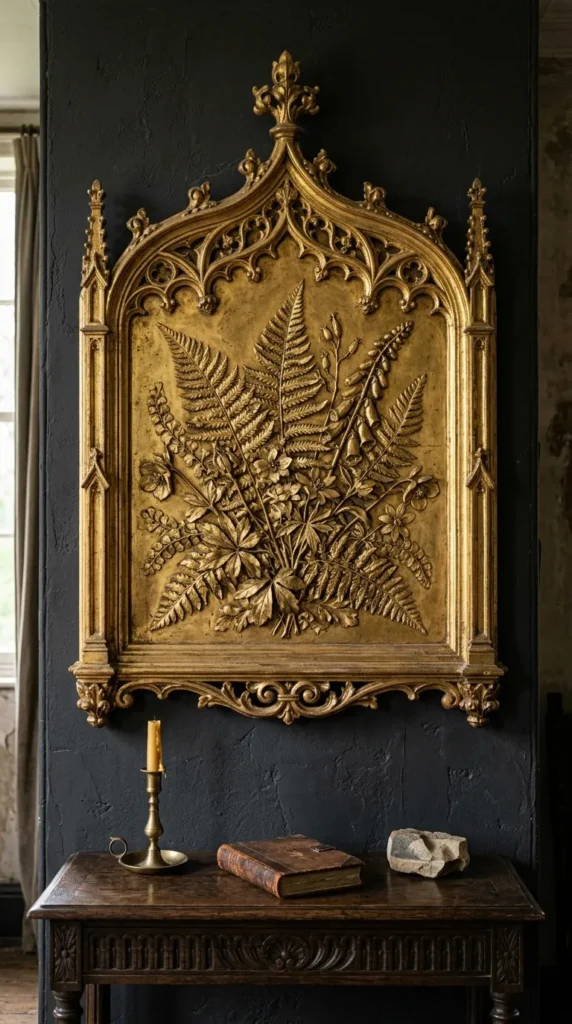
- Introduction & Meaning: This artisanal craft creates museum-quality fossil-like wall art. By pressing fresh flowers and heavy foliage into wet clay and casting plaster over them, you immortalize nature’s intricate details in solid stone.
- Materials Needed: Plaster of Paris, water, non-hardening modeling clay, a shallow wooden frame or silicone border tray, fresh textured flowers and stems, gold leaf sheets, and size adhesive.
- How to Make It: Press a thick layer of modeling clay firmly into the bottom of your shallow tray until flat. Arrange your fresh flowers and leaves face-down into the clay, pressing them firmly so they leave a deep, crisp imprint. Remove the plants gently. Pour mixed Plaster of Paris into the clay mold until it fills the impression and forms a solid 1-inch slab. Let it set and harden for 1 to 2 hours. Carefully peel away the clay to reveal your crisp plaster relief casting. Once fully dry, apply gold leaf to select raised petal edges for an opulent antique look.
- Tips & Variations: Add a small metal D-ring hanger into the back of the wet plaster before it sets so it’s ready to hang immediately upon drying.
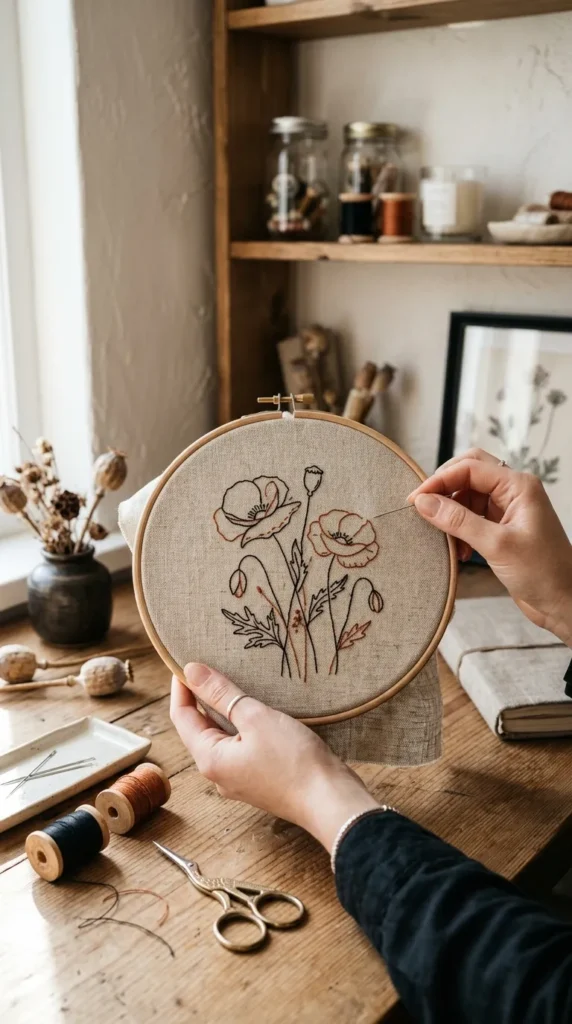
12. Modern Botanical Linen Embroidery Hoop Art
- Introduction & Meaning: Combining traditional stitching with clean, modern linework, this craft uses minimalist line embroidery to outline graceful wildflowers on natural linen fabric.
- Materials Needed: Wooden embroidery hoop (8-inch), natural raw linen fabric, embroidery floss (black, rust, and olive green), embroidery needle, fabric marking pen.
- How to Make It: Stretch your raw linen fabric tightly inside the wooden embroidery hoop and tighten the screw. Sketch a simple, elegant outline of wildflowers (like poppies or lavender) onto the linen using a water-soluble fabric pen. Use a stem stitch for the flower stems and leaves, and simple satin stitches or french knots for the flower heads. Once complete, mist the fabric to remove pen marks, trim the excess fabric on the back, and secure the edges with a neat running stitch or hot glue.
- Tips & Variations: Leave large areas of the natural linen background empty to embrace the Scandinavian design principle of simplicity and breathability.
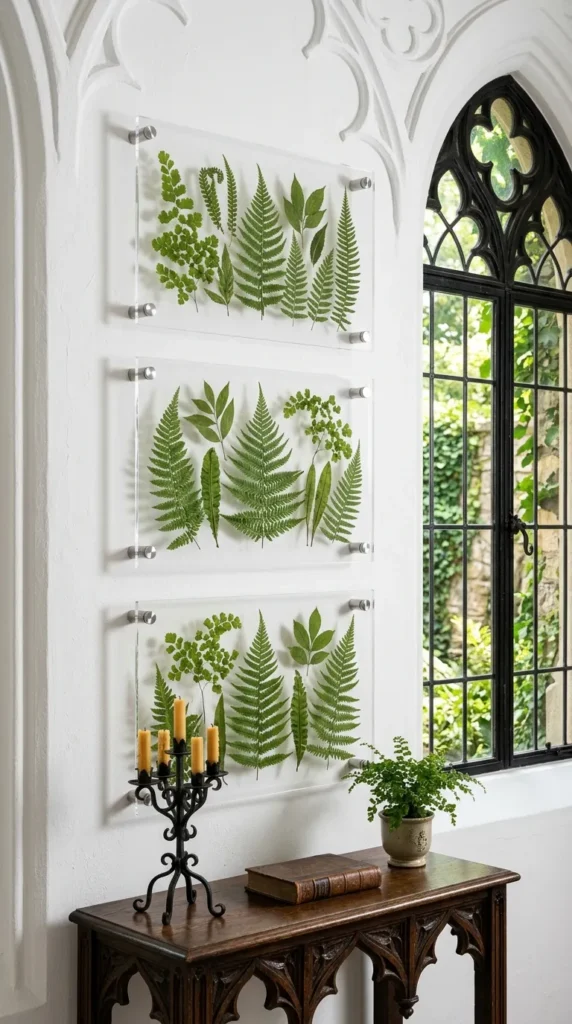
13. Floating Acrylic Pressed Botanical Panels
- Introduction & Meaning: A hyper-modern take on traditional herbariums. Sandwiching delicate pressed greenery between clear acrylic panels gives a clean, architectural look that suits contemporary minimalist interiors.
- Materials Needed: Two matching clear acrylic sheets, drill with small bit (or pre-drilled panels), standoff wall screws, pressed ferns or delicate stems, clear mounting spray adhesive (optional).
- How to Make It: Clean both acrylic sheets thoroughly to remove fingerprints or dust. Arrange your pressed ferns and leaves artistically on the bottom sheet. If needed, spritz a microscopic mist of repositionable spray adhesive on the back of the leaves to keep them from shifting. Place the second acrylic sheet directly on top. Align the corner pre-drilled holes and insert your metal standoff wall screws through both panels, securing them directly into wall anchors for a sleek, floating display.
- Tips & Variations: Use large, dramatic tropical or fern fronds for a bold botanical statement that commands attention in an entryway or hallway.
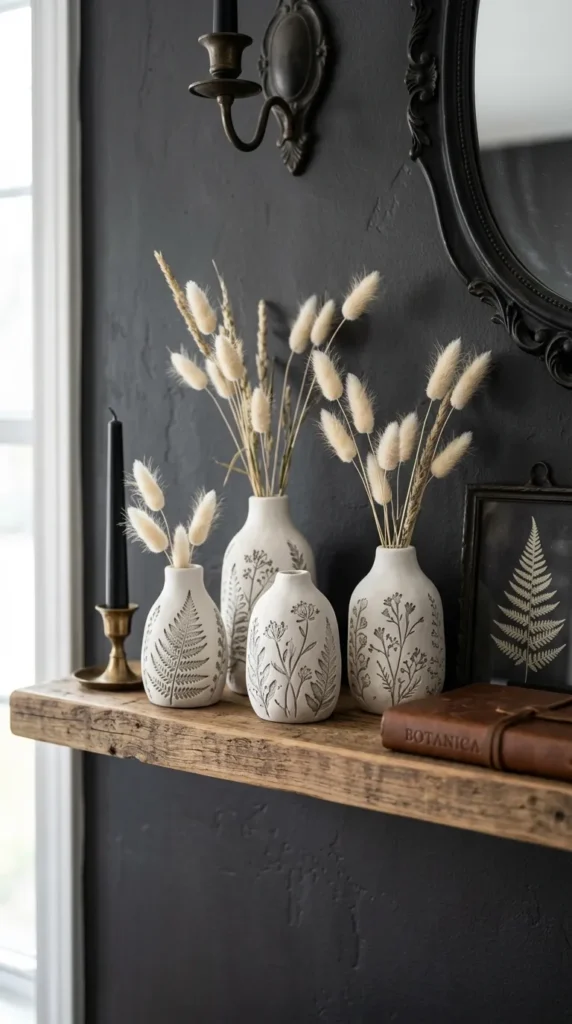
14. White Ceramic-Look Air-Dry Clay Etched Bud Vases
- Introduction & Meaning: Replicating the look of expensive matte porcelain ceramics using affordable air-dry clay and simple carving tools. These petite vases feature hand-carved botanical patterns.
- Materials Needed: White air-dry clay, rolling pin, glass bottle or test tube (as an inner waterproof insert), carving tool or toothpick, fine-grit sandpaper.
- How to Make It: Roll out your white clay and wrap it smoothly around your glass test tube or small bottle, smoothing the vertical seam with wet fingers so it adheres seamlessly. Cut the bottom flat so it stands upright securely. While the clay is still malleable, use a carving tool or toothpick to etch delicate floral and stem patterns into the exterior surface. Let it dry completely for 48 hours. Sand the surface lightly to achieve a smooth, matte bisque-porcelain finish.
- Tips & Variations: Rub a tiny bit of dark brown acrylic wash or coffee into the etched grooves and wipe off the surface excess to make your carved floral designs stand out with rustic charm.
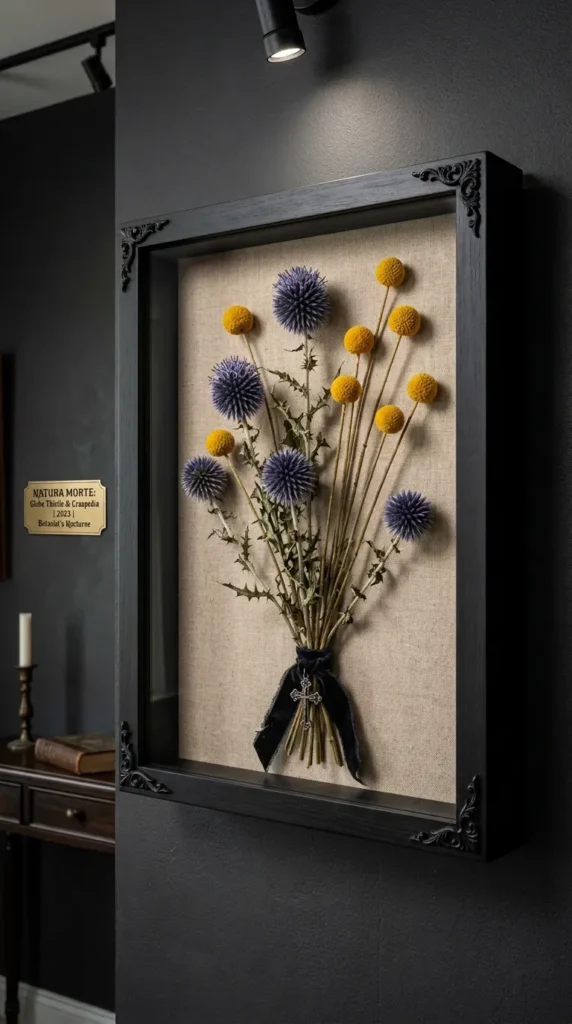
15. Minimalist Deep Shadow Box Pressed Floral Art
- Introduction & Meaning: Taking pressed flowers a step further by using deep shadow boxes, this craft allows for multi-dimensional botanical displays where flowers retain their natural 3D curved shapes before framing.
- Materials Needed: Deep shadow box frame (with at least 1-2 inches of depth), neutral linen backing mat, dried or partially dried flower stems, clear craft glue or museum putty.
- How to Make It: Remove the back of your shadow box and lay your neutral linen mat flat. Instead of pressing flowers completely flat under heavy books, let some flowers retain their natural, three-dimensional dried shape (such as dried globe thistles, craspedia balls, or semi-dried roses). Arrange the stems compositionally on the linen backing, securing the heavier base stems with discrete dabs of museum putty or clear craft glue. Place the glass front back on, seal the edges, and hang.
- Tips & Variations: Create a gradient color story within the shadow box, arranging blooms from dark burgundy at the base to soft cream at the top.
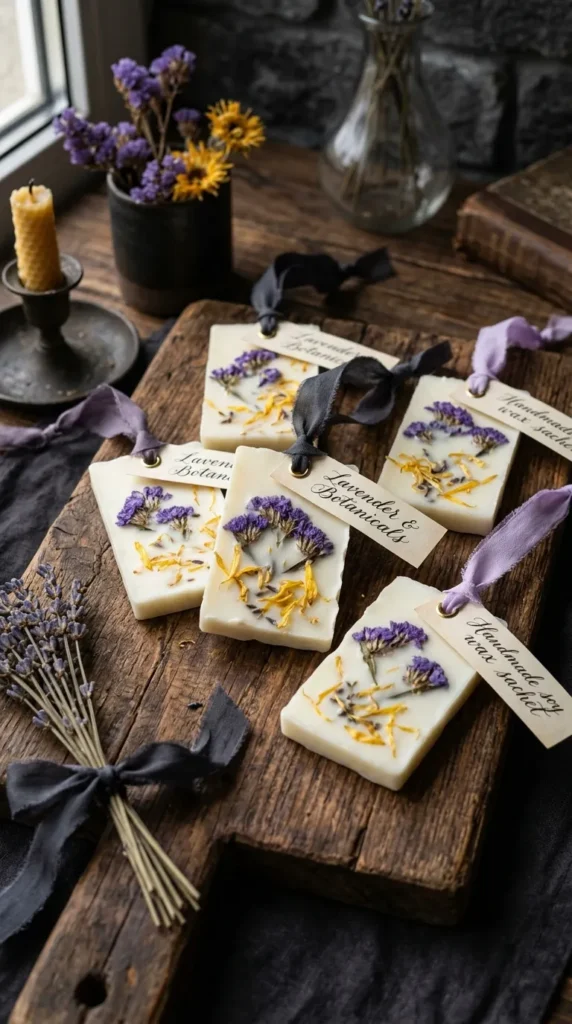
16. Botanical Soy Wax Scented Hanging Sachets
- Introduction & Meaning: Beautiful, fragrant, and sustainable. These wax tablets are infused with essential oils and embedded with real dried flower petals, designed to hang in closets or linen drawers.
- Materials Needed: Pure soy wax flakes, essential oils (lavender or bergamot), silicone mold (muffin or geometric shapes), dried flower petals and buds, toothpick or straw (for hanging hole).
- How to Make It: Melt your soy wax flakes in a double boiler until liquid. Remove from heat and stir in 10-15 drops of your favorite essential oil. Pour the melted wax into your silicone molds to a depth of about 1/2 inch. Let it cool slightly until a translucent film starts to form on top. Carefully arrange your dried flower petals and buds across the surface of the wax. Push a small straw or skewer near the top edge of each mold to create a hole for ribbon later. Allow the wax to harden fully, pop out of the molds, thread a silk ribbon through the hole, and hang.
- Tips & Variations: Use bright yellow calendula petals and dried lavender sprigs for a gorgeous pop of contrasting color against the milky white soy wax.
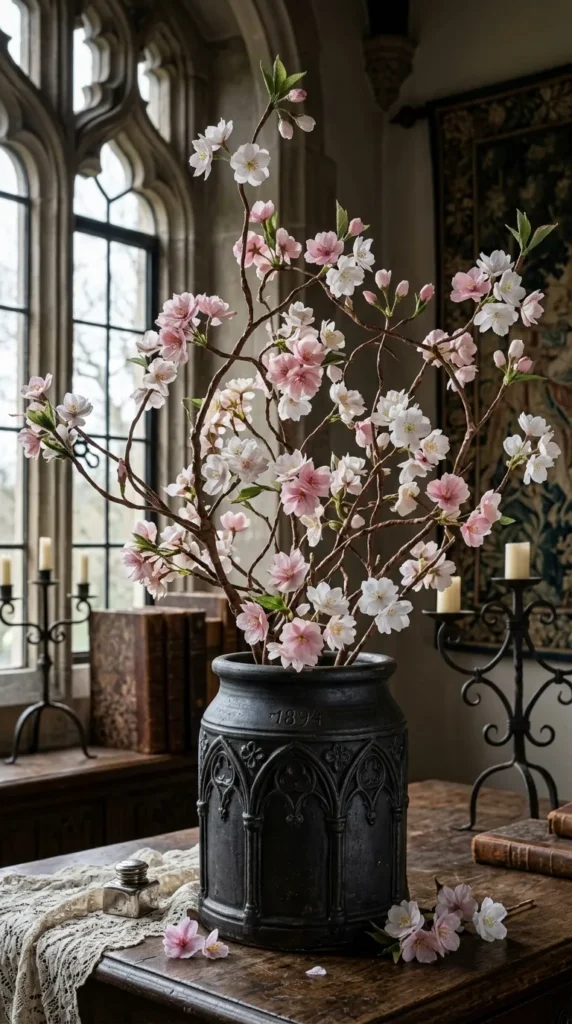
17. Architectural Wire and Tissue Cherry Blossom Branches
- Introduction & Meaning: Delicate, ethereal, and sculptural. By wrapping heavy gauge wire with brown floral tape and attaching handmade pink tissue paper blossoms, you get everlasting spring branches.
- Materials Needed: Thick florist stem wire or tree branches, brown floral tape, pink and white tissue paper, scissors, hot glue gun, yellow acrylic paint.
- How to Make It: Twist multiple strands of thick florist wire together to form a main branch structure with natural-looking offshoots. Wrap the entire wire structure tightly with brown floral tape to mimic tree bark. Cut small squares of pink and white tissue paper, pinch them tightly in the center to form ruffled little blossom cups, and dot the centers with a touch of yellow paint using a toothpick. Hot-glue these delicate tissue blossoms in clusters along your branch structure.
- Tips & Variations: Arrange these branches inside a tall, heavy earthenware crock for a dramatic Japanese minimalist aesthetic in your dining room.
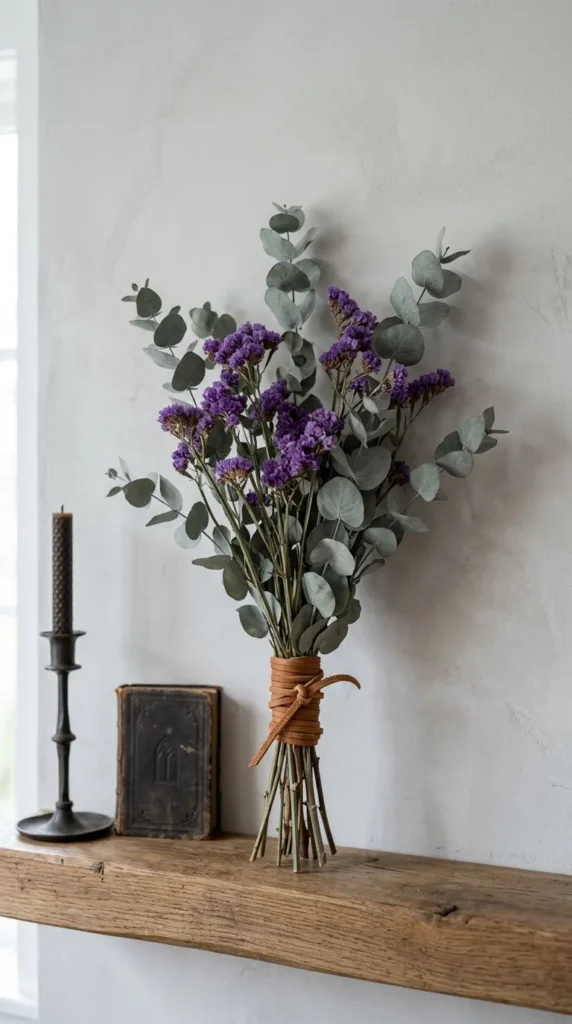
18. Nordic Minimalist Dried Statice and Eucalyptus Bundles
- Introduction & Meaning: Embracing the effortless ‘less is more’ philosophy of Nordic design, this craft focuses on simple, structured natural bundles tied with leather cord for instant rustic elegance.
- Materials Needed: Preserved silver dollar eucalyptus branches, purple or white statice stems, thin genuine leather cord or baker’s twine, sharp garden shears.
- How to Make It: Gather a balanced handful of eucalyptus stems as your structural base. Intersperse sprigs of statice throughout the eucalyptus to add subtle pops of dried color and texture. Trim all stems cleanly to an even length with your shears. Wrap a length of thin leather cord tightly around the stems multiple times near the top, finishing with a neat, clean knot or bow. Hang inverted or display in a slender ceramic neck vase.
- Tips & Variations: Mist the eucalyptus gently with eucalyptus essential oil every few months to refresh its calming, spa-like natural aroma in your living space.
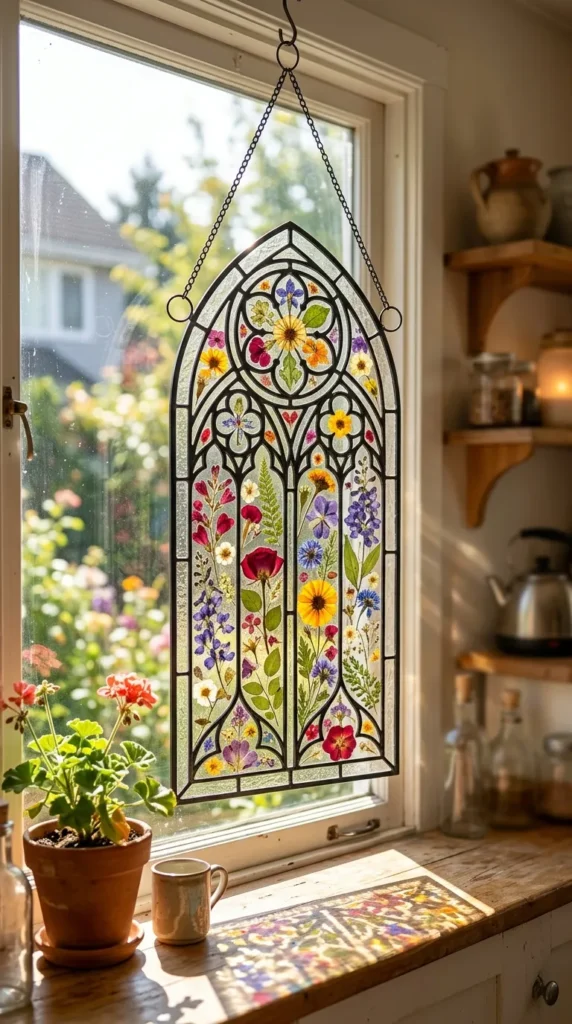
19. Faux Stained Glass Botanical Window Suncatchers
- Introduction & Meaning: Capturing the magic of cathedral glass using accessible crafting supplies. Pressed flowers are sealed between clear acetate sheets with painted faux lead lines to create glowing window art.
- Materials Needed: Clear acetate sheets, black glass-painting outliner (lead relief paste), dried pressed flowers, Mod Podge or clear laminating sheets, suction cup with hook.
- How to Make It: Lay a clear acetate sheet over a printed botanical sketch template. Use your black outliner paste to draw stained-glass style leading lines and geometric cell outlines over the flowers. Let the black lines dry completely. Arrange your real pressed flowers inside the outlined cells. Seal another clear acetate sheet over the top (or coat with a clear protective laminating layer) to trap the flowers permanently. Cut around the outer border, punch a small hole at the top, and hang in a sunlit window using a suction cup.
- Tips & Variations: Use translucent petals like poppy petals or colorful cosmos so that when sunlight streams through the window, the flower colors illuminate like glowing stained glass.
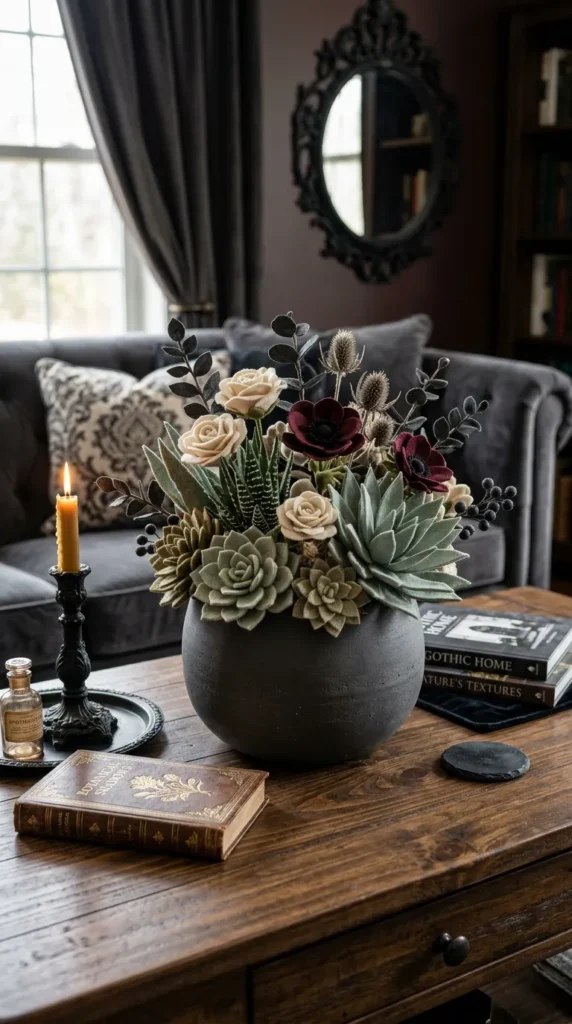
20. Neutral-Toned Wool Blend Felt Succulent and Blossom Arrangements
- Introduction & Meaning: Low-maintenance and eternally chic. Crafted from soft wool-blend felt in sophisticated neutral tones (greys, charcoals, creams, and sage), these botanical arrangements offer everlasting texture.
- Materials Needed: Wool-blend felt sheets in assorted neutral earth tones, floral wire, hot glue gun, small modern ceramic planter, floral foam or dry moss.
- How to Make It: Cut petal shapes for various succulents and modern blossoms (like lotus pods, ranunculus, and echeveria) from your felt sheets. Layer and hot-glue the petals into rosettes and sculptural floral heads, attaching each finished bloom to the top of a wire stem. Fit a block of floral foam into your modern ceramic planter, push your felt floral stems into the foam at varying heights, and cover the surface neatly with dried green moss.
- Tips & Variations: Spray the finished felt arrangement lightly with a matte sealer to prevent dust attraction, keeping your modern neutral centerpiece looking pristine year-round.