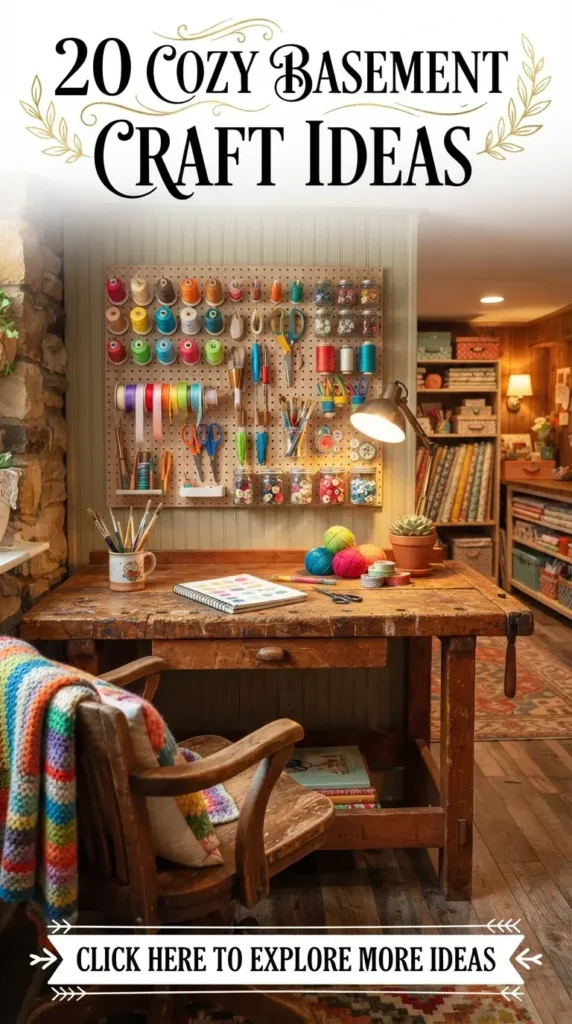
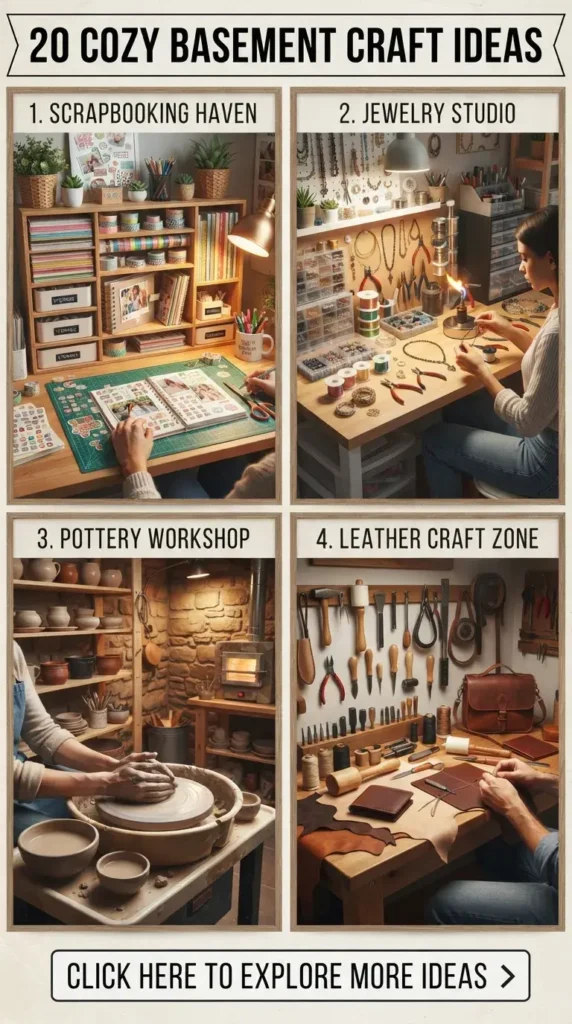
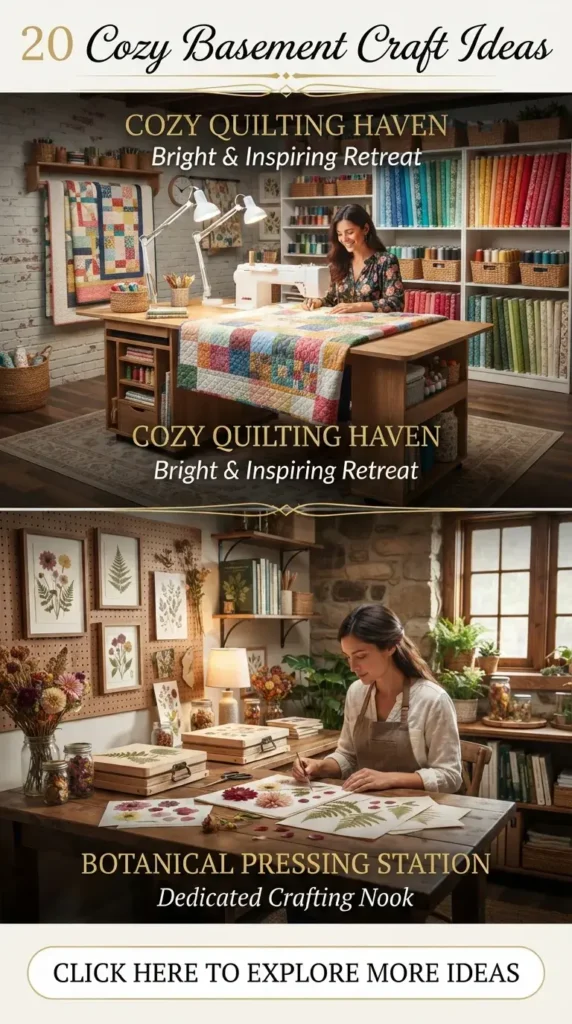
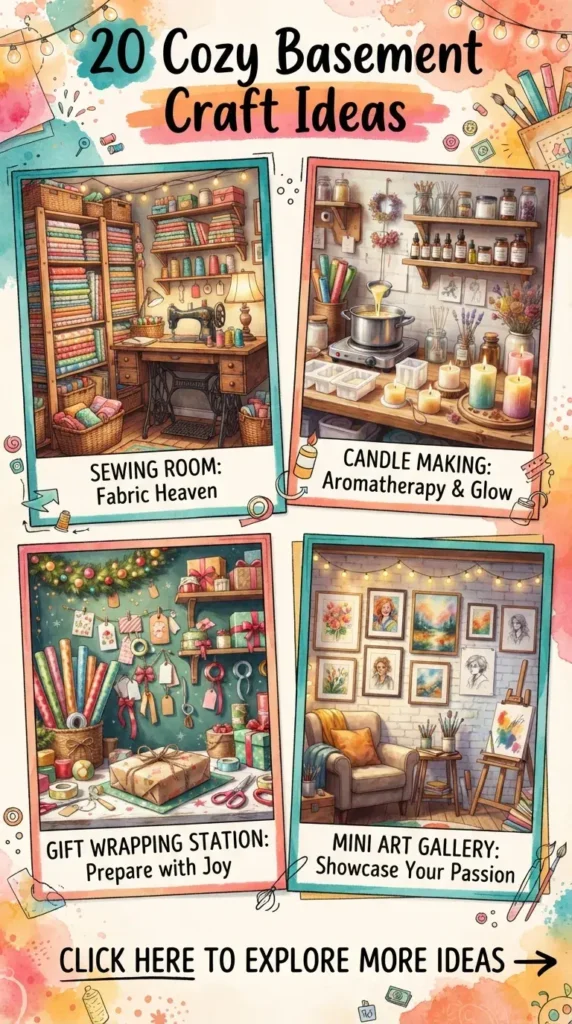
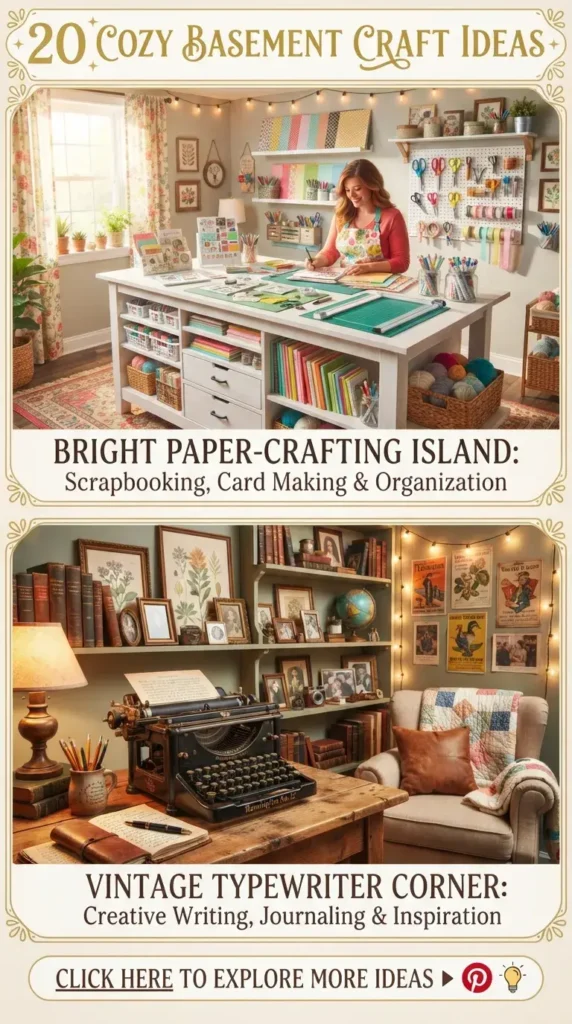
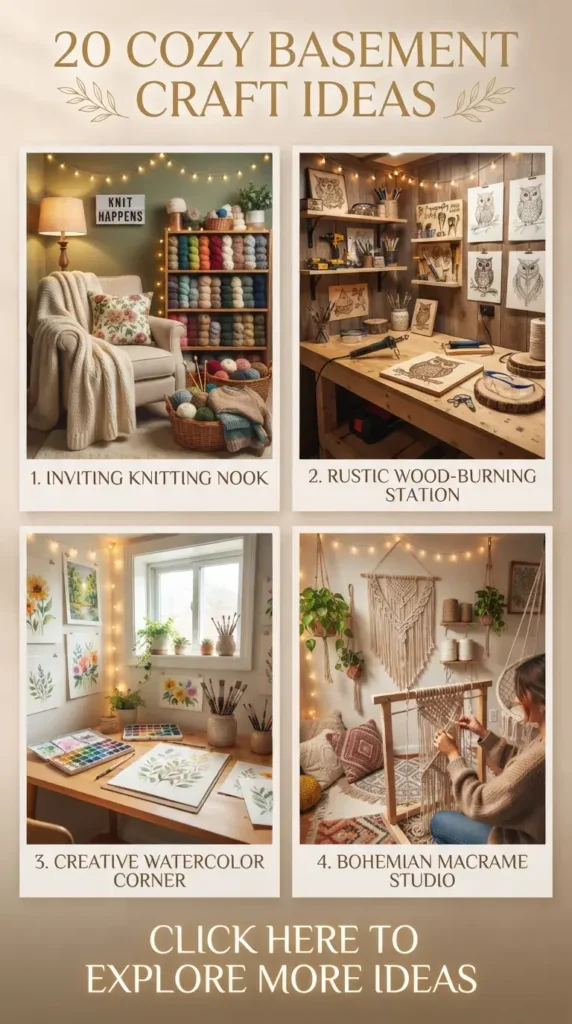
Transforming a subterranean level into a warm, inspiring creative haven changes how an entire home feels. Lower-level spaces naturally lend themselves to quiet focus, making them the ultimate sanctuary for hands-on artistry. Shifting away from cold, sterile storage zones toward an inviting retreat requires thoughtful textures, soft illumination, and dedicated work zones. Turning an underutilized lower level into an aesthetic hub relies on balancing functional utility with visual charm. Crafting unique decor pieces right in your own workspace infuses every corner with personal character. This comprehensive guide explores twenty gorgeous, cozy projects designed specifically for lower-level settings, complete with step-by-step instructions, essential tips, and creative variations.
1. Chunky Knit Merino Wool Throw Blanket
Building a cozy environment starts with tactile comfort, and an oversized knit blanket provides instant warmth. Using ultra-thick merino wool roving, this project requires no knitting needles, relying entirely on hand-looping techniques that yield a lavish, high-end look draped over a studio chair or sofa.
- How to Make It: Lay a 5-pound bundle of unspun merino wool roving out on a large flat surface. Measure out a foundation chain of about 25 loops, keeping each loop roughly three inches in diameter. Work your way back across the foundation chain by pulling new loops through the existing ones from back to front. Maintain uniform tension throughout to ensure the weave stays even. Once you reach the end of your roving, secure the final tail by weaving it tightly through the edge stitches on the reverse side.
- Tips: Secure the cut ends of the roving with a light felting technique using warm water and mild soap if they tend to fray, though raw merino typically grips itself well. Keep pets away from the workspace while working, as loose fibers attract curious paws.
- Variations: Experiment with a two-tone ombre effect by splicing two different colored rovings together midway through the project, or try a tighter basketweave pattern by alternating loop directions on every other row.

2. Pressed Botanical Floating Glass Frames
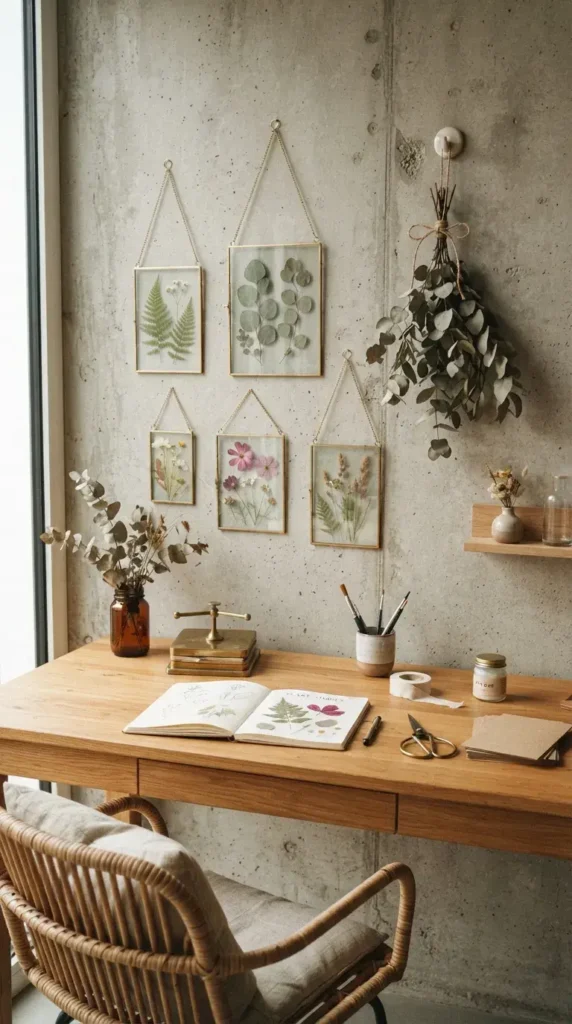
Bringing organic elements indoors softens the heavy architecture often found in subterranean rooms. Preserving dried ferns, wildflowers, and eucalyptus leaves between two panes of brass-edged glass creates an ethereal wall hanging that catches the ambient lighting beautifully.
- How to Make It: Collect flat, delicate leaves and flowers, pressing them inside a heavy book for at least two weeks until completely dry. Open a double-paned brass floating frame and wipe the interior glass clean of any dust or fingerprints using a microfiber cloth. Arrange your dried botanicals artistically across the bottom glass pane, securing tiny shifting elements with a microscopic dot of clear-drying archival glue. Carefully lower the top pane into place, snap or screw the frame shut, and suspend it using a heavy velvet ribbon.
- Tips: Choose vibrant green ferns or deeply colored autumn leaves, as pale white flowers tend to fade and disappear against light-colored walls. Always handle dried specimens with tweezers to prevent tearing fragile plant cells.
- Variations: Create a multi-panel gallery wall featuring sequential phases of a single plant’s growth cycle, or substitute pressed leaves with vintage botanical book illustrations for a mixed-media presentation.
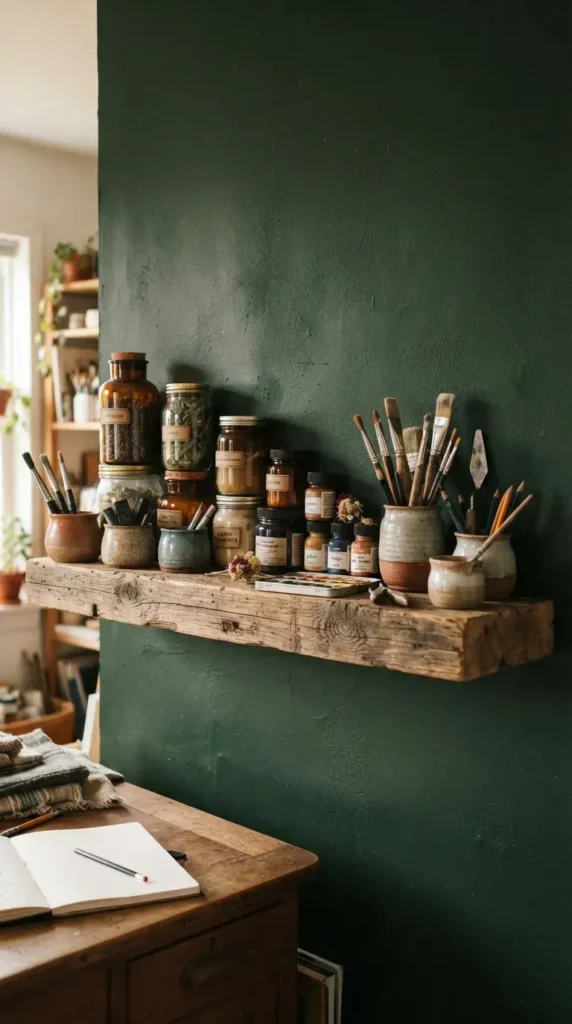
3. Rustic Reclaimed Wood Floating Shelves
Storage solutions in a creative space need to be both practical and visually striking. Installing thick, reclaimed timber planks with heavy-duty hidden brackets offers sturdy display space for mason jars, paint supplies, and finished handmade goods.
- How to Make It: Source a weathered scaffold board or barn wood beam, cutting it down to your desired length using a miter saw. Sand the wood thoroughly, starting with 80-grit sandpaper to remove splinters and finishing with 220-grit for a silky-smooth tactile feel. Apply a matte, non-yellowing polyurethane or natural beeswax finish to seal the grain and highlight the unique knots and weathering. Install heavy-duty blind shelf supports directly into wall studs, slide the pre-drilled timber planks onto the rods, and lock them securely in place with set screws.
- Tips: Clean the wood thoroughly with a wire brush and a vinegar solution to eliminate any lingering dust or debris before applying your protective finish. Ensure your wall brackets are anchored into wooden studs rather than just drywall to support heavy ceramic and glass storage jars.
- Variations: Char the surface of the timber using a Japanese Shou Sugi Ban technique for a dramatic, charcoal-toned aesthetic, or mount wrought-iron L-brackets underneath for an industrial loft vibe.
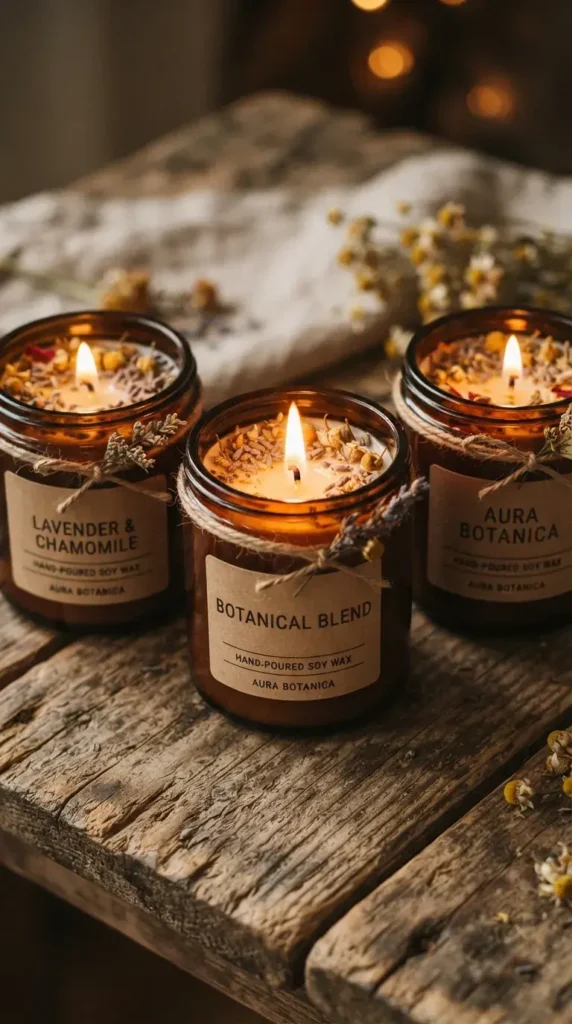
4. Hand-Poured Soy Wax Botanical Candles
Lighting sets the mood in any subterranean sanctuary. Crafting slow-burning soy candles infused with calming essential oils and topped with dried lavender buds and chamomile flowers brings a spa-like tranquility to your workspace.
- How to Make It: Melt pure soy wax flakes in a double boiler over medium-low heat until completely liquefied, monitoring the temperature with a candy thermometer until it reaches 185°F. Stir in thirty drops of your favorite essential oil blend, such as cedarwood and sweet orange, ensuring the fragrance oil binds thoroughly with the warm wax. Secure a cotton or wooden wick to the bottom of a clean amber glass jar using a glue dot, and pour the melted wax gently into the vessel at around 135°F. Sprinkle dried flower petals across the surface just as the wax begins to turn opaque.
- Tips: Allow your candles to cure undisturbed in a room-temperature environment for at least 48 hours before lighting to ensure optimal scent throw and an even burn pool. Trim the wick to one-quarter inch before every burn to prevent smoking.
- Variations: Pour the wax into vintage ceramic tea cups or concrete vessels you cast yourself, or mix in natural mica powder for a subtle shimmer effect when the candle is lit.
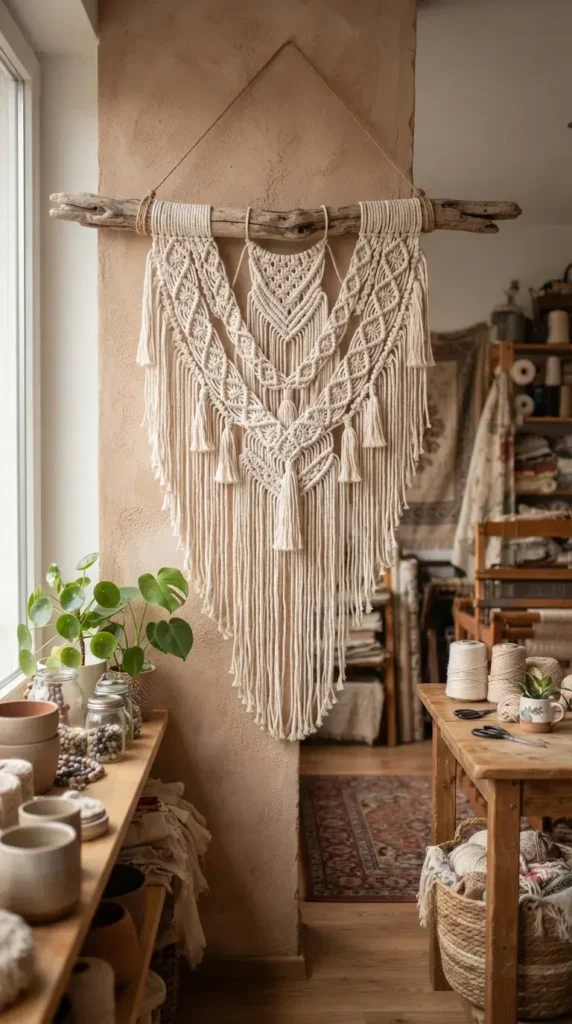
5. Macrame Wall Hanging with Driftwood
Adding vertical textile art introduces necessary acoustic absorption and rich bohemian texture to flat, concrete foundation walls. A large-scale macrame piece tied onto a weathered piece of shoreline driftwood anchors a room with organic grace.
- How to Make It: Cut thirty strands of four-millimeter cotton cord, each measuring twelve feet long, and attach them securely to a three-foot length of cleaned driftwood using standard lark’s head knots. Working from the center outward, tie alternating rows of square knots and diagonal double half-hitch knots to build a geometric diamond pattern. Comb out the lower fringe sections using a fine-tooth pet slicker brush to create a soft, voluminous tassel effect at the base. Trim the bottom edge evenly with sharp fabric shears into a sweeping V-shape.
- Tips: Tape the ends of your cotton cords with masking tape before starting to prevent them from fraying and unraveling while you handle complex knot sequences. Hang the driftwood from the wall using heavy-duty monofilament line so the art appears to float effortlessly.
- Variations: Dip-dye the bottom fringe in a warm terracotta or sage green fabric dye bath for an ombre color transition, or incorporate raw brass geometric rings into the knotwork.
6. Concrete Terrazzo Trinket Trays
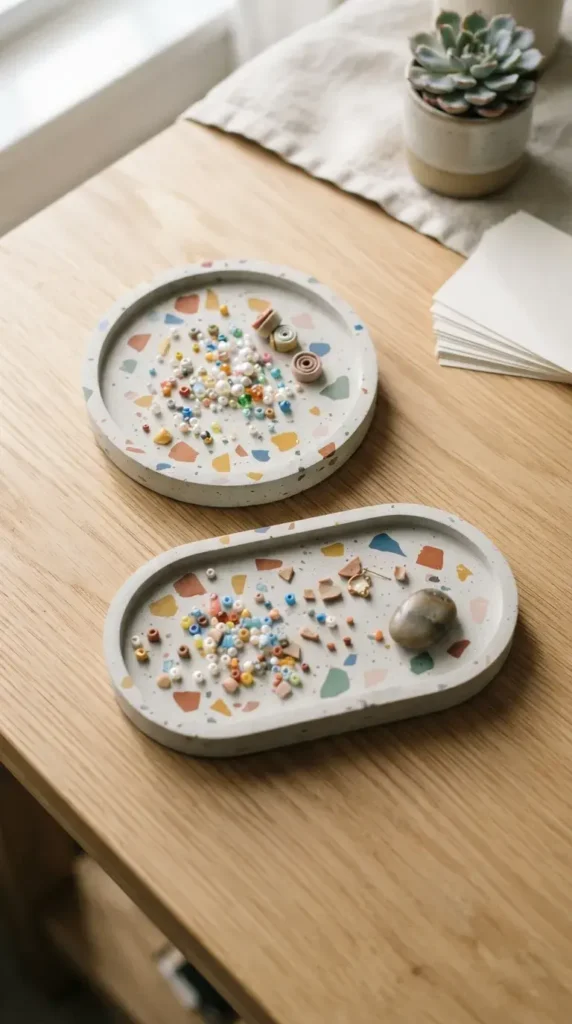
Organizing tiny crafting supplies like jump rings, beads, and needles requires stylish catch-all dishes. Casting custom terrazzo trays using quick-setting concrete mixed with colorful pigment chips produces chic, modern accessories that look high-end.
- How to Make It: Mix fine-grade casting cement with water in a silicone mixing cup until it reaches a thick, pourable pancake-batter consistency. Stir in small shards of colored polymer clay or broken stained glass chips to create the classic terrazzo speckle pattern. Pour the grey or white cement mixture into a silicone tray mold, tapping the sides gently to release any trapped air bubbles that could cause surface pits. Let the mold cure for 24 hours in a warm, dry area before carefully demolding your tray and sanding the edges smooth with wet sandpaper.
- Tips: Seal the cured concrete surface with a food-safe, non-porous sealer to prevent staining from paints, oils, or inks used during your crafting sessions. Wear a dust mask when sanding the dry concrete to protect your respiratory system.
- Variations: Tint the base concrete mix with black or terracotta liquid pigment before adding the chips for a dramatic dark-stone effect, or press a gold leaf sheet onto the dry rim using sizing adhesive.

7. Punch Needle Embroidered Pillow Covers
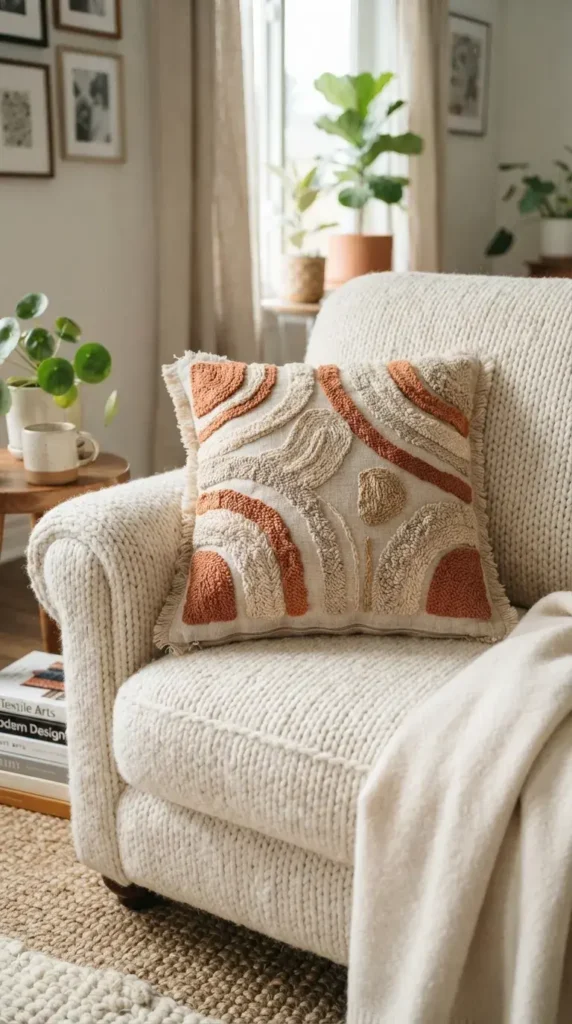
Textured accents make seating areas infinitely more inviting. Punch needle embroidery allows you to create dense, plush loops of colorful yarn that form tactile geometric patterns across heavy linen pillow covers.
- How to Make It: Stretch a heavy piece of monk’s cloth tightly across a sturdy wooden gripper frame, ensuring the fabric drum-tight. Trace a modern minimalist arc or abstract line design onto the cloth using a water-soluble fabric pen. Thread your adjustable punch needle tool with multi-colored wool yarn, push the needle fully down through the fabric, and bring it back up to the surface just grazing the weave. Work your way across the design in closely packed rows, creating a continuous field of looped pile on one side. Apply a thin layer of fabric glue across the backside stitches to lock them permanently in place, then sew the finished panel to a linen backing.
- Tips: Keep your working yarn loose and slack between the yarn feeder and the needle tip to prevent accidental pulling and uneven loop heights. Always punch from the front side of the design if you prefer flat stitches, or the back side if you love the fluffy loop texture.
- Variations: Combine flat embroidery stitches with punch needle loops for added dimension, or create an oversized floor cushion cover using heavy-duty upholstery yarn.
8. Pressed Flower Resin Coasters
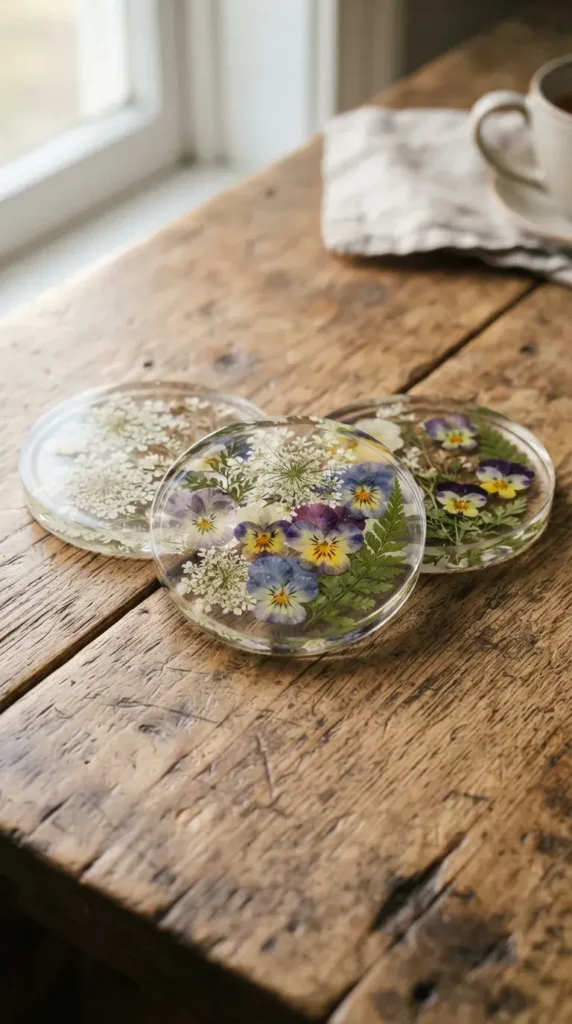
Protecting your work surfaces while keeping nature close at hand is effortless with custom coasters. Encapsulating tiny blooms inside crystal-clear casting epoxy creates durable, glossy drink mats that double as miniature art pieces.
- How to Make It: Mix equal parts liquid epoxy resin and hardener thoroughly in a silicone cup for at least three minutes, scraping the sides to ensure complete chemical activation. Pour a thin base layer of clear resin into a round silicone coaster mold and pop any surface bubbles using a culinary micro-torch. Arrange delicate dried pansies and lace flowers face down into the wet resin using fine tweezers. Allow this layer to set for six hours until tacky, then pour a final clear top layer to completely submerge the botanicals and level out the surface.
- Tips: Work in a well-ventilated area and wear nitrile gloves to avoid skin contact with uncured epoxy resin. Keep your workspace dust-free by placing an inverted cardboard box over the curing molds to protect the glossy finish from settling particles.
- Variations: Add a dash of fine gold leaf flakes into the resin mix alongside the flowers, or use hexagonal molds instead of standard rounds for a contemporary geometric silhouette.
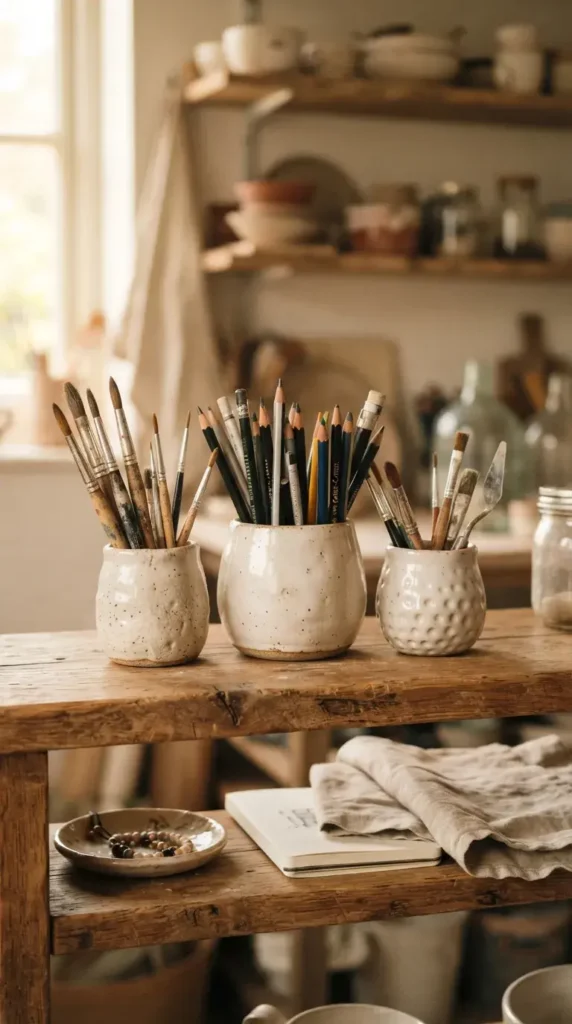
9. Ceramic-Look Air-Dry Clay Pinch Pots
Sculpting without a kiln is entirely achievable with high-quality air-dry clay. Shaping small, organic pinch pots for holding paintbrushes, paperclips, or jewelry adds an artisanal, wabi-sabi charm to your studio shelves.
- How to Make It: Roll a handful of air-dry clay between your palms until it forms a smooth, crack-free sphere. Press your thumb firmly into the center of the ball without pushing all the way through to the bottom. Pinch the clay walls gently between your thumb and fingers, rotating the sphere continuously while working upward from the base to thin the walls evenly. Smooth the surface using a damp sponge to erase any fingerprints or cracks. Let the pot dry slowly under an inverted plastic container for three days to prevent warping, then seal it with a coat of matte acrylic varnish.
- Tips: Keep a small bowl of clean water nearby to frequently moisten your fingertips, as dry clay will quickly crack and tear while you work. Press dried plant stems or lace patterns into the wet clay surface to imprint organic textures before it dries.
- Variations: Paint the cured vessel with a faux-terracotta or chalky plaster finish, or wrap the rim with fine leather cording secured with non-toxic craft glue.
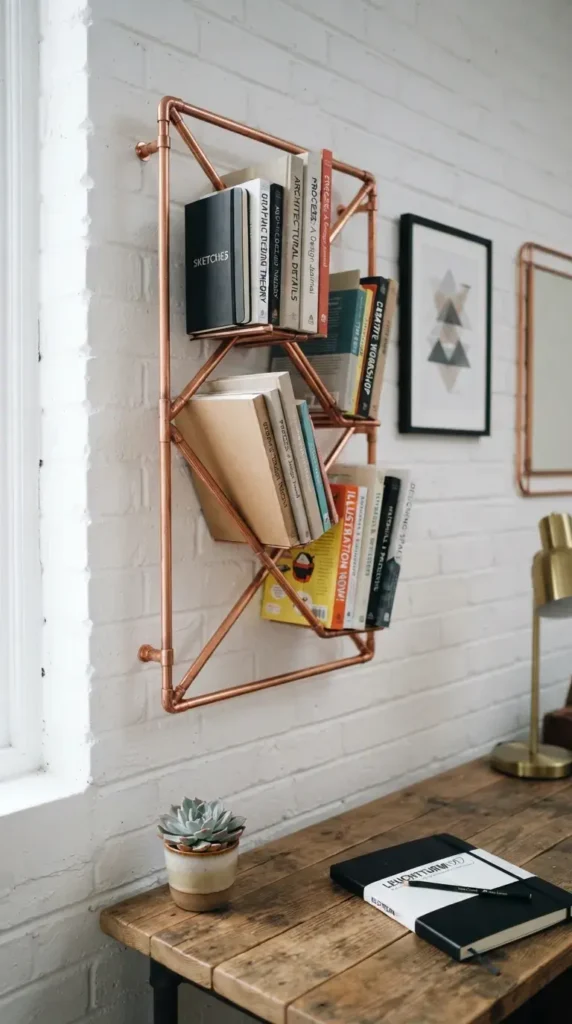
10. Copper Pipe Geometric Magazine Rack
Keeping reference books, sketchbooks, and magazines tidy without resorting to plastic bins elevates the entire aesthetic of a reading nook. Constructing a sleek rack from polished copper plumbing pipes and fittings provides modern industrial flair.
- How to Make It: Measure and cut half-inch copper pipes to your desired dimensions using a rotary pipe cutter, wiping away any metal shavings with a rag. Clean the inner edges of your copper T-fittings and elbow joints with fine steel wool. Dry-fit the entire geometric frame together to check for stability and balance, then secure the joints permanently using a few drops of industrial-grade metal adhesive inside each fitting. Wrap a sling of heavy canvas or distressed leather around the lower base bars, securing the fabric ends with copper Chicago screws.
- Tips: Polish the copper pipes with fine steel wool and a commercial metal cleaner before assembly to remove factory stamps and achieve a brilliant, mirror-like shine. Wear work gloves when cutting metal to prevent accidental nicks from sharp burrs.
- Variations: Leave the copper unsealed so it develops a gorgeous, dark natural patina over time, or spray-paint the entire assembly matte black for a sleek, minimalist iron look.
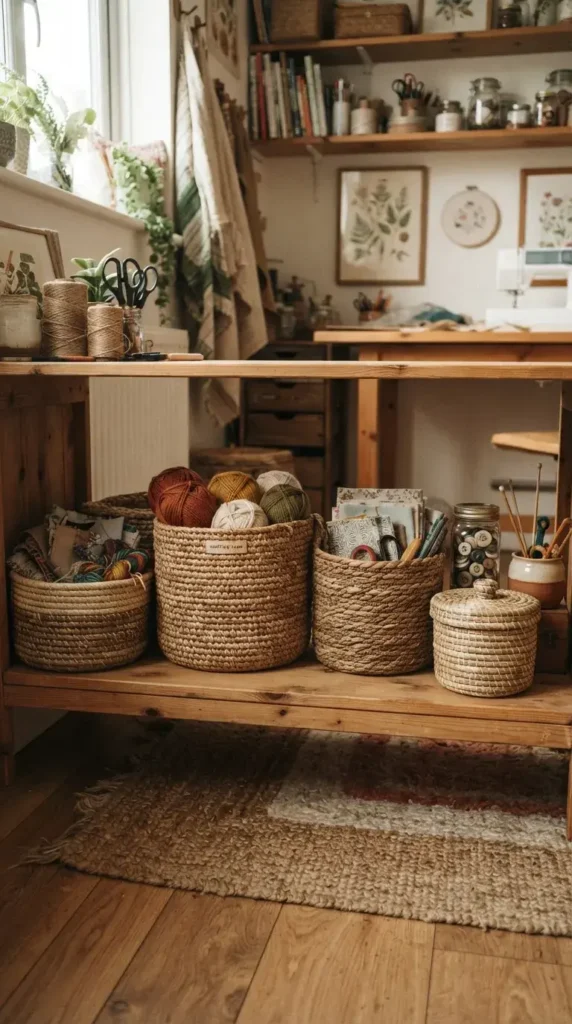
11. Woven Raffia Storage Baskets
Concealing messy craft supplies while maintaining a natural, organic look calls for handmade storage. Wrapping flexible coiled cotton rope and winding colorful raffia around it yields sturdy, textured baskets with beautiful earthy tones.
- How to Make It: Take a thick length of natural cotton clothesline and wrap the starting end tightly with colorful raffia ribbon to form a small, flat disc coil. Secure the center coil with tight blanket stitches using a blunt tapestry needle threaded with more raffia. Continue wrapping the rope in expanding circles, stitching each new row securely to the previous row as you build upward to form the walls of the basket. Shape the sides outward slightly for a traditional belly-basket silhouette, and finish by anchoring the end of the rope neatly beneath the final row of stitching.
- Tips: Keep your stitching tension uniform throughout the entire process to prevent the basket from leaning or developing lopsided walls. Mix natural tan raffia with muted olive green or rust tones for a sophisticated, grounded palette.
- Variations: Add integrated fabric handles on opposing sides for easy carrying, or weave a contrasting geometric stripe pattern into the upper third of the basket walls.
12. Abstract Textured Canvas Art
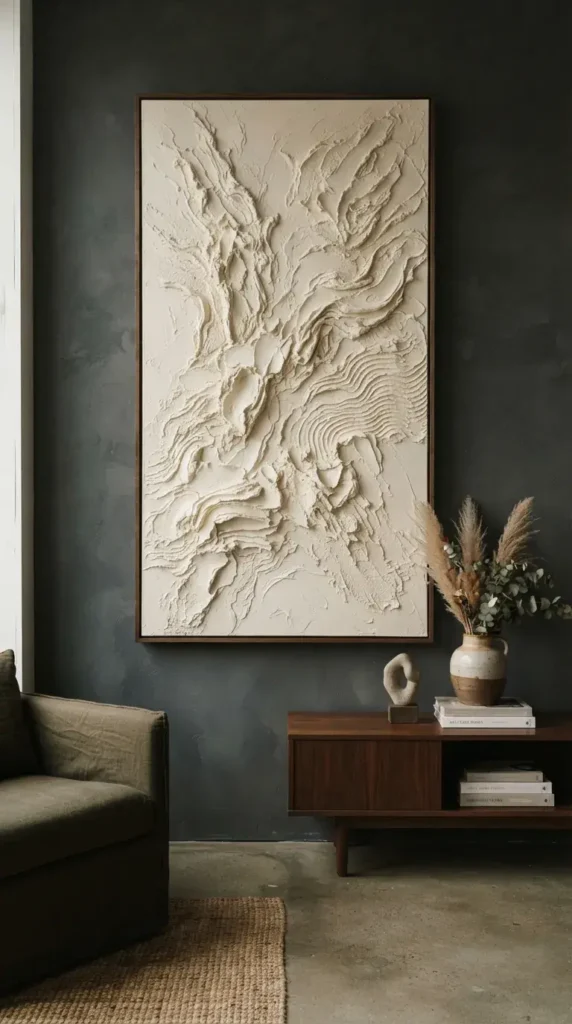
Blank walls in a lower-level room can feel cavernous and stark. Creating large-scale, tactile abstract art using heavy modeling paste applied with palette knives brings incredible depth and architectural interest to your space.
- How to Make It: Lay a large stretched cotton canvas flat across your work table. Scoop up thick dollops of heavy acrylic modeling paste with a metal palette knife and sweep it across the canvas surface in sweeping, sculptural strokes. Create dramatic ridges, peaks, and circular movements to build dynamic physical relief. Allow the paste to dry completely for 24 hours until it hardens into a stark white stone-like texture. Mix acrylic paints with a glazing medium to achieve a soft, monochromatic cream or warm taupe wash, and brush it lightly over the raised ridges to accentuate the depth.
- Tips: Work quickly while the modeling paste is wet, but don’t be afraid to scrape away sections and restart if you don’t love the composition on your first pass. Protect your work surface thoroughly with plastic sheeting, as paste splatters easily.
- Variations: Press coarse burlap fabric or heavy twine into the wet modeling paste for additional embedded tactile patterns before painting over the entire dried piece.
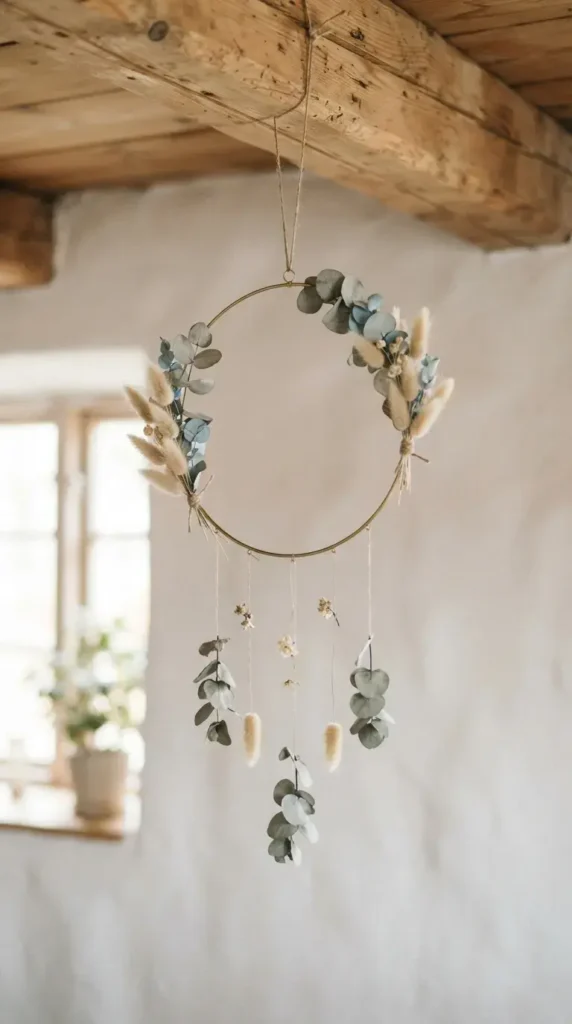
13. Minimalist Brass Hoop Floral Mobiles
Adding delicate motion and floating greenery overhead draws the eye upward and makes low ceilings feel taller. Suspending eucalyptus sprigs and dried florals from a simple brass craft hoop creates a stunning kinetic sculpture.
- How to Make It: Suspend a twelve-inch brass floral ring from a ceiling hook using fine invisible nylon monofilament line. Wire sprigs of preserved eucalyptus and dried bunny tails securely to the lower half of the hoop using thin green floral wire. Cut three equal lengths of metallic gold cord, tie them at balanced intervals around the upper circumference of the ring, and gather them at a central brass hanging ring. Adjust the overall balance so the hoop hangs level and turns gently with the natural air currents in the room.
- Tips: Balance the weight of your botanical arrangements carefully so the ring doesn’t tilt awkwardly to one side when suspended. Use preserved botanicals rather than fresh greens so they dry gracefully in place without dropping leaves onto your workspace.
- Variations: Hang small geometric brass prisms or quartz crystal points from the center of the hoop so they catch and refract passing light rays.
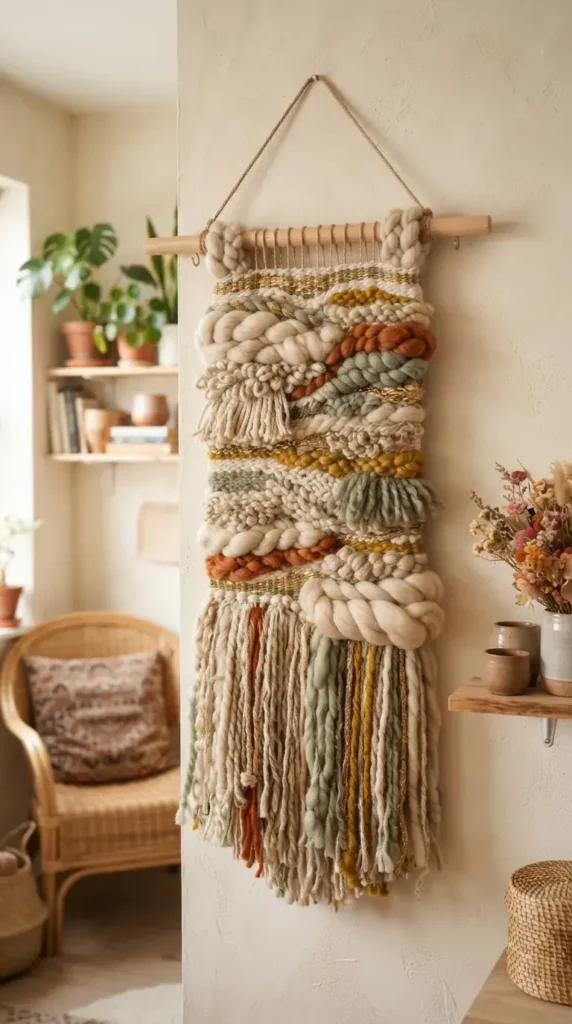
14. Hand-Woven Tapestry Wall Hanging
Introducing varied textile weaves adds profound warmth to a craft room. Setting up a wooden lap loom and weaving a tapestry using unspun wool roving, textured yarns, and metallic threads creates a stunning focal point.
- How to Make It: Warp a wooden lap loom by stringing strong cotton warp thread vertically across the frame, maintaining high tension. Weave your shuttle carrying thick wool roving horizontally across the warp threads, alternating over-and-under patterns from left to right. Pack the rows down firmly with a wooden weaving comb as you go to create a dense, luxurious texture. Incorporate rya knots to create plush tufted sections, and weave in metallic gold threads for subtle pops of shimmer. Once finished, remove the tapestry from the loom and secure the hanging loops over a smooth wooden dowel.
- Tips: Leave your warp threads slightly relaxed at the salvage edges so your tapestry doesn’t pull inward and distort into an hourglass shape. Experiment with playful Soumak weaves to create raised, braided horizontal ridges.
- Variations: Leave long, undulating warp threads hanging freely at the base of the tapestry for an organic, unfinished fringe effect, or trim the base into a sharp, pointed chevron shape.
15. Upcycled Amber Glass Apothecary Jars
Organizing brushes, buttons, and sewing notions looks infinitely better when utilizing vintage-style containers. Transforming standard glass bottles and jars into classic apothecary vessels with homemade chalkboard labels elevates mundane supplies.
- How to Make It: Clean old glass kombucha bottles or food jars thoroughly in hot soapy water and peel away all paper adhesive labels. Wipe the dry glass surface with rubbing alcohol to remove any lingering grease or residue. Cut out custom vintage-shaped labels from matte black cardstock or self-adhesive vinyl sheets using craft scissors. Write descriptive labels such as “Wooden Buttons” or “Fine Brushes” across the black label using a white liquid chalk marker in neat script. Adhere the labels securely to the front of each glass jar and top with a cork stopper or wooden lid.
- Tips: Bake the glass jars in a warm oven at 200°F for ten minutes before labeling to ensure the surface is completely bone-dry and oil-free for maximum label adhesion.
- Variations: Tint the interior of clear glass jars by swirling a few drops of alcohol ink and transparent glass paint inside, or wrap jute twine around the bottle necks in a neat fisherman’s knot.
16. Felt Ball Garland with Wooden Beads
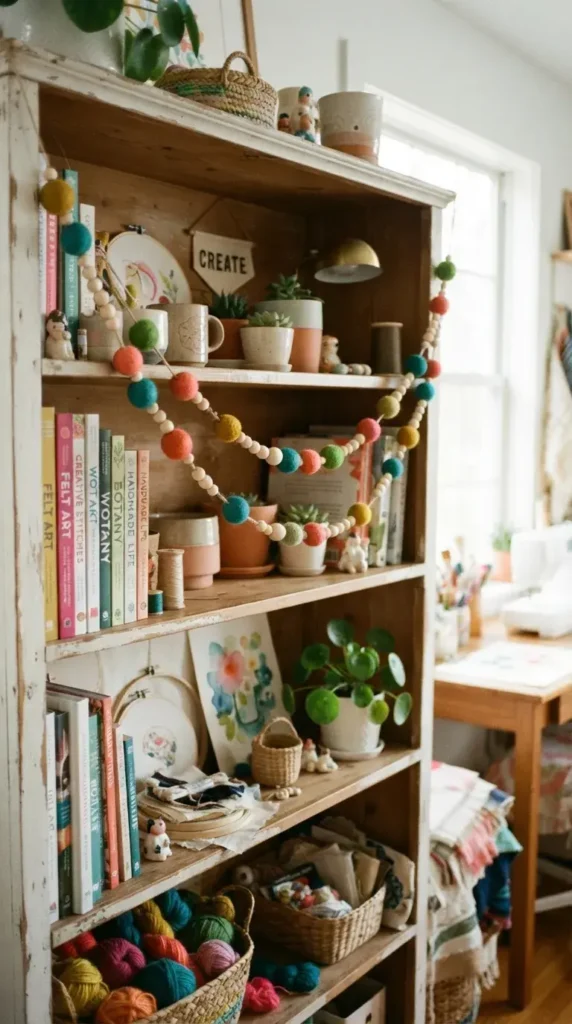
Injecting a playful, whimsical touch into a creative studio warms up utilitarian shelving units and blank window frames. Stringing handmade wool felt balls and natural wood beads together creates a charming, colorful garland.
- How to Make It: Thread a large upholstery needle with thick waxed cotton cord, leaving a six-inch tail at the starting end for hanging. Pierce the needle through the center of a brightly colored wool felt ball, pulling the cord all the way through until a knot at the end secures it. Alternate threading a natural unpolished wooden bead followed by a felt ball, repeating the sequence until the garland reaches your desired length. Secure the final bead with a tight double knot and trim the excess cord neatly. Drape the finished garland loosely across a corkboard, mirror, or bookshelf edge.
- Tips: Dab a tiny drop of craft glue onto the cord just before sliding each felt ball into place to prevent them from sliding out of position over time. Mix custom color palettes like mustard, terracotta, sage, and cream to match your interior scheme.
- Variations: Insert handmade pom-poms or tiny brass bells between the felt balls for added tactile and auditory interest, or create a mini seasonal version featuring pumpkins for autumn and stars for winter.
17. Rustic Wooden Peg Rail Organizer
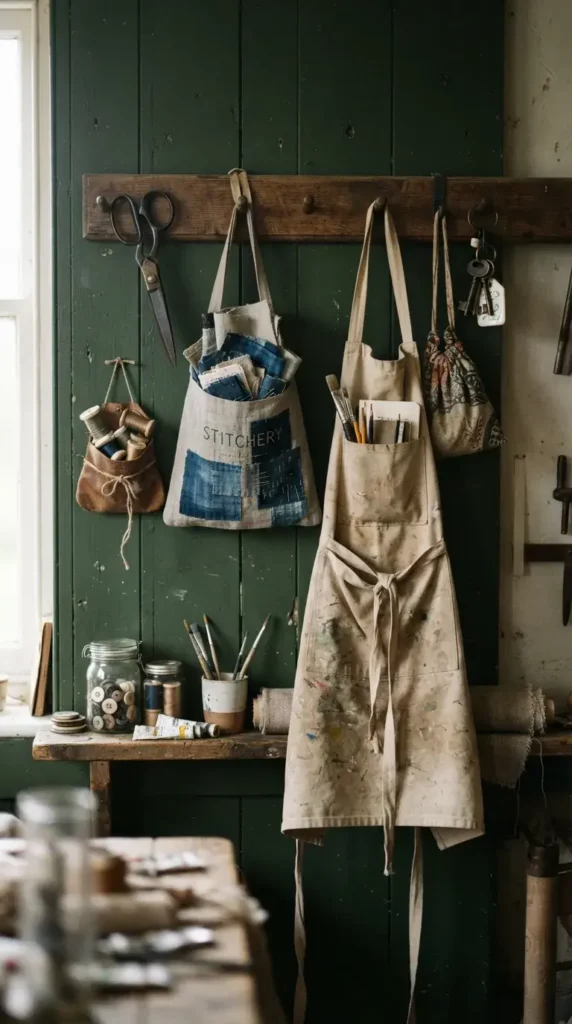
Wall space is prime real estate in any compact creative nook. Building a classic Shaker-style peg rail from a clean pine board and turned wooden pegs provides endless hanging spots for scissors, aprons, and tool pouches.
- How to Make It: Cut a one-by-four pine board to fit the exact width of your designated wall space using a circular saw. Sand the board thoroughly and pre-drill holes evenly spaced every eight inches along the center line. Apply a generous drop of wood glue into each pre-drilled hole and tap pre-turned wooden shaker pegs firmly into place with a rubber mallet. Mount the finished peg rail directly into your wall studs using countersunk wood screws, and conceal the screw heads with matching wooden button plugs. Paint the entire rail in a moody, rich heritage color like deep forest green or charcoal grey.
- Tips: Ensure your peg rail is mounted at a comfortable ergonomic height so you can easily reach frequently used items while standing or sitting at your work table. Prime the raw pine thoroughly before painting to prevent wood knots from bleeding through your topcoat.
- Variations: Hang miniature galvanized metal buckets from select pegs to hold pencils and paintbrushes, or drape leather tool rolls across the pegs for easy grab-and-go convenience.
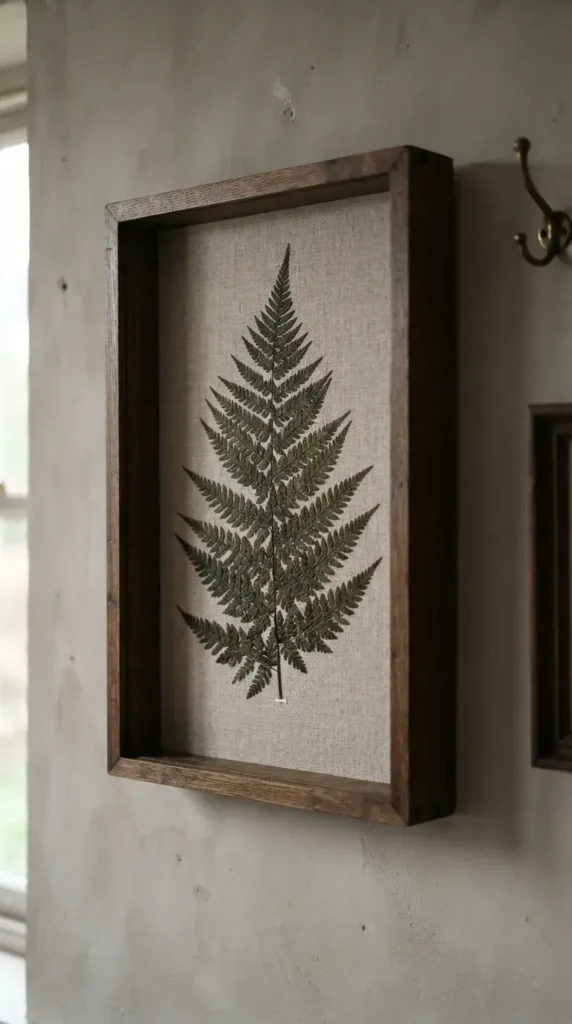
18. Pressed Fern Botanical Shadow Boxes
Deep display frames give artwork physical presence and shadow depth. Mounting preserved giant fern fronds against crisp linen backgrounds inside deep wooden shadow boxes brings timeless botanical elegance to bare walls.
- How to Make It: Open the back of a deep wooden shadow box frame and remove the glass panel. Cut a piece of natural raw linen fabric to fit snugly against the interior backing board, securing the edges tightly on the reverse side with heavy-duty staples. Arrange a large, perfectly pressed fern frond centrally over the linen background, anchoring the stem invisibly with tiny dabs of clear-drying craft adhesive. Place the glass back into position, seal the frame securely, and hang it on the wall using heavy-duty picture-hanging wire.
- Tips: Wear clean cotton gloves when handling the interior glass and fabric to prevent transferring natural skin oils onto the delicate display materials. Group three shadow boxes together in a neat vertical stack for a powerful gallery statement.
- Variations: Use dark charcoal-colored linen instead of natural beige for a dramatic, high-contrast modern aesthetic that makes green foliage pop brilliantly.
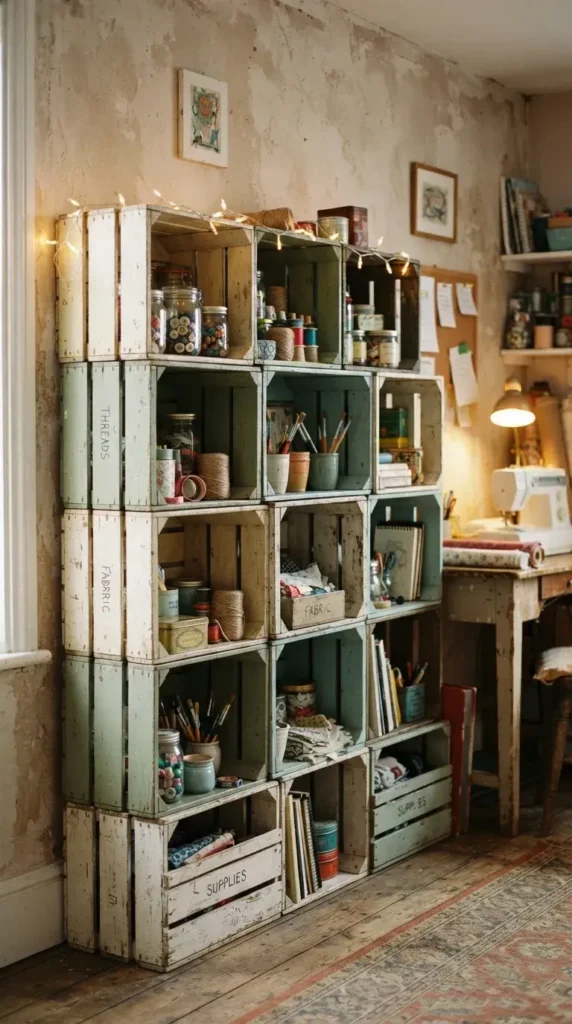
19. Distressed Chalk-Painted Storage Crates
Repurposing wooden fruit crates into modular storage cubbies maximizes vertical space while adding rustic texture. Applying layered chalk paint and distressing the edges gives brand-new wood an authentic, vintage patina.
- How to Make It: Sand down any rough splinters on a slatted wooden pine crate. Brush a base coat of dark charcoal chalk paint over the entire interior and exterior of the crate, and let it dry for one hour. Apply a top coat of soft antique white or warm cream chalk paint directly over the dark base. Once the top coat is dry to the touch, take a piece of fine-grit sandpaper and vigorously sand along the corners, edges, and high-wear areas to let the dark base coat peek through organically. Seal the distressed finish with a coat of clear soft furniture wax, buffing it to a soft matte sheen with a clean cloth.
- Tips: Rub a dry candle along the edges and corners of the crate after the dark base coat dries if you want the top coat to flake away even more easily during the distressing process. Stack multiple crates securely on their sides to build an open modular bookcase.
- Variations: Stencil vintage French typography or numerical identification numbers onto the front slat of each crate using a small stencil brush and black acrylic paint.
20. Macrame Plant Hanger with Ceramic Pot
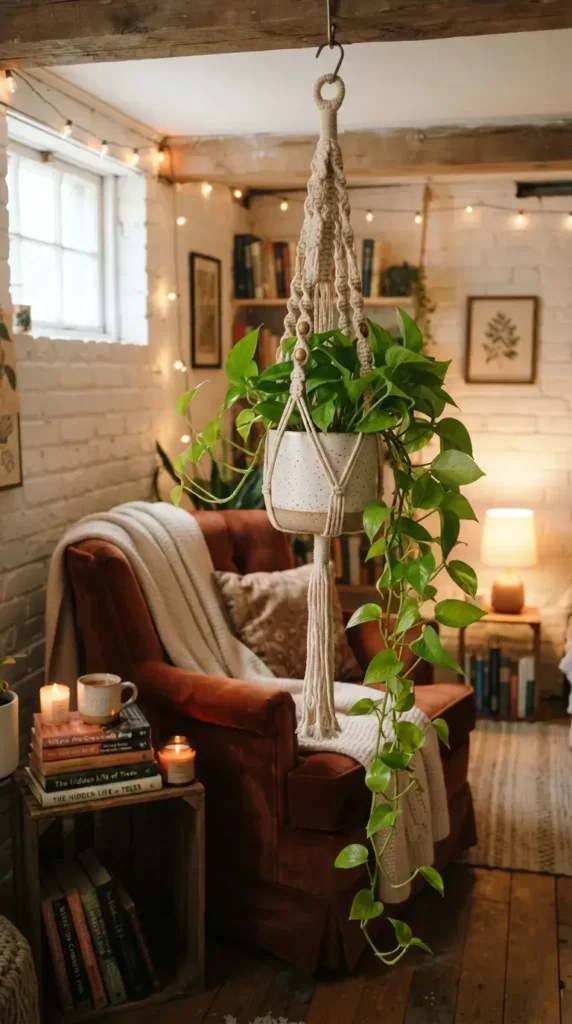
Utilizing vertical space for trailing plants softens hard corners and introduces vibrant living energy into lower-level rooms. Knotting sturdy cotton cord into a classic tiered plant hanger showcases your favorite trailing pothos or philodendron.
- How to Make It: Cut eight strands of four-millimeter cotton cord, each measuring ten feet long. Fold the strands in half and tie a secure gathering knot at the top loop to create a hanging loop. Divide the sixteen trailing cords into four groups of four. Tie a series of alternating square knots down each cord section for about twelve inches to form decorative columns. Gather all the cords together into a secure basket knot at the bottom to cradle a heavy ceramic plant pot, leaving a lush decorative tassel hanging below. Place a potted trailing plant inside the cradle and suspend it from a sturdy ceiling hook.
- Tips: Hang your plant near a high-output LED grow light if your subterranean space lacks sufficient natural sunlight, ensuring your trailing greenery thrives year-round. Always test the weight capacity of your ceiling anchor before loading the heavy ceramic pot into the finished hanger.
- Variations: Wrap the upper gathering knot with metallic copper wire for a refined industrial touch, or dye individual cord strands in a rich indigo vat before knotting for a stunning dip-dye gradient.