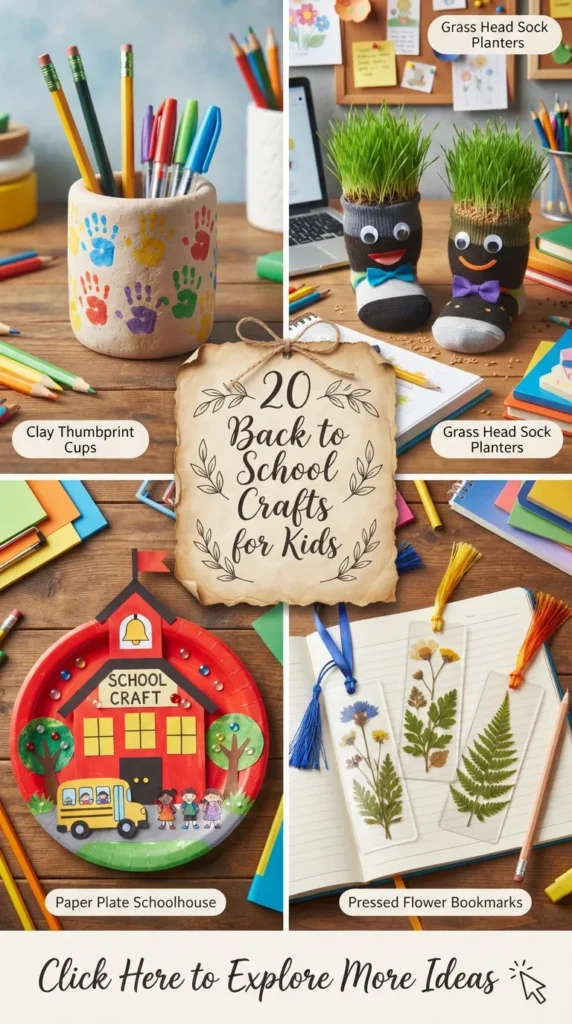
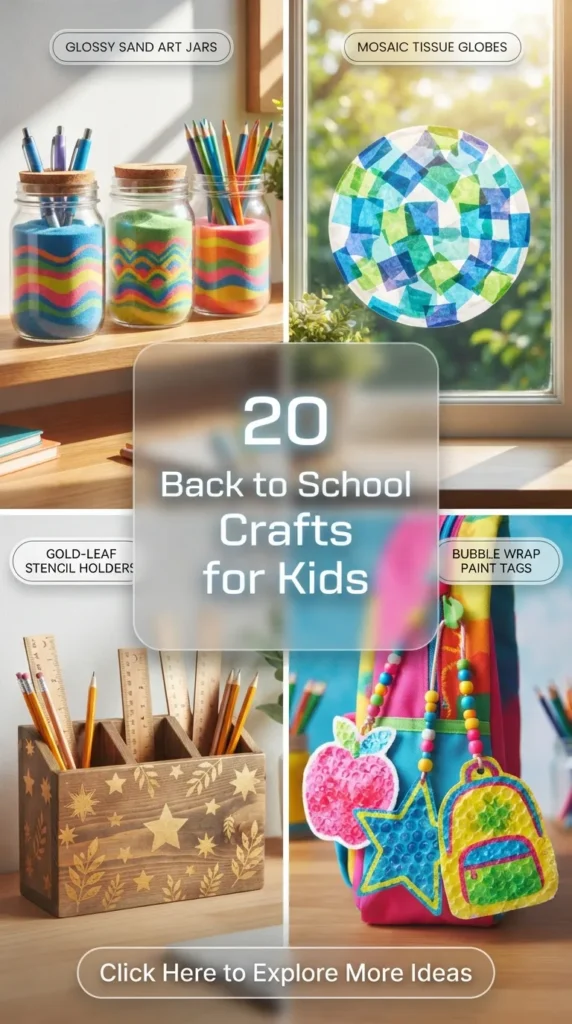
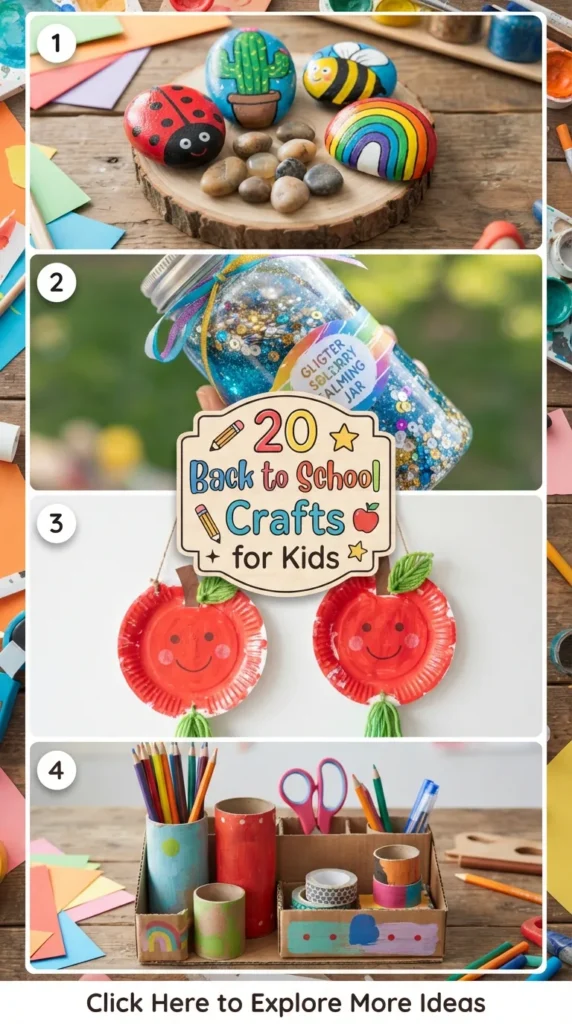
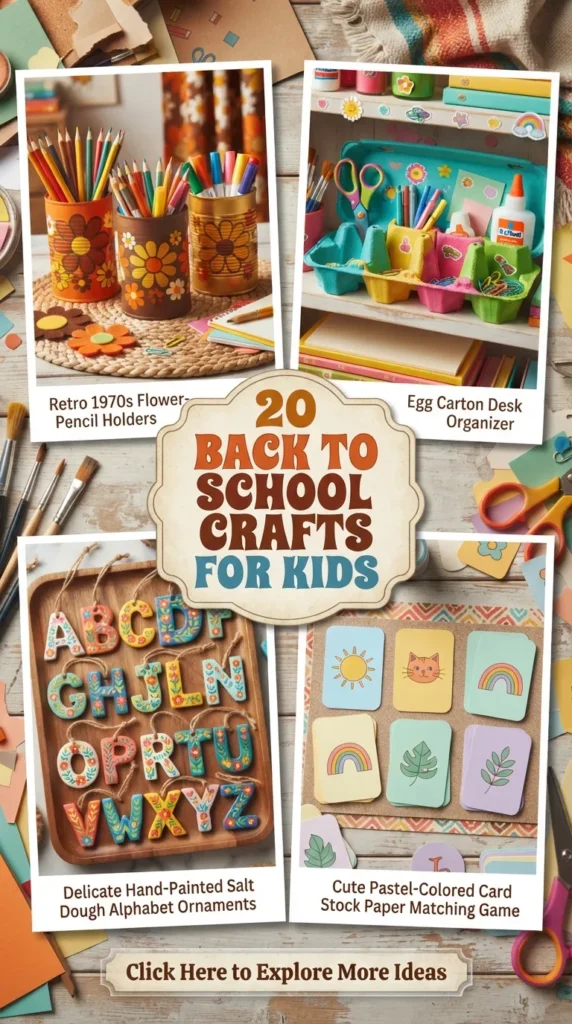
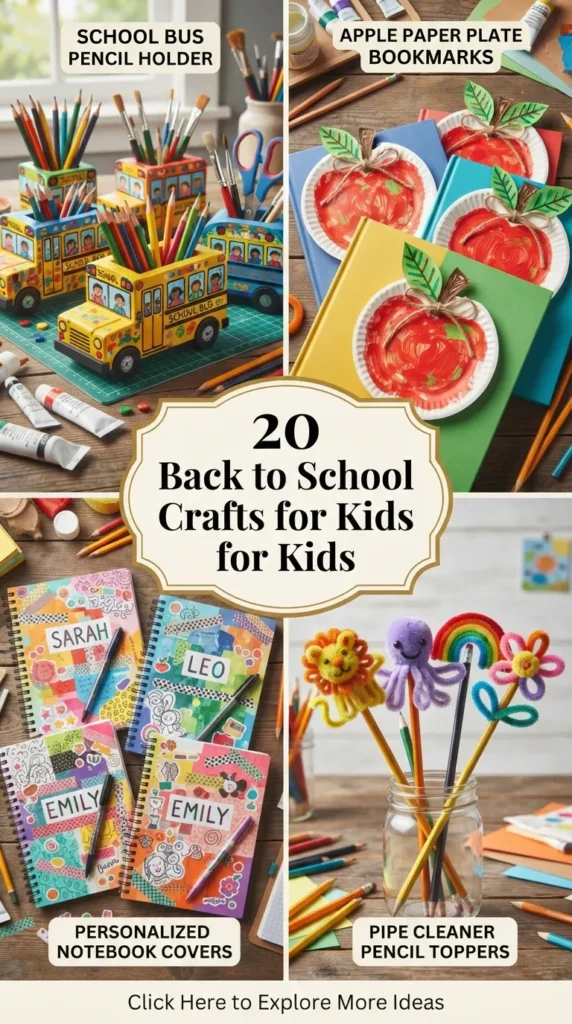
The transition back to school is a season filled with anticipation, fresh starts, and newfound routines. Crafting is one of the most effective and joyful ways to help children channel their back-to-school excitement, settle jitters, and build confidence before stepping back into the classroom. Engaging in hands-on DIY projects allows kids to express their unique personalities, organize their study spaces, and personalize their school supplies.
Whether you are looking for clever desk organization ideas, charming teacher gifts, or creative ways to customize backpacks and notebooks, this collection of 20 Back to School Crafts for Kids offers practical, colorful, and Pinterest-worthy projects for every young artist.
1. Personalized Painted Wooden Pencil Holders
Introduction
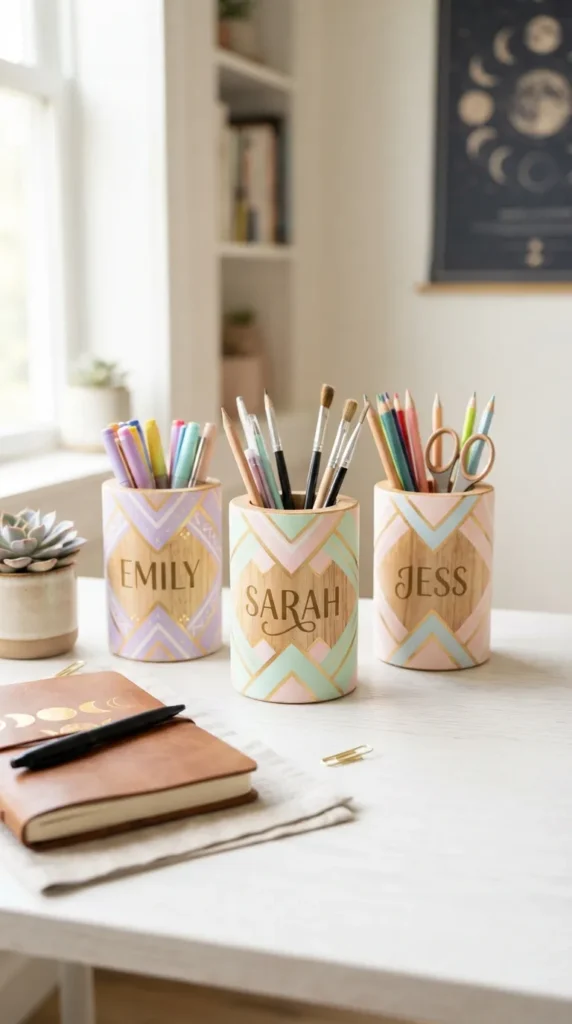
A clean desk creates an inviting environment for homework and study time. Painted wooden pencil holders give kids a bright, structured container to store their favorite writing utensils while adding a personal pop of color to their study space.
What This Idea Means
This project transforms a basic wooden block or container into an eye-catching desk centerpiece. It teaches children how to organize their tools while introducing foundational painting and patterning techniques.
Materials Needed
- Unfinished wooden pencil holder or wooden block with pre-drilled holes
- Acrylic paints in bright or pastel colors
- Painter’s tape or masking tape
- Paintbrushes (flat top and detail brushes)
- Clear acrylic sealer or Mod Podge
- Alphabet stickers or paint pens (optional)
How to Make It
- Sand any rough edges on the wooden holder to create a smooth canvas.
- Apply a base coat of white acrylic paint and let it dry completely.
- Use painter’s tape to mark off sharp geometric patterns, stripes, or color-blocked sections across the wood.
- Paint each section with contrasting bright colors, applying two coats for solid coverage.
- Peel off the tape gently while the paint is slightly tacky to reveal crisp lines.
- Use paint pens or alphabet stickers to add the child’s name or grade, then coat with clear sealer.
Tips and Variations
- Tip: Apply painter’s tape firmly along the edges using your fingernail to prevent paint from bleeding under the tape.
- Variation: Paint the holder using chalkboard paint so kids can write weekly goal quotes or subject reminders on the side with chalk.
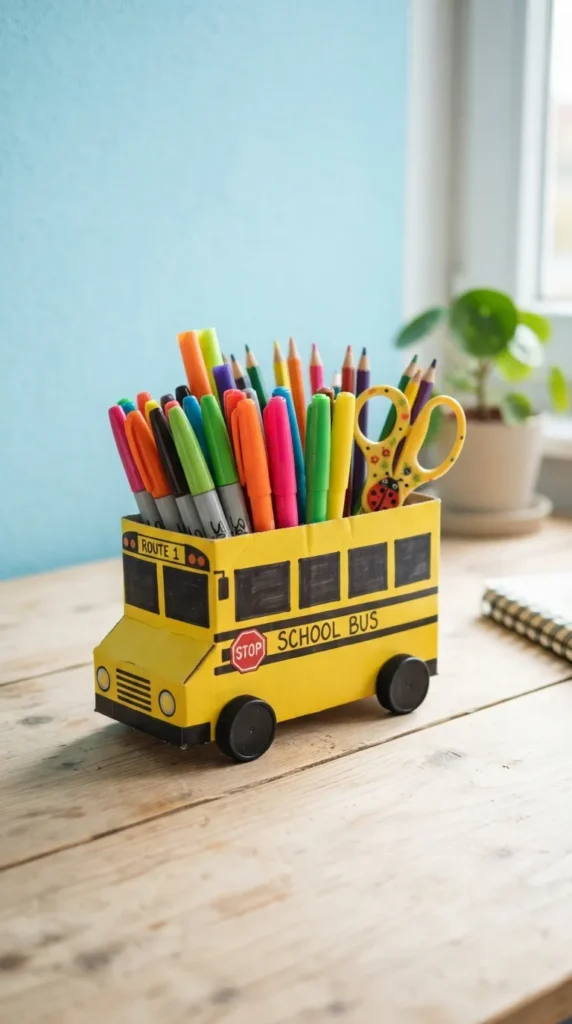
2. Upcycled Juice Carton School Bus Desk Organizer
Introduction
Recycling everyday household items into playful school-themed storage helps kids appreciate sustainability while crafting. This mini school bus organizer keeps scissors, markers, and glue sticks tidy and easily accessible.
What This Idea Means
Upcycling turns discarded materials into functional artwork. Creating a recognizable school icon like a yellow bus builds excitement for daily school commutes and classroom routines.
Materials Needed
- Empty, clean juice or milk carton
- Bright yellow acrylic paint or yellow construction paper
- Black cardstock or craft foam for wheels
- Silver, blue, and black markers
- Bottle caps (for headlights)
- Craft glue or low-temp hot glue gun with adult supervision
- Scissors or craft knife
How to Make It
- Cut off the top slanted portion of the clean juice carton to leave an open rectangular bin.
- Coat the outside of the carton with yellow acrylic paint or wrap it neatly in yellow paper.
- Cut four small black circles from cardstock or foam to create the bus wheels.
- Glue the wheels along the bottom sides of the carton.
- Draw rectangular windows, doors, and side stripes onto the bus using black and blue markers.
- Attach two yellow or silver bottle caps to the front as headlights and let the glue set completely.
Tips and Variations
- Tip: If painting directly onto a wax-coated carton, mix a drop of dish soap into your acrylic paint so it adheres smoothly without pooling.
- Variation: Divide the inside of the carton using pieces of cardboard to create separate compartments for pens, paperclips, and erasers.
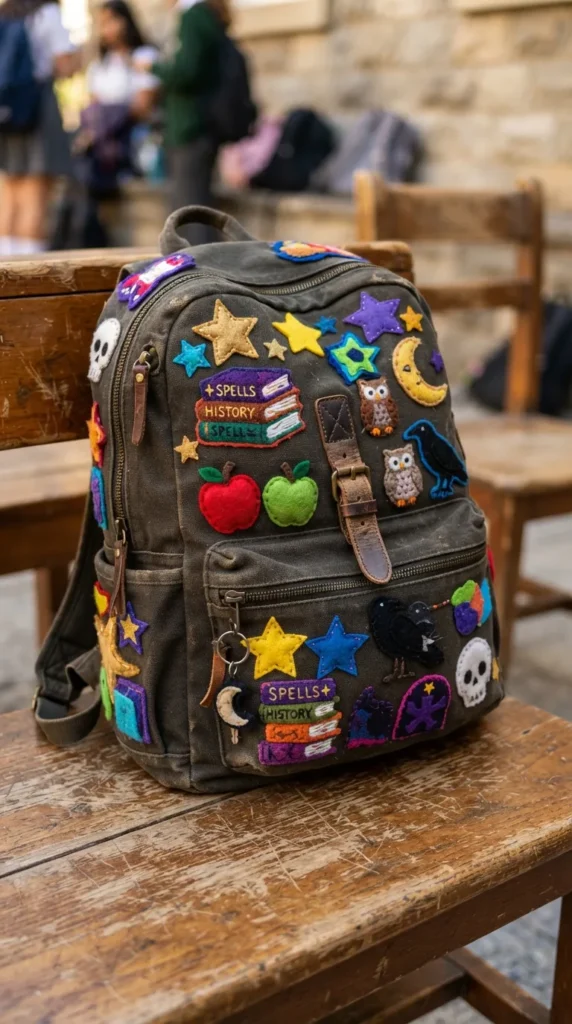
3. DIY Custom Fabric Patch Backpacks
Introduction
Backpacks are the ultimate back-to-school fashion statement. Designing custom fabric patches allows kids to transform a plain canvas backpack into a personalized showcase of their interests.
What This Idea Means
This project emphasizes self-expression and personal style. Instead of buying mass-produced designs, kids take pride in wearing their own wearable art on the school bus every day.
Materials Needed
- Plain canvas backpack or tote bag
- Felt sheets or sturdy cotton fabric scraps
- Fabric markers or fabric paint
- Heat-n-Bond or double-sided iron-on adhesive
- Fabric scissors
- Iron (to be operated by an adult)
How to Make It
- Sketch fun icons (stars, books, rainbows, apples, or initials) onto felt or fabric sheets.
- Color and detail the designs using vibrant fabric markers or paint pens.
- Carefully cut around the shapes using sharp fabric scissors.
- Cut matching pieces of iron-on adhesive backing and adhere them to the back of the patches according to package instructions.
- Arrange the patches on the front pocket or main panel of the canvas backpack.
- Have an adult press an iron over the patches for 10–15 seconds to bond them permanently to the bag.
Tips and Variations
- Tip: Place a piece of cardboard inside the backpack pocket while ironing to protect internal linings from heat damage.
- Variation: Use stick-on fabric gems, sequins, or embroidered patches alongside felt cutouts for added texture.
4. Playful Polymer Clay Pencil Toppers
Introduction
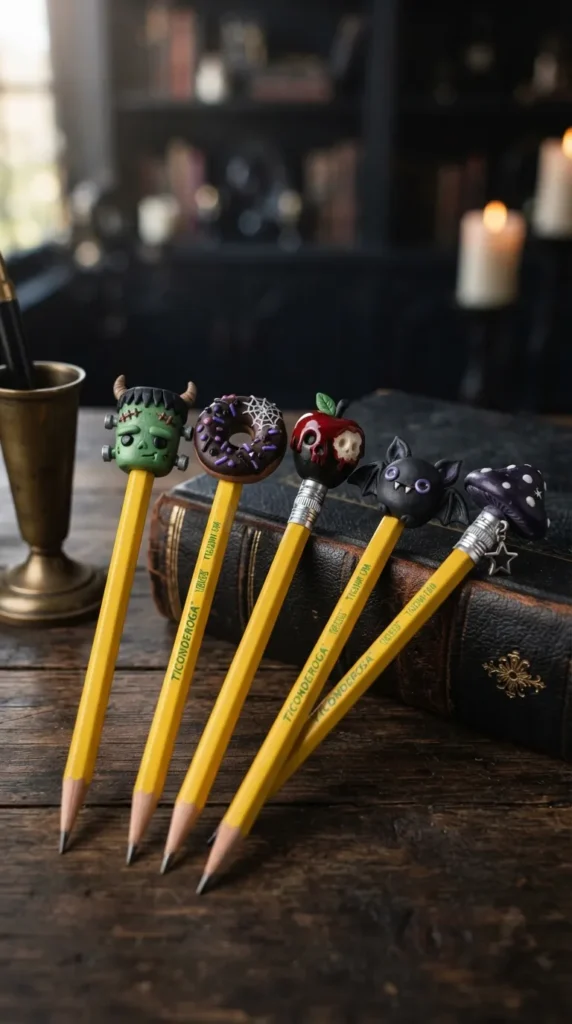
Add fun and creativity to every writing task with custom polymer clay pencil toppers. From cute animal faces to miniature fruits, these playful accents make taking notes engaging and fun.
What This Idea Means
Sculpting mini figures builds fine motor skills and spatial awareness. Turning ordinary yellow pencils into whimsical tools reduces writing fatigue and encourages kids to practice their penmanship.
Materials Needed
- Polymer clay in various vibrant colors
- Standard wooden pencils (unsharpened)
- Clay modeling tools or toothpicks
- Baking sheet and parchment paper
- Clear gloss glaze (optional)
How to Make It
- Condition small pieces of polymer clay by kneading them until soft and pliable.
- Shape a piece of clay into a base cylinder that fits snugly over the eraser end of an unsharpened pencil.
- Sculpt your chosen design (such as a teddy bear, pencil monster, donut, or apple) onto the top of the cylinder base.
- Gently remove the clay topper from the pencil so the internal hollow shape remains intact.
- Place the sculpted clay shapes onto a parchment-lined baking sheet.
- Bake in an oven according to clay package directions (typically 275°F / 135°C for 15 minutes). Let cool before sliding back onto pencils.
Tips and Variations
- Tip: Dust the pencil eraser with a tiny bit of cornstarch before molding the clay base to make sliding the uncured topper off effortless.
- Variation: Incorporate glow-in-the-dark polymer clay details for fun visual effects during storytime or homework sessions.
5. Colorful Washi Tape Notebook Covers
Introduction
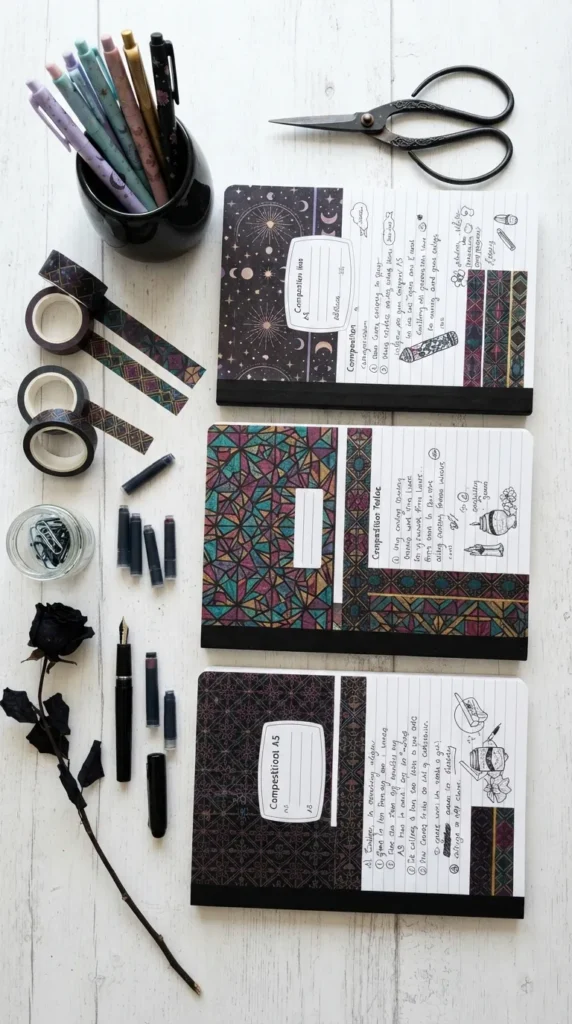
Plain composition notebooks get a cheerful makeover with geometric washi tape patterns. Kids can customize their subject folders so math, science, and reading notebooks are instantly recognizable.
What This Idea Means
Washi tape crafting is a mess-free, accessible activity that teaches pattern recognition and spatial arrangement while upgrading everyday school stationery.
Materials Needed
- Plain composition notebooks or spiral notebooks
- Assorted pattern and solid color washi tape rolls
- Craft scissors
- Clear contact paper or laminating sheet
- Label stickers for subject names
How to Make It
- Lay the composition notebook flat on a clean table.
- Plan a design layout—such as diagonal stripes, chevron weaves, or horizontal color blocks.
- Peel and press strips of washi tape across the front cover, extending slightly past the outer edges.
- Wrap the excess tape neatly over the inside edge of the front cover.
- Continue layering tape strips until the entire cover is decorated with bright patterns.
- Apply a piece of clear contact paper over the cover to seal the tape, and add a subject label in the center.
Tips and Variations
- Tip: Use a plastic ruler to press down each tape strip smoothly from center to edge to prevent trapped air bubbles.
- Variation: Cut letters out of contrasting tape colors to spell out subject names directly onto the cover.
6. Whimsical Bookmark Monsters
Introduction
Encourage daily reading habits with playful corner bookmarks shaped like silly, page-munching monsters. These paper crafts slip over the corners of book pages without causing folds or damage.
What This Idea Means
This origami-inspired project demonstrates basic paper folding and construction, turning functional reading markers into interactive companions for chapter books.
Materials Needed
- Colorful square origami paper or cardstock (6×6 inches)
- White cardstock for monster teeth and eye cutouts
- Googly eyes in various sizes
- Glue stick and craft scissors
- Colored markers
How to Make It
- Fold a square piece of paper in half diagonally to form a triangle, point facing up.
- Fold the bottom left and right corners up to meet the top point, forming a smaller square, then unfold them back down.
- Fold the top layer point down to the bottom edge, creating a pocket fold.
- Tuck the left and right corner flaps into the pocket fold to form the square corner bookmark base.
- Cut pointed white teeth from cardstock and glue them inside the upper opening of the pocket.
- Attach large googly eyes, paper horns, or silly monster tongues to the outside corner face.
Tips and Variations
- Tip: Use 80 GSM paper for crisp, easy folds; heavy cardstock can be too stiff for small corner folds.
- Variation: Adapt the folding template to design animals like foxes, frogs, or owls instead of monsters.
7. Handprinted Apple Stamped Tote Bags
Introduction
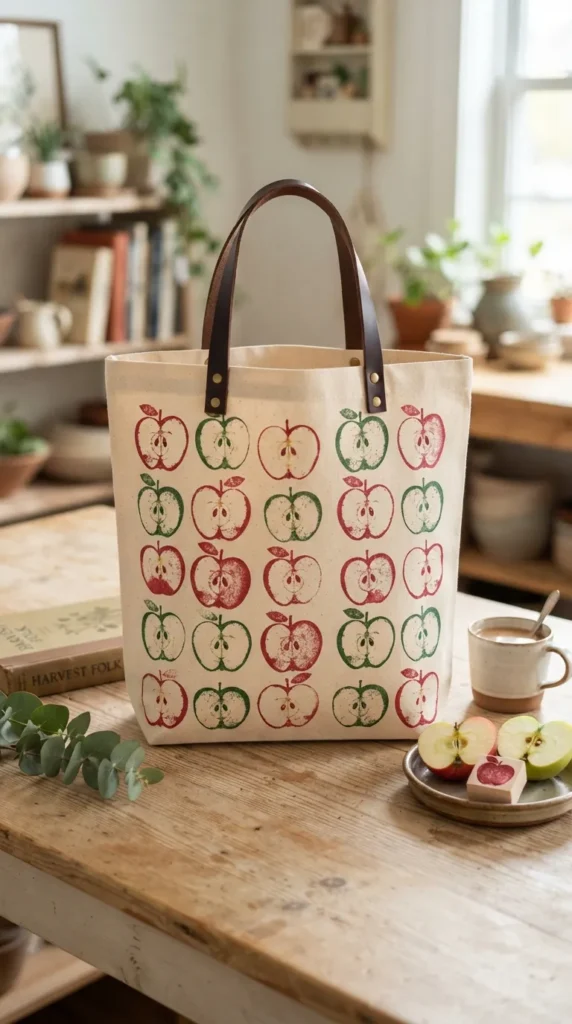
An apple is a classic symbol of school and learning. Using real apple halves as natural stamps, kids can create charming custom tote bags perfect for carrying library books or spare clothes.
What This Idea Means
Printmaking with natural objects introduces texture, repetition, and stamp art concepts. It allows children to create organic repeating patterns using real fruit shapes.
Materials Needed
- Plain canvas library tote bag
- Fresh apples cut in half vertically and horizontally
- Fabric paints (red, green, yellow, brown, and green)
- Foam paintbrushes or plates for paint
- Paper towels
- Green felt or fabric markers for stem and leaf details
How to Make It
- Place a piece of thick cardboard inside the tote bag to stop paint from bleeding through to the back side.
- Blot the cut surface of an apple half onto a paper towel to remove extra moisture.
- Brush an even layer of red or green fabric paint over the cut side of the apple using a foam brush.
- Press the painted apple flat onto the canvas bag with firm, even pressure.
- Lift straight up to reveal the apple stamp impression, repeating across the bag in rows or scattered patterns.
- Paint brown stems and green leaves near the top of each stamped print using detail brushes, then let dry.
Tips and Variations
- Tip: Re-apply fresh paint to the apple every two stamps to ensure uniform, vibrant color transfer.
- Variation: Cut apples horizontally to expose the natural star shape of the seed core for a geometric botanical print.
8. DIY First Day of School Chalkboard Sign
Introduction
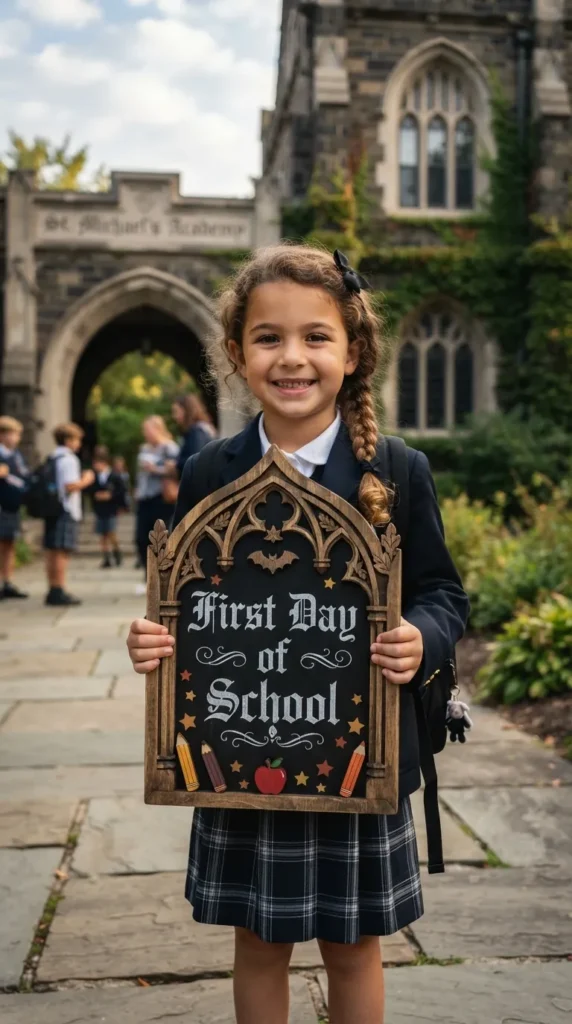
Capture annual milestones with a reusable “First Day of School” sign. Kids can help build and decorate a frame that holds photos marking their growth grade by grade.
What This Idea Means
Milestone crafting creates family keepsakes. Involving kids in designing their photo props builds enthusiasm for annual tradition and self-reflection.
Materials Needed
- Small wooden photo frame or flat wooden plaque
- Chalkboard paint and foam brush
- Chalk markers or traditional chalk
- Mini wooden craft embellishments (pencils, rulers, stars)
- Craft glue or hot glue gun
How to Make It
- Paint the center insert of the wooden plaque or frame with two layers of chalkboard paint, letting it dry between coats.
- Paint the outer wooden border with bright primary colors or leave it natural wood.
- Glue mini wooden craft shapes like small pencils, books, and stars onto the corners of the frame.
- Cure the chalkboard surface by rubbing the side of a white chalk piece across it, then wiping it clean with a dry cloth.
- Use chalk markers to write the date, grade level, age, and future career dreams in bright, bold lettering.
- Hold the sign for first-day morning photos, then wipe clean to reuse for the last day of school.
Tips and Variations
- Tip: Use liquid chalk markers for crisp, dust-free writing that wipes clean easily with a damp cloth.
- Variation: Add magnetic strips to the back so the board can display daily notes on the refrigerator after photo day.
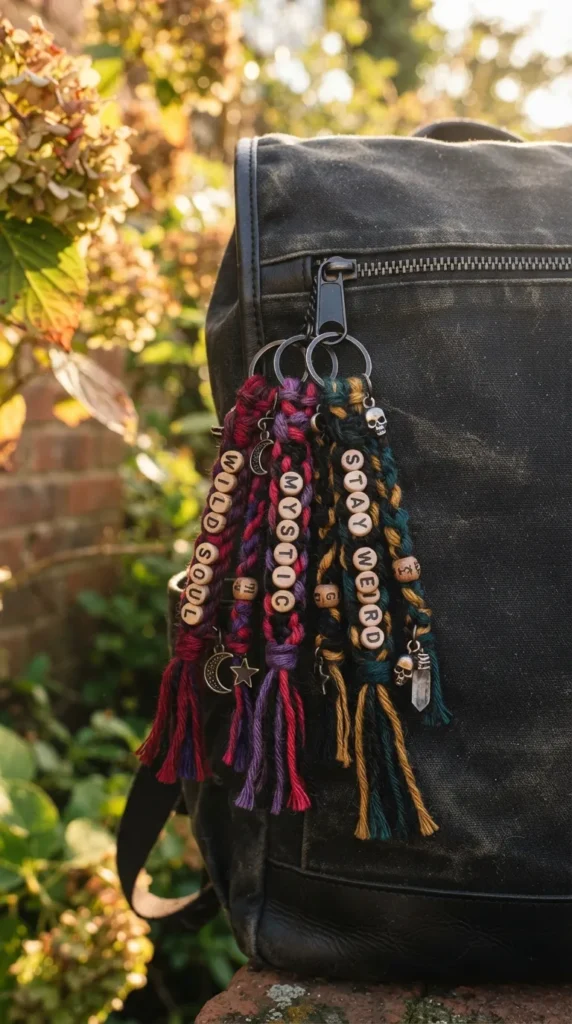
9. Braided Friendship Backpack Keychains
Introduction
Keychains bring a touch of style to backpack zippers while serving as meaningful friendship tokens that kids can craft and trade with classmates.
What This Idea Means
Fiber arts and knotting build patience, hand-eye coordination, and fine motor precision. Exchanging hand-braided keychains fosters social connection during the initial weeks of school.
Materials Needed
- Colorful embroidery floss, macrame cord, or yarn
- Metal split rings or swivel lanyard clips
- Wooden or plastic beads with wide holes
- Masking tape or clipboard (for holding cord steady)
- Scissors
How to Make It
- Cut three or four strands of cord to equal lengths (about 20 inches each).
- Fold the strands in half and thread the loop end through a metal split key ring, securing with a lark’s head knot.
- Tape the key ring firmly to a flat surface or secure it inside a clipboard.
- Separate the strands and braid or knot them together using simple three-strand braids or spiral square knots.
- Thread wooden alphabet beads or colorful accent beads onto the strands as you braid down.
- Tie a tight knot at the bottom, trim the excess thread into a soft fringe tassel, and attach to a backpack zipper.
Tips and Variations
- Tip: Coat the tip of soft cords with a drop of clear glue or tape to make stringing beads simple and frustration-free.
- Variation: Attach miniature jingle bells or plastic charms alongside the tassel for added movement and sound.
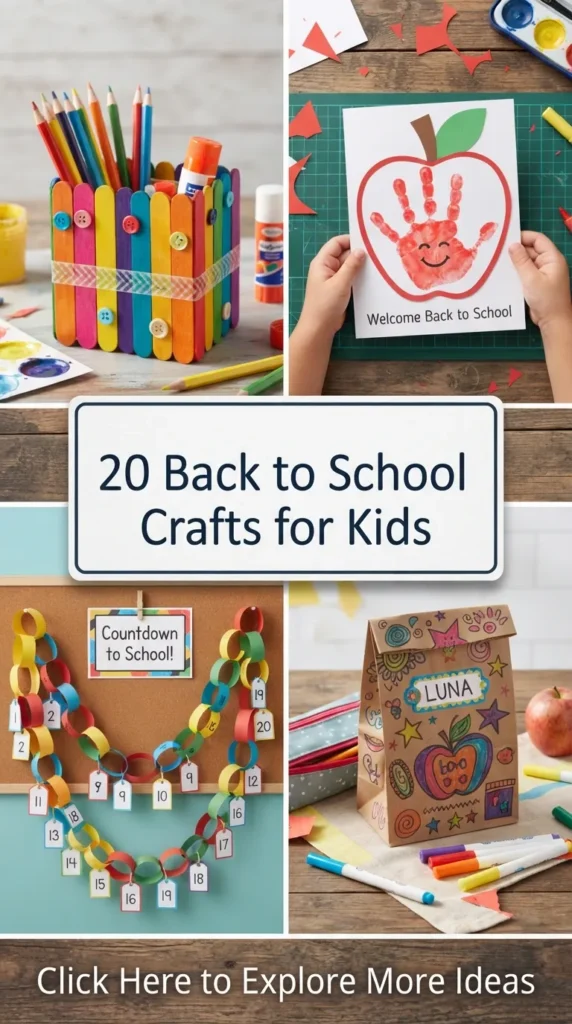
10. Bright Popsicle Stick Pencil Desk Caddy
Introduction
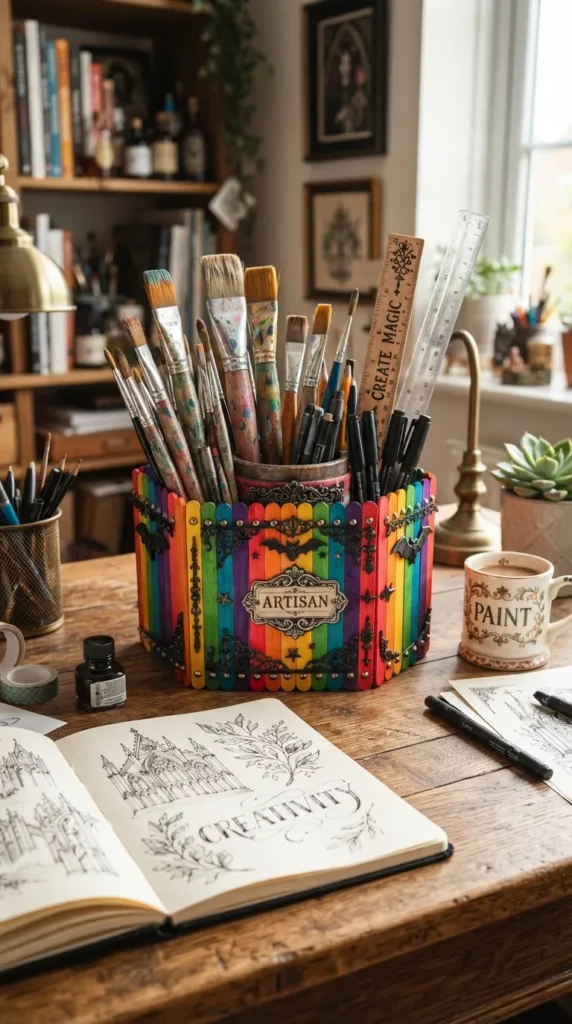
Classic craft sticks get an upgrade into a sturdy, barrel-style desk caddy designed to store markers, paintbrushes, and rulers neatly on a child’s study table.
What This Idea Means
Structural craft stick building teaches spatial balance and assembly principles. It transforms affordable craft supplies into durable home classroom organization tools.
Materials Needed
- Clean, empty aluminum tin can or heavy cardboard tube
- Standard or jumbo wooden craft sticks (natural or pre-colored)
- Acrylic paints (if using natural sticks)
- Craft glue or tacky glue
- Decorative ribbon or twine
- Buttons or felt flowers for embellishment
How to Make It
- Wrap the middle of a clean, dry tin can with double-sided tape or apply craft glue along the outer surface.
- Align wooden craft sticks vertically side-by-side around the perimeter of the can, pressing firmly.
- Allow the glue to set fully so the wooden fence structure sits securely against the metal core.
- If using natural wooden sticks, paint each stick in alternating rainbow colors with acrylic paint.
- Tie a piece of colorful ribbon or rustic twine around the middle of the caddy, securing it with a bow.
- Glue small felt cutouts or buttons over the ribbon knot as a final decorative touch.
Tips and Variations
- Tip: Ensure the bottom ends of all craft sticks rest flush against the table surface so the caddy sits completely flat.
- Variation: Use colored glitter craft sticks or attach self-adhesive rhinestone gems along the tops of the sticks.
11. Recycled Cardboard Cereal Box Magazine Holders
Introduction
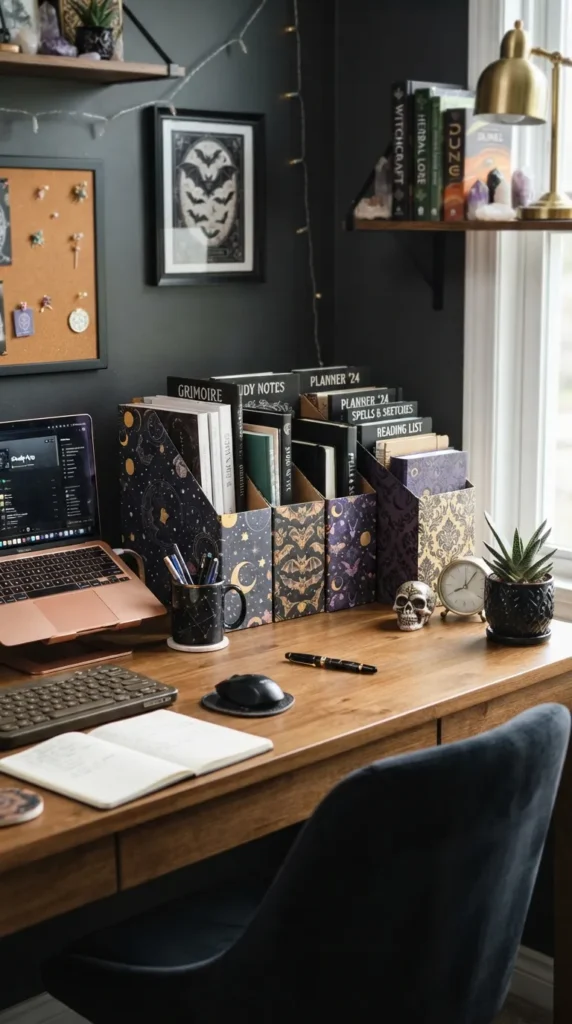
Organize workbooks, construction paper, and reading folders using custom magazine holders made out of recycled family cereal boxes.
What This Idea Means
Upcycling cereal boxes demonstrates practical spatial geometry, cutting angled lines to transform thin food packaging into upright paper storage solutions.
Materials Needed
- Empty, large cardboard cereal boxes
- Wrapping paper, decorative scrapbook paper, or paint
- Scissors and utility knife (for adult use)
- Glue stick or double-sided tape
- Ruler and pencil
How to Make It
- Measure 5 inches up from the bottom left corner of the box and 8 inches up from the right corner.
- Use a ruler to draw a diagonal guideline connecting the two points across both the front and back of the box.
- Cut along the diagonal lines using scissors to create the slanted top edge of the magazine holder.
- Lay decorative wrapping paper flat and coat the outside of the cardboard box with glue stick adhesive.
- Wrap the decorative paper smoothly around the box, pressing down securely.
- Fold excess paper over the top cut edges into the inside cavity and secure with clear tape.
Tips and Variations
- Tip: Place heavy books inside the bottom of the box while the glue dries to keep the base flat and square.
- Variation: Line the inside walls with contrasting colored paper for a polished, two-tone store-bought look.
12. Personalized Name Initial Desk Plaques
Introduction
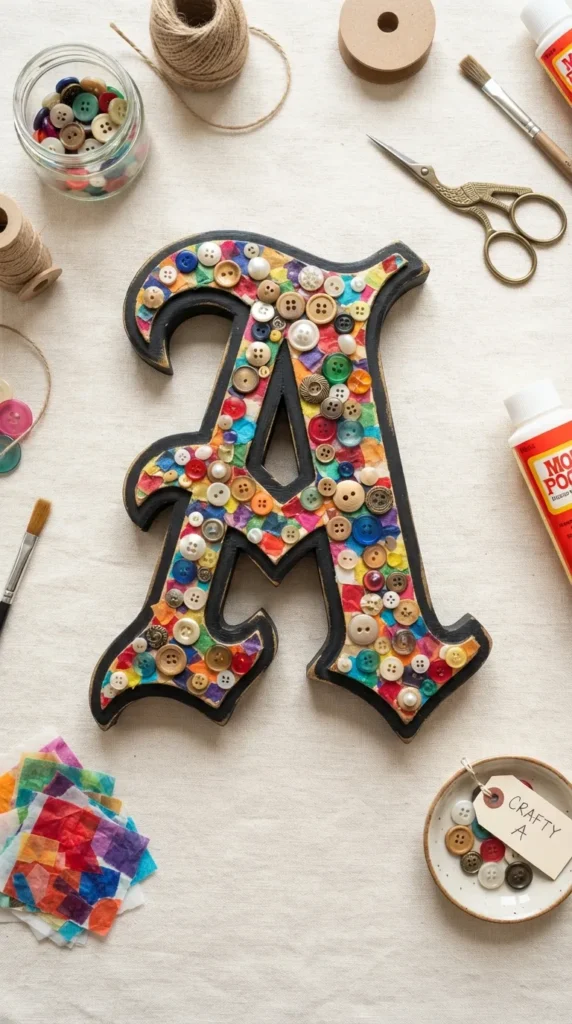
Give kids ownership over their learning space with a custom, standing letter plaque showcasing their first name initial, decorated with colorful craft materials.
What This Idea Means
Monogram art encourages self-identity and creative customization. Displaying personalized name art on a study desk makes homework areas feel inviting.
Materials Needed
- Large papier-mâché or wooden block letter (representing the child’s initial)
- Yarn, tissue paper squares, or acrylic paint
- Mod Podge or craft glue
- Sequins, buttons, or mini pom-poms
- Foam brush
How to Make It
- Choose a decoration style: wrapped yarn, tissue paper mosaic, or painted design.
- For yarn-wrapped letters: apply craft glue to sections of the letter and wrap colorful yarn tightly around it until covered.
- For mosaic letters: brush Mod Podge over the letter and press crumpled squares of colorful tissue paper side-by-side.
- Let the base layer dry completely.
- Glue embellishments like colorful buttons, felt stars, or mini pom-poms onto the front face of the letter.
- Seal with a light coat of clear acrylic finish spray or Mod Podge glaze.
Tips and Variations
- Tip: For curved letters like ‘S’ or ‘C’, tissue paper collage or paint is easier for younger kids than wrapping yarn.
- Variation: Glue small plastic toy figures or tiny school supplies like erasers across the surface before painting the entire letter a solid metallic gold.
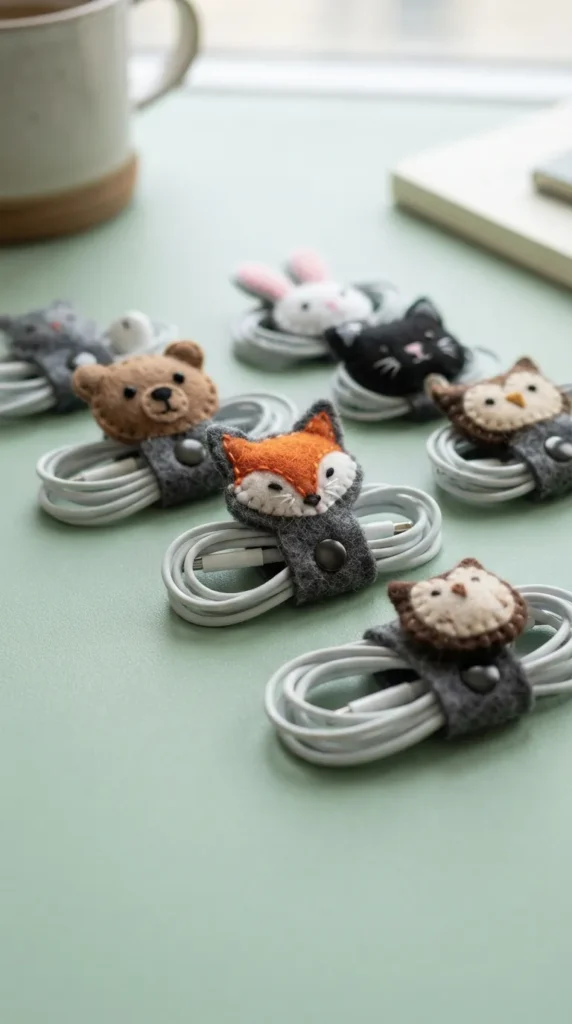
13. Craft Foam & Felt Cable Organizers
Introduction
With modern classrooms incorporating digital devices, managing headphone cords and charging cables is essential. These flexible felt cord wraps prevent tangled wires inside school bags.
What This Idea Means
Functional sewing or snap assembly introduces kids to practical problem-solving crafts. It keeps technology accessories neat, protected, and easily accessible.
Materials Needed
- Stiff felt sheets or craft foam sheets
- Heavy-duty snap fasteners and snap setting tool (or self-adhesive hook-and-loop dots)
- Craft scissors
- Decorative fabric hole punches or markers
- Template for cord wrap shape (t-shape or oval)
How to Make It
- Trace a double-ended paddle or keyhole shape onto a piece of thick felt sheet (about 5 inches long).
- Carefully cut out the shape using sharp fabric scissors.
- Decorate the exterior of the felt wrap using colorful felt cutouts or fabric markers to create fun animal faces.
- Attach one half of a snap fastener to the top tab and the matching snap half to the bottom tab using a snap tool.
- Wind a pair of headphones or charging cable into a neat loop.
- Place the coiled cord inside the felt strip, fold the ends together, and snap securely closed.
Tips and Variations
- Tip: Self-adhesive hook-and-loop (Velcro) dots can be substituted for metal snaps for an easier non-tool assembly option.
- Variation: Cut the felt ends into taco, donut, or fruit shapes so the wrapped cable looks like a fun snack.
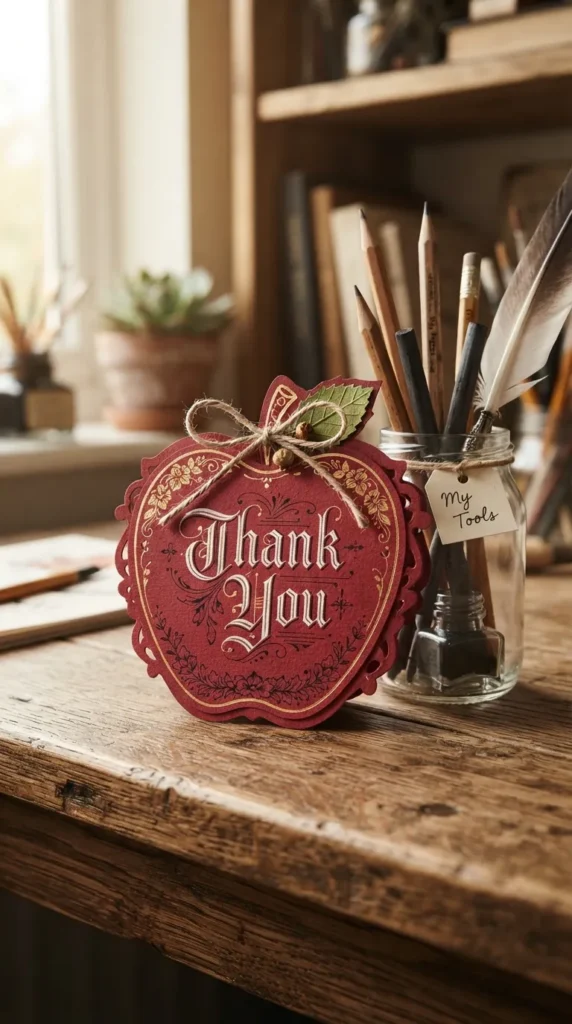
14. Sweet & Simple Apple Teacher Thank You Cards
Introduction
Building positive connections with new teachers starts with a heartfelt welcome. Kids can make handcrafted pop-up apple cards to express excitement for the upcoming school year.
What This Idea Means
Cardmaking fosters gratitude, empathy, and social communication skills. Hand-written cards give kids a personal way to introduce themselves to their new educators.
Materials Needed
- Heavy blank cardstock (red, green, white, and kraft paper)
- Scissors and glue stick
- Green ribbon or twine
- Black fine-liner pen or markers
- Corner punch (optional)
How to Make It
- Fold a piece of red cardstock in half to create a top-folding card base cut into a rounded apple silhouette.
- Cut a slightly smaller apple shape out of white cardstock to serve as the inside writing panel.
- Glue the white paper panel inside the card base, leaving a red border around the edges.
- Cut a small leaf from green cardstock and a short stem from kraft paper, gluing them to the top fold of the apple.
- Tie a small ribbon bow around the stem base for a charming finished accent.
- Have the child write a personalized welcome note inside using clear fine-liner markers.
Tips and Variations
- Tip: Use pinking shears or decorative edge scissors to cut internal paper panels for a rustic design touch.
- Variation: Add a small pouch inside the card to hold a gift card or a bookmark for the teacher.
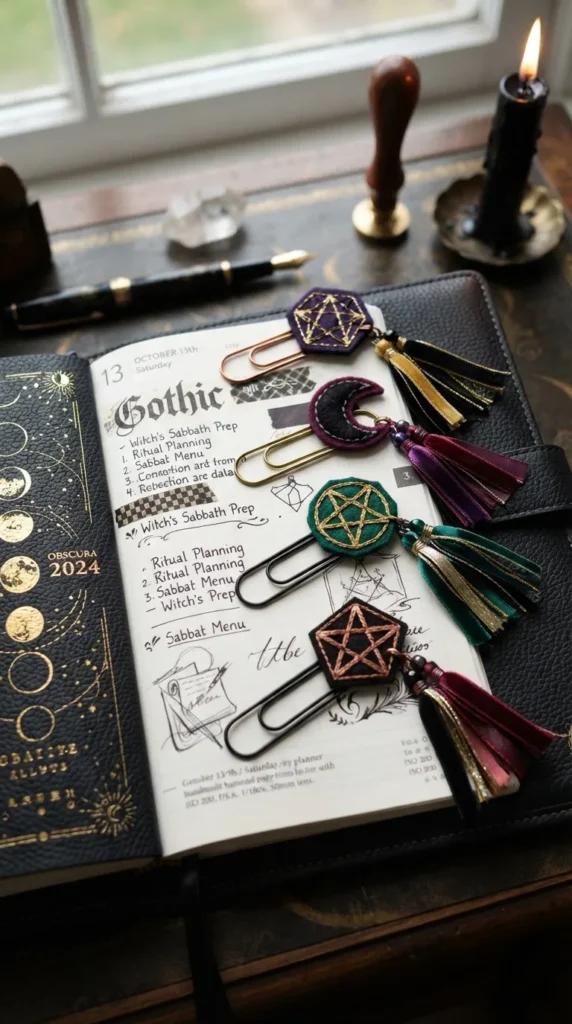
15. Geometric Painted Paperclip Bookmarks
Introduction
Transform oversized metal paperclips into stylish geometric bookmarks topped with colorful ribbon tails and felt buttons.
What This Idea Means
Small-scale accessory making improves fine motor control and precision gluing. These flat bookmarks keep page places in textbooks without damaging paper sheets.
Materials Needed
- Large vinyl-coated or metallic jumbo paperclips (3-inch size)
- Stiff felt cutouts or thick patterned cardstock circles
- Craft glue or hot glue gun
- Colorful satin ribbons or rickrack trim
- Buttons or flat embellishments
How to Make It
- Select two matching felt or cardstock shapes (like circles, stars, or hearts).
- Cut a 4-inch strip of ribbon, fold it in half to form a tassel loop, and trim the ends at an angle.
- Apply a dab of strong glue to the back top loop of a jumbo paperclip.
- Press the ribbon loop and one felt shape onto the glue, sandwiching the top loop of the paperclip.
- Glue the second matching felt shape over the back to cover the clip attachment cleanly.
- Press a decorative button or rhinestone onto the front face and let dry completely.
Tips and Variations
- Tip: Use vinyl-coated paperclips to prevent metallic scratching on thin textbook pages.
- Variation: Tie three different shades of thin ribbon directly onto the top fold of paperclips for simple ribbon tassel clips.
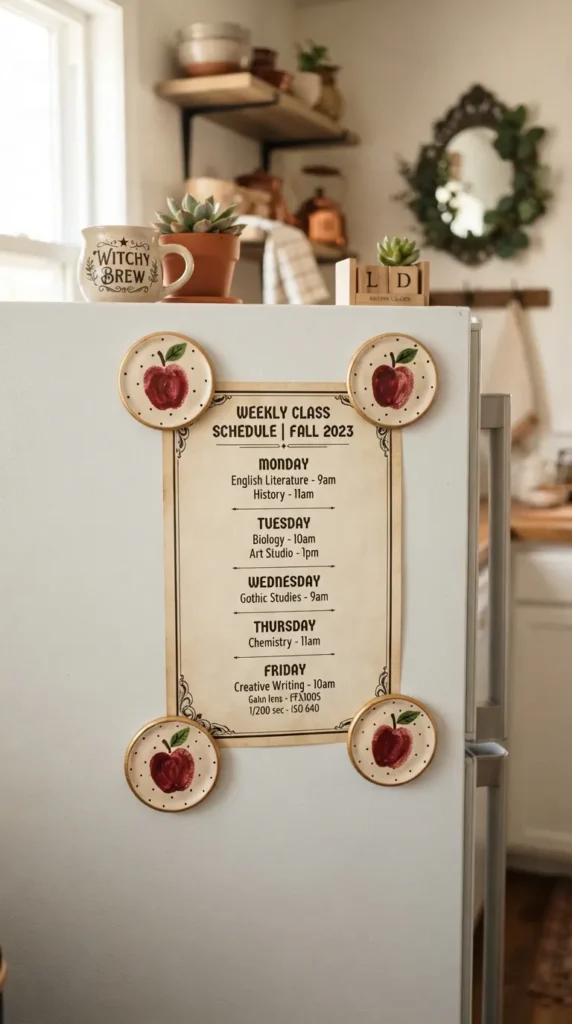
16. Whimsical Clay Thumbprint Classroom Magnets
Introduction
Turn air-dry clay impressions into personalized thumbprint magnets. These magnets can hold class schedules, lunch menus, and artwork securely on family refrigerators or school lockers.
What This Idea Means
Keepsake crafting preserves personal physical markers like thumbprints within handmade art. It connects home management routines with children’s creative achievements.
Materials Needed
- Air-dry clay (white or terracotta)
- Round cookie cutter or cup rim
- Acrylic paints and detail brushes
- Strong neodymium disc magnets
- Craft glue or industrial adhesive
- Rolling pin and wax paper
How to Make It
- Roll out air-dry clay on wax paper to a uniform 1/4-inch thickness.
- Cut circular discs using a small round cookie cutter.
- Have the child press their thumb firmly into the center of each clay disc to leave a clear print impression.
- Allow the clay discs to dry thoroughly at room temperature for 24 to 48 hours.
- Paint inside the thumbprints to transform them into mini apples, bees, or balloons using fine detail brushes.
- Apply glue to a flat disc magnet and press it firmly onto the back of the dried clay disc.
Tips and Variations
- Tip: Flip the clay discs over every few hours during the drying phase to prevent the edges from curling upward.
- Variation: Stamp letter impressions around the edge of the magnet to spell out “Grade 1” or the current school year.
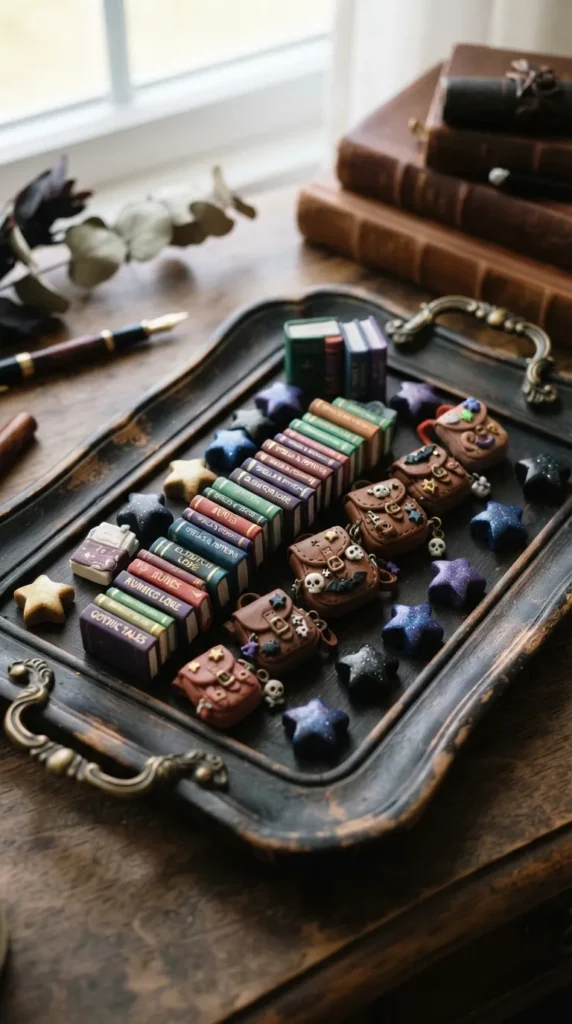
17. DIY Colorful Eraser Clay Figures
Introduction
Did you know kids can sculpt their own usable pencil erasers? Eraser clay kits allow young makers to mold custom mini sculptures that function as real, usable erasers.
What This Idea Means
Functional polymer science meets creative sculpting. Kids learn that raw materials can change properties during baking, resulting in practical stationery items.
Materials Needed
- Specialty Eraser Clay kit (various colors)
- Modeling tools or plastic toothpicks
- Baking sheet and aluminum foil
- Oven (operated by an adult)
How to Make It
- Soften the specialized eraser clay by rolling small portions between warm hands.
- Sculpt mini back-to-school shapes, such as tiny books, backpacks, apples, stars, or geometric cubes.
- Keep designs compact and relatively thick so the finished erasers hold their structure during use.
- Place finished shapes onto an aluminum foil-lined baking sheet.
- Bake in a preheated oven according to the specific manufacturer instructions (typically 250°F / 120°C for 20 minutes).
- Allow the erasers to cool completely before using them to erase pencil marks.
Tips and Variations
- Tip: Avoid making tiny thin protruding parts on figures, as delicate pieces can break off during heavy erasing.
- Variation: Mold hollow shapes that can fit directly onto the top ends of standard wooden pencils.
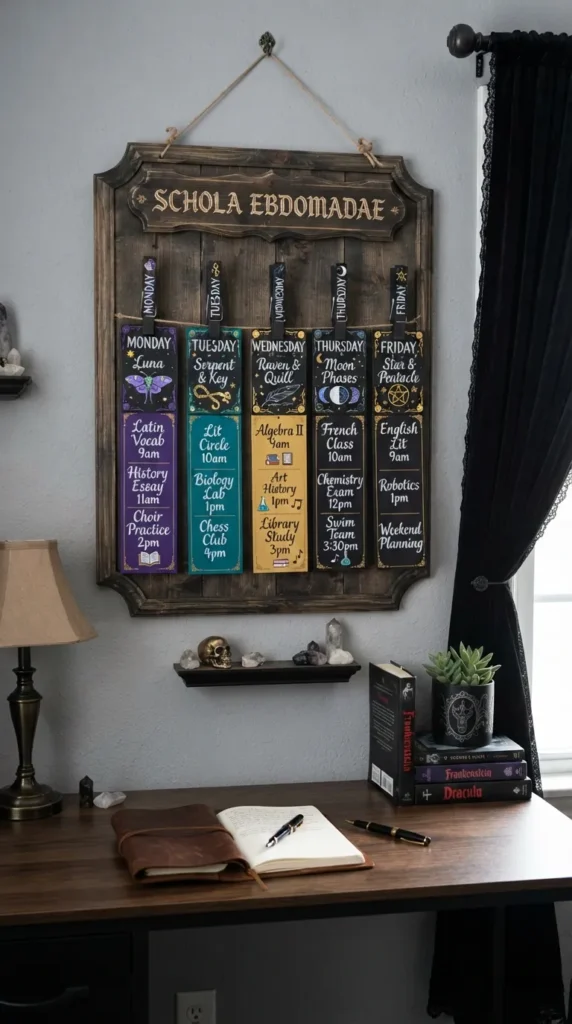
18. Hanging Wall Schedule Clothspin Board
Introduction
Keep morning routines smooth and structured with a personalized wooden clothespin board designed to hold visual daily schedules, reminders, and completed homework sheets.
What This Idea Means
Visual organization tools foster independence, time management skills, and self-direction as children learn to manage their daily school preparation routines.
Materials Needed
- Rectangular wooden board or canvas panel
- Wooden clothespins
- Acrylic paint and paintbrushes
- Hanging hardware or twine
- Glue or wood adhesive
- Alphabet stickers or markers
How to Make It
- Paint the background board with a solid color or light wood stain, allowing it to dry fully.
- Paint 5 to 7 wooden clothespins in coordinating colors—representing days of the school week or daily tasks.
- Use alphabet stickers or paint pens to label each clip (e.g., “Monday”, “Tuesday”, or “Homework”, “Lunch Menu”).
- Space the clothespins evenly across the board and glue them down firmly with wood adhesive.
- Attach a piece of twine or hanging hardware securely to the back of the board.
- Hang the board at the child’s eye level and clip daily schedule cards or notes into place.
Tips and Variations
- Tip: Attach small magnetic strips to the back of the board if you prefer mounting it directly onto a metal refrigerator or filing cabinet.
- Variation: Add small chalk tags underneath each clip for writing quick daily reminders with chalk.
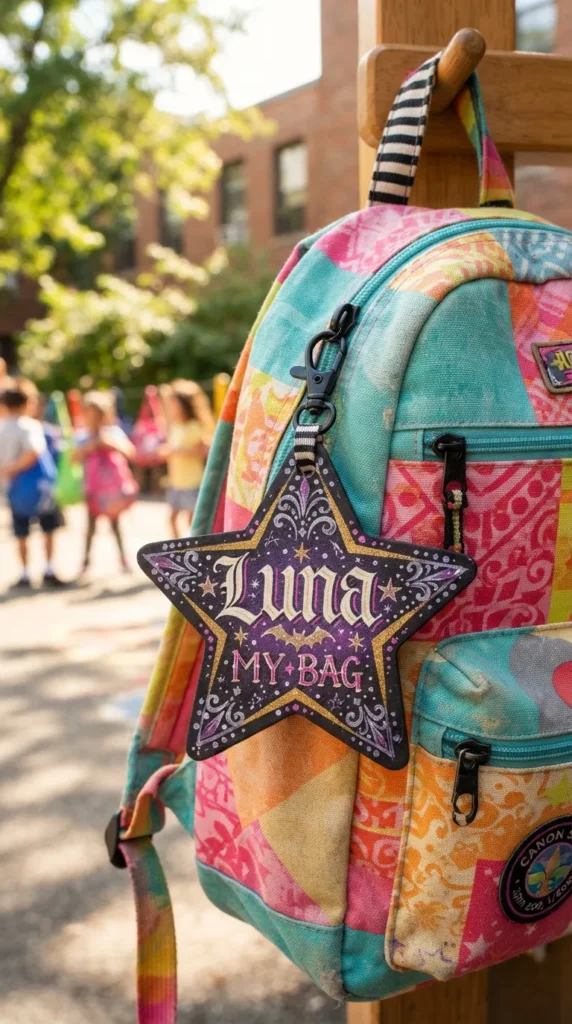
19. Cheerful Foam Backpack Bag Tags
Introduction
Ensure backpacks never get mixed up on school cubby racks with durable, waterproof craft foam bag tags featuring bold initials and fun shapes.
What This Idea Means
Personal identification crafting combines utility with visual design. Making custom tags helps younger children recognize their belongings independently.
Materials Needed
- Thick craft foam sheets in vibrant colors
- Plastic lanyard rings or key rings
- Hole puncher
- Waterproof paint pens or permanent markers
- Scissors and decorative edge shears
- Self-adhesive foam stickers
How to Make It
- Cut two matching large shapes (such as luggage tag rectangles, stars, or shields) from thick craft foam.
- Glue the two layers together to create a sturdy, heavy-duty tag base.
- Punch a clean hole near the top center of the tag using a standard hole punch.
- Decorate the front face using self-adhesive foam stickers, layer cutouts, and bright paint pens.
- Write the child’s name clearly on the back of the tag using permanent marker.
- Thread a plastic lanyard strap through the punched hole and attach it securely to a backpack handle.
Tips and Variations
- Tip: Use a permanent marker to write contact details on the tag back, and seal it with a strip of clear tape to guard against rain.
- Variation: Layer glitter craft foam over matte foam for a high-contrast eye-catching tag design.
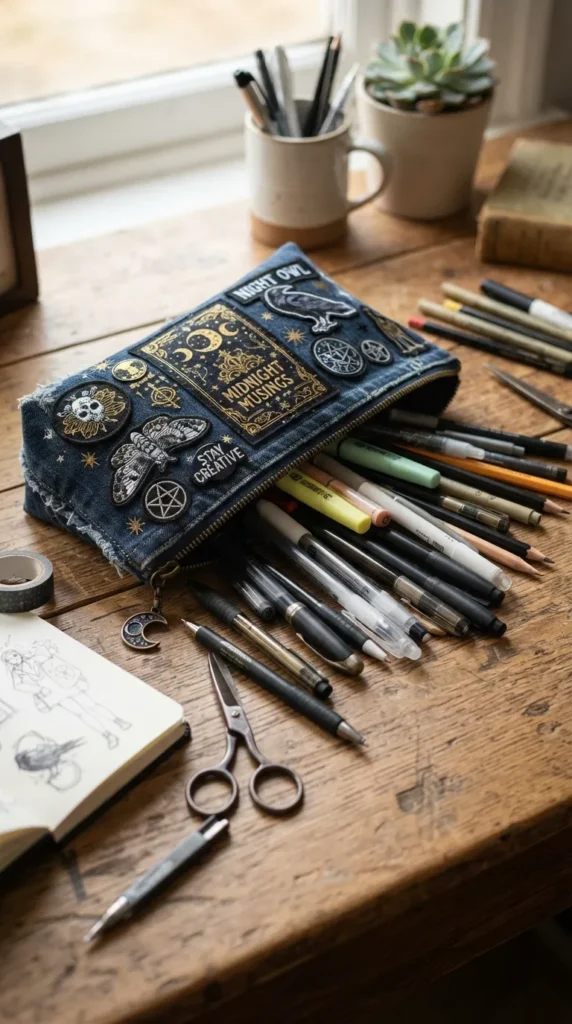
20. DIY Upcycled Denim Pencil Pouch
Introduction
Old denim jeans can be easily upcycled into a durable, stylish zipper pencil pouch perfect for holding pens, rulers, and craft supplies inside school desks.
What This Idea Means
Textile upcycling teaches kids how to repurpose worn clothing into functional accessories, introducing fundamental fabric assembly techniques.
Materials Needed
- Cut leg portion from an old pair of denim jeans
- 7-inch zipper
- Fabric glue or basic needle and thread
- Fabric scissors and pins
- Fabric markers, puffy paint, or iron-on patches
How to Make It
- Cut a rectangular section (about 8×5 inches) from the lower leg of an old pair of jeans.
- Turn the denim sleeve inside out so the inner seams face outward.
- Glue or stitch one bottom edge flat to close the base of the pouch securely.
- Attach the zipper across the top opening using fabric glue or a simple running stitch along both sides.
- Turn the pouch right-side out through the open zipper.
- Personalize the denim exterior with colorful puffy paints, fabric markers, or iron-on patches.
Tips and Variations
- Tip: If using fabric glue instead of sewing, allow 24 hours of full drying time before opening and closing the zipper.
- Variation: Keep an existing back pocket from the jeans on the exterior panel to create an extra slip-in pocket for small erasers.