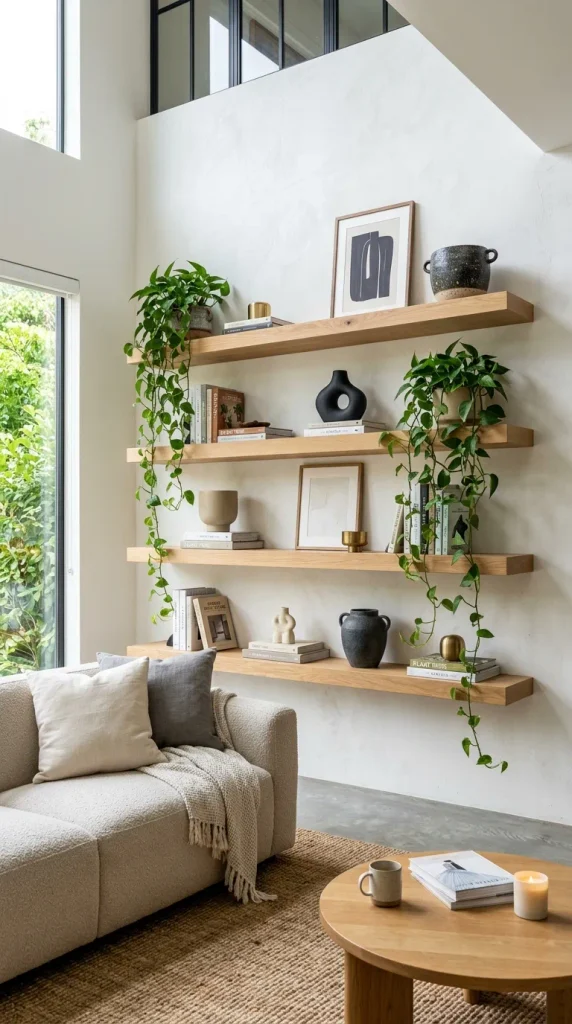
5. Built-in Floating Media and Display Shelving
Combine functionality with high-end aesthetic appeal by installing thick, custom floating shelves across your primary living room wall.
- Why It Works: It breaks up a massive blank surface while providing practical display space for books, ceramics, trailing plants, and cherished keepsakes.
- Materials & Supplies Needed: Heavy-duty concealed floating shelf brackets, thick hardwood boards (such as maple or white oak), wood stain or clear matte sealer, a stud finder, a drill, and heavy-duty wall anchors.
- Step-by-Step Instructions:
- Locate and mark wall studs across your empty wall at your desired heights.
- Install the heavy-duty metal bracket rods securely into the wall studs, ensuring they are perfectly level.
- Drill matching holes into the back of your custom wood shelves to slide over the steel support rods.
- Secure the wood shelves onto the brackets using manufacturer-provided set screws.
- Style the shelves using the rule of thirds: balance tall stacked books with horizontal objects, sculptural ceramics, and trailing greenery.
- Variations: Opt for thick white-painted drywall-wrapped box shelves that seamlessly blend into a white wall for a minimalist floating illusion, or rich dark walnut planks for cozy contrast.
- Pro Styling Tips: Leave breathing room on your shelves—do not overcrowd them. Allow at least 30% of empty space on each shelf so the items look curated rather than cluttered.