The resurgence of pixel art has been nothing short of a cultural phenomenon. It is a nostalgic nod to the 8-bit era of gaming, a vibrant aesthetic that thrives on simplicity, and, most importantly, a meditative craft that anyone can master. Perler beads—those tiny, colorful cylinders of plastic—are the perfect medium for bringing this digital art form into the physical world.
Whether you are a gaming enthusiast looking to immortalize your favorite sprites, a DIY lover seeking the next relaxing weekend project, or an artist exploring the intersection of geometry and color, Perler bead crafting offers a unique satisfaction. There is a primal joy in taking hundreds of individual, monochromatic beads and arranging them into a cohesive, recognizable image. It is essentially human-powered rendering.
In this guide, we will explore 20 stunning, Pinterest-worthy Perler bead concepts that range from beginner-friendly patterns to intricate designs. We will also dive into the techniques that turn a pile of plastic beads into high-quality, long-lasting art pieces.
Why Perler Beads are the Ultimate Crafting Medium
Before we dive into the projects, let’s talk about why this medium is currently dominating the craft world. Perler beads operate on a grid system. This is the secret to their accessibility. Unlike drawing or painting, which require a refined knowledge of perspective and shading, pixel art is binary. You either place a bead, or you don’t. This removes the intimidation factor that often prevents people from starting creative hobbies.
Furthermore, the finished product has a tactile, toy-like quality that brings out the inner child in all of us. They are durable, vibrant, and can be transformed into keychains, wall art, coasters, or even complex dioramas.
The Art of Color Blending
One common critique of Perler bead art is that it looks too “blocky” or simplistic. However, the secret lies in dithering. Dithering is the technique of alternating colors in a checkerboard or irregular pattern to create the illusion of a third, blended color or a smooth gradient. If you are making a sunset, for example, don’t just switch from orange to yellow. Place a row of orange and yellow beads mixed together in the middle. This transition is what separates a novice build from a professional masterpiece.
1. The Retro Controller
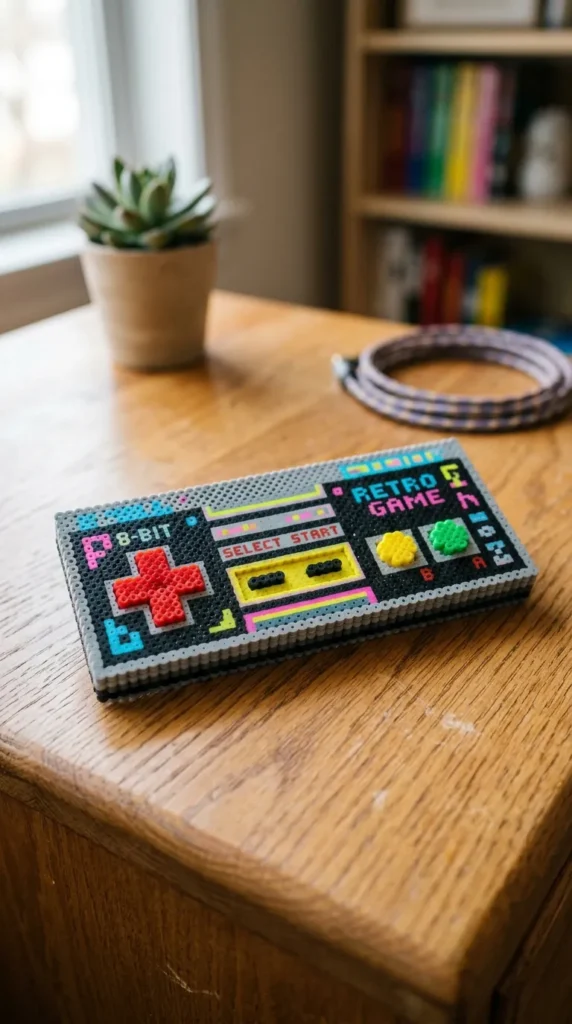
Nothing screams “gamer aesthetic” like a classic 8-bit controller. Use various shades of grey, black, and a pop of bright red for the buttons. This design looks incredible when mounted inside a shadow box frame.
2. The Floating Heart Locket
A 3D-effect heart, where the edges are shaded with dark pink and the center uses light pink and white beads to create a “shine” effect. This is a perfect gift item.
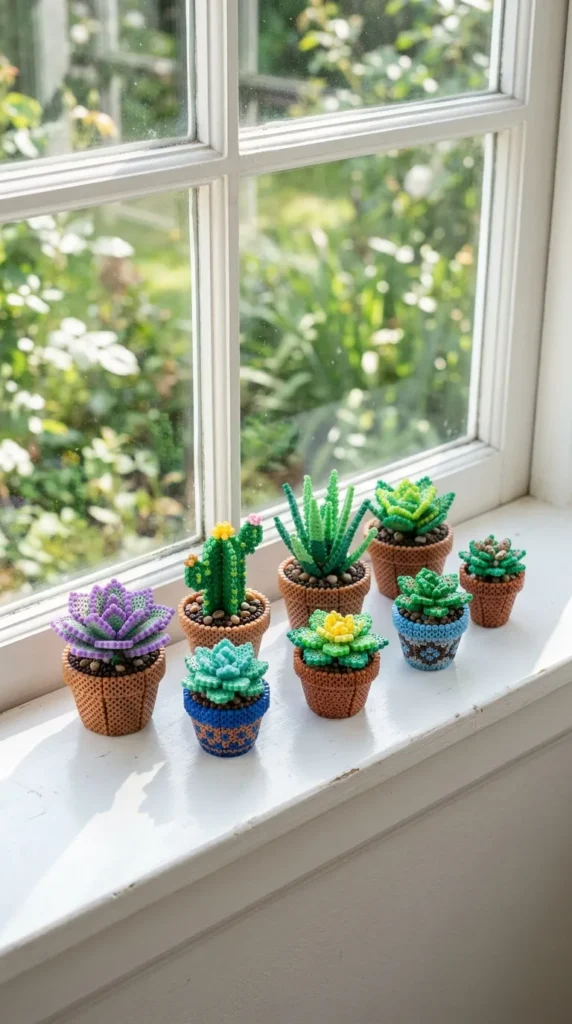
3. Desktop Succulent Terrarium
Create a miniature grid of various cacti and succulents. Instead of a flat piece, build the plants and insert them into a real terracotta pot filled with sand. It’s a low-maintenance, never-dying plant collection.
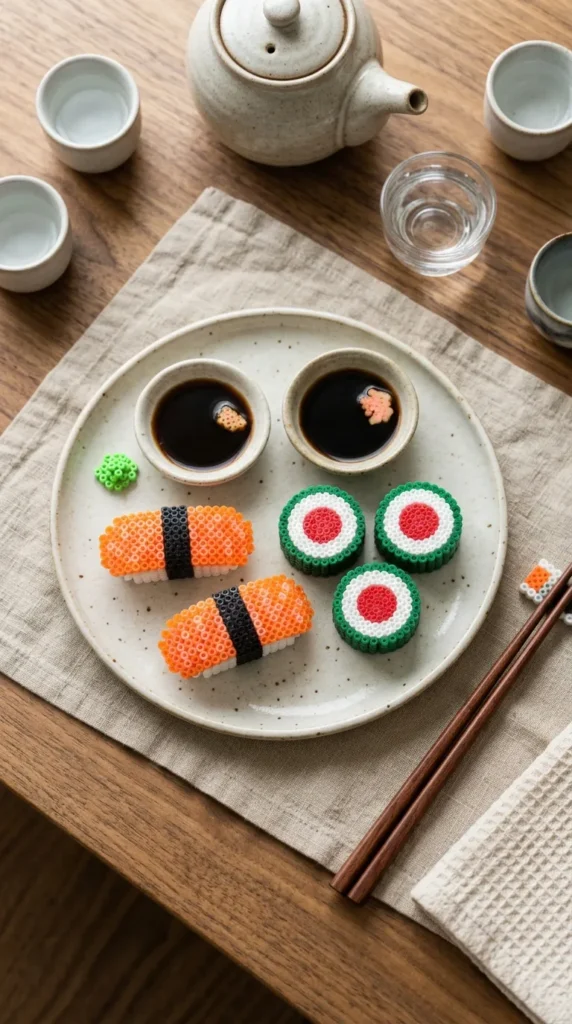
4. The Sushi Platter
Craft a California roll, a slice of salmon nigiri, and a piece of tamago. Use white for rice and textured bead colors for the fish. Arrange them on a tiny wooden tray for a centerpiece.
5. Kawaii Breakfast Stack
A stack of pancakes with a melting butter cube, a cup of coffee with a steaming pixelated cloud, and a strawberry. The “kawaii” style relies on high-contrast colors and simple, smiling faces.
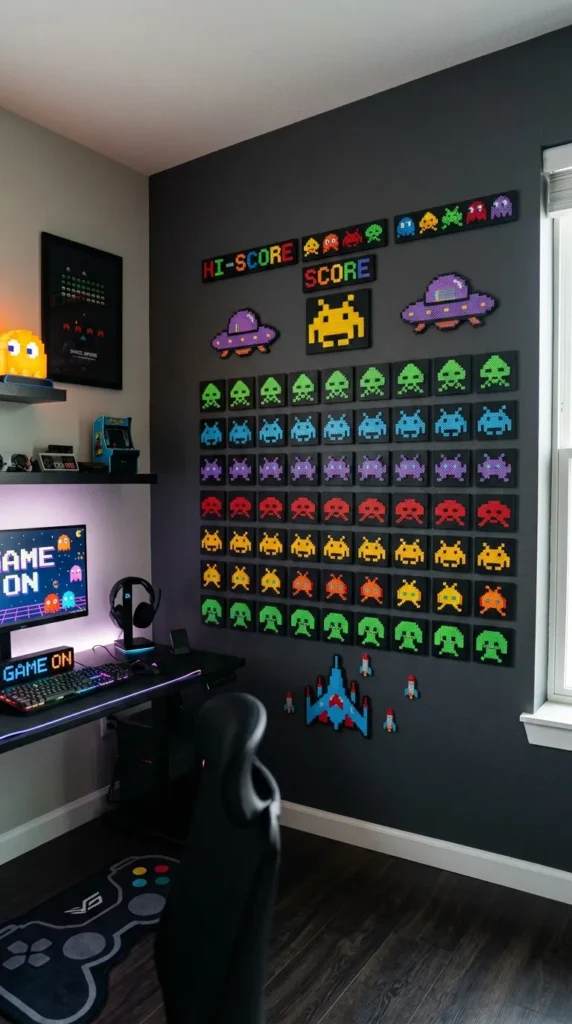
6. The Space Invader
The quintessential pixel art. Create a variety of different invaders in neon colors to act as a wall art installation. This is excellent for modern, tech-focused office decor.
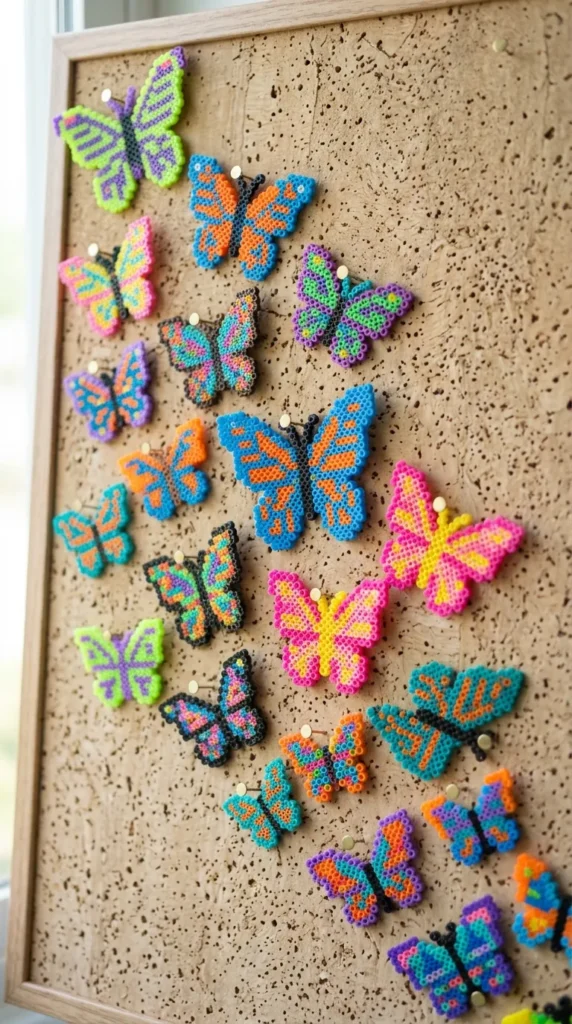
7. Miniature Butterfly Garden
Create a series of butterflies with symmetrical wings. Use neon or translucent beads to mimic the fragility of insect wings. These can be used as fridge magnets or pinned to a corkboard.


8. Tropical Fruit Slices
Watermelon, lime, orange, and kiwi slices. The geometric nature of citrus segments lends itself perfectly to the square grid of a pegboard.
9. The Vintage Cassette Tape
A tribute to the 90s. Use black, clear, and white beads to create the reels. It’s a great piece to personalize by writing a “song title” on the label area using tiny beads.
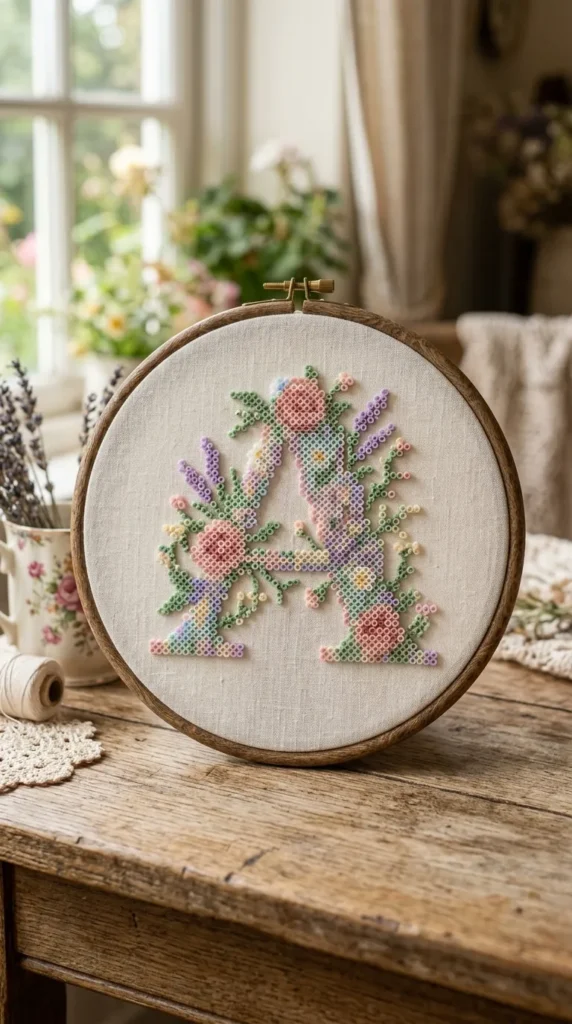
10. Floral Typography
Pick a letter and fill it with intricate flower patterns. This is a fantastic “statement piece” for a bedroom wall. Use pastels for a soft, cottage-core aesthetic.
11. Minimalist Constellations
Black background with white, glowing beads connected by thin lines. This looks sophisticated in a dark-themed gaming room.
12. The Pizza Slice
Create a pepperoni pizza slice with varying shades of red, yellow, and tan for the crust. Add some “drip” effect using yellow beads to represent melting cheese.


13. Retro Smiley Faces
Not just the yellow classic, but variations—a sunglasses smiley, a winking smiley, a dizzy smiley. These look great as drink coasters.
14. Crystal Gems
Design facets of an amethyst, ruby, or emerald. By using different shades of purple, red, or green, you can create a 3D effect that mimics light hitting a gemstone.
15. Geometric Animal Silhouettes
Create a deer, wolf, or bear head using only black beads. It’s stark, modern, and fits into a minimalist interior design scheme.
16. The Mini Cloud Rainbow
A white cloud with a cascading rainbow coming out of the bottom. Use this for nursery decor or to add a touch of whimsy to a desk setup.
17. Steaming Coffee/Tea Mug
A side profile of a mug with steam rising in three separate, distinct pixel shapes. This is cozy, warm, and inviting.
18. Mushroom Power-up
The classic gaming mushroom, but experiment with color palettes. A “poison” mushroom (purple and black) or a “fire” mushroom (yellow and orange) adds variety.
19. Popsicle Stick Trio
A classic red, white, and blue popsicle, a grape one, and a lime one. These are colorful and fun, perfect for summer-themed decorations.
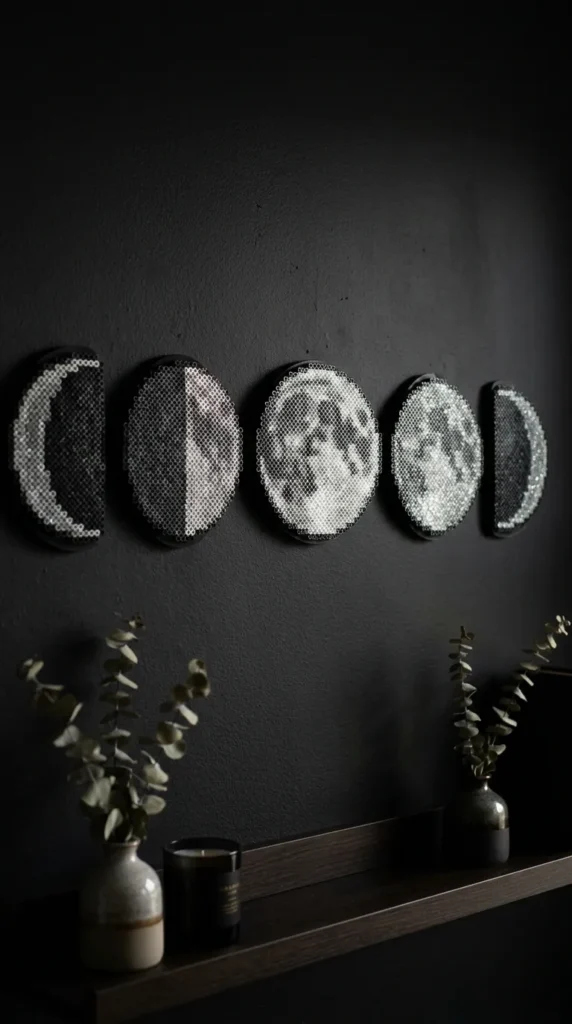
20. Moon Phases
Create the cycle of the moon, from the crescent to the full moon, using grey, white, and black beads. This creates a stunning panoramic art piece for a wall.
Mastering the Ironing Technique
The most critical step in Perler bead art is the ironing. Many beginners struggle with beads melting unevenly. The goal is a uniform, flat surface where the holes are still visible but the beads are fused.
Always use parchment paper (not wax paper). Preheat your iron to a medium setting without steam. Place the parchment paper over your design and gently move the iron in a circular motion. Do not press down hard; let the weight of the iron do the work. If you press too hard, you will squash the beads and make them look misshapen.
For a professional finish, you can use the “tape method.” Place masking tape over the finished, un-ironed design, peel it off the board, and iron the back. This saves your pegboards from warping due to the heat.


Mounting and Displaying
Once your piece is cooled and flattened (place a heavy book on top of it while it cools to prevent curling), it is ready for display. For wall art, a shadow box frame is the gold standard. It protects the art from dust and provides a clean, gallery-like appearance. For smaller pieces, like the smiley faces or sushi, simple self-adhesive magnets on the back transform them into functional decor for your kitchen or workspace.
Conclusion
Perler bead art is more than just a hobby; it is a way to bridge the gap between digital creativity and tangible home decor. Whether you are building a vast wall installation or a simple set of coasters, the process is inherently rewarding. Remember, the grid is your canvas, and the beads are your paint. Don’t be afraid to experiment, remix colors, and develop your own style.